• Lifestyle
    • Blog
  • Twins
    • Twin Pregnancy
  • Recipes
    • Smoothies
    • Lunch
    • Dinner
    • Dessert
    • Snack
  • Guides
  • About
  • Free 3-Day Detox PDF

Love. Lean. Life.

Hello, Simple Living

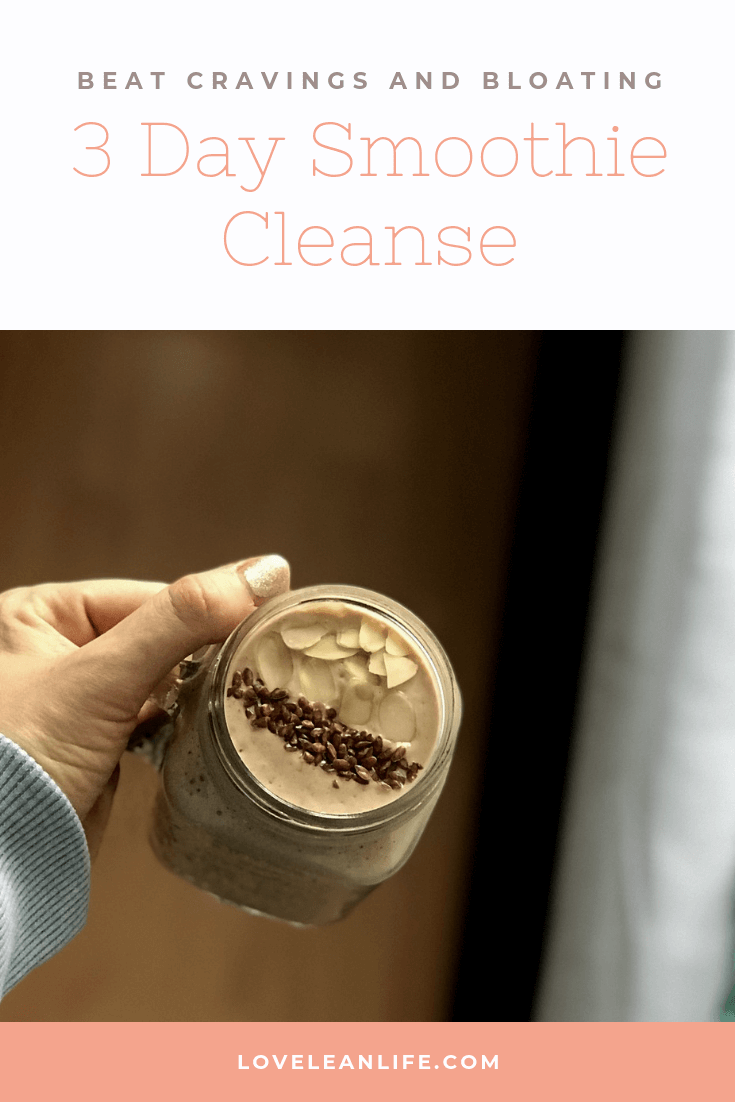
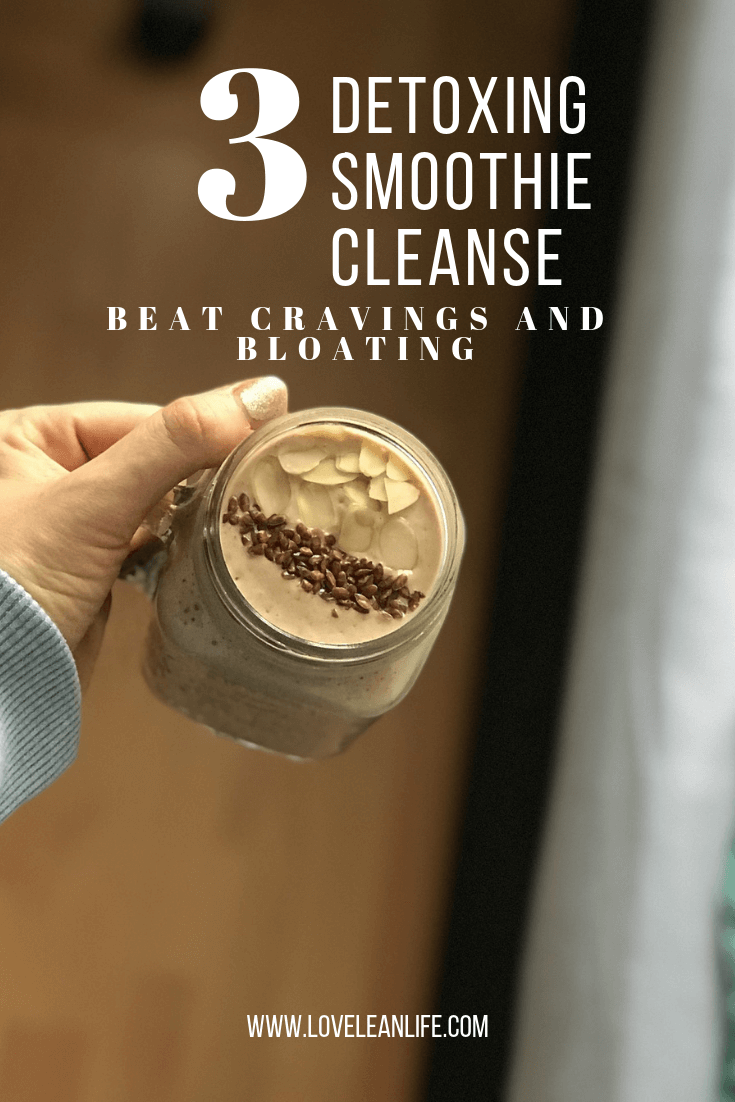
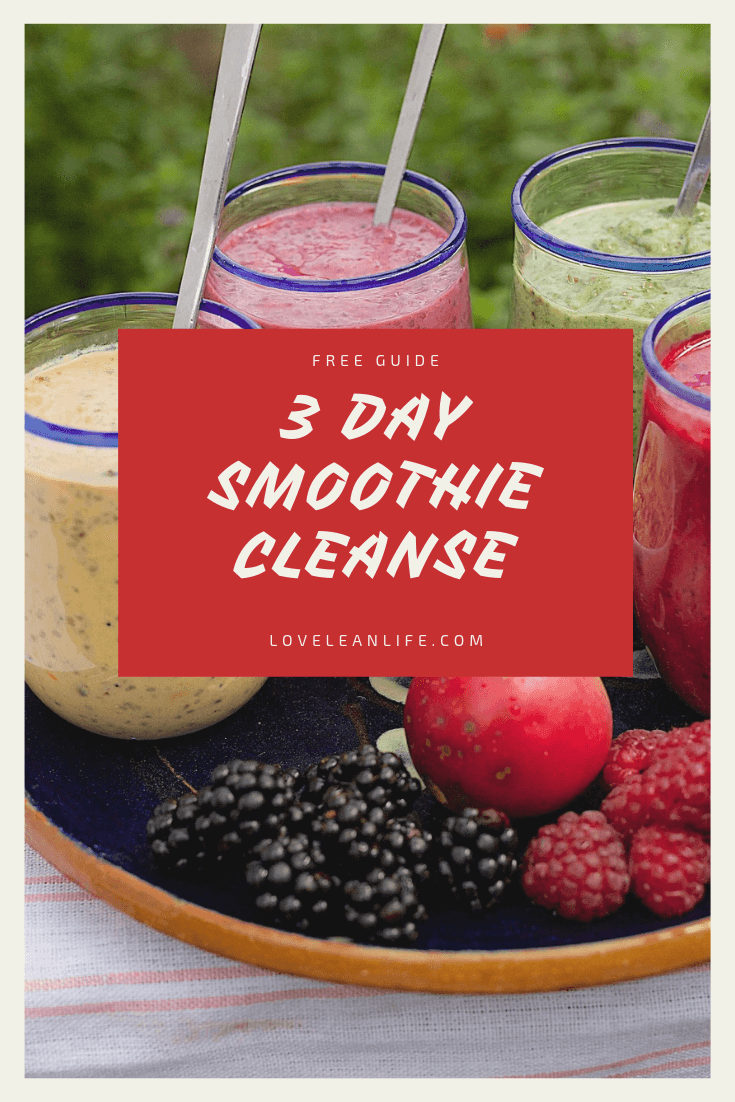
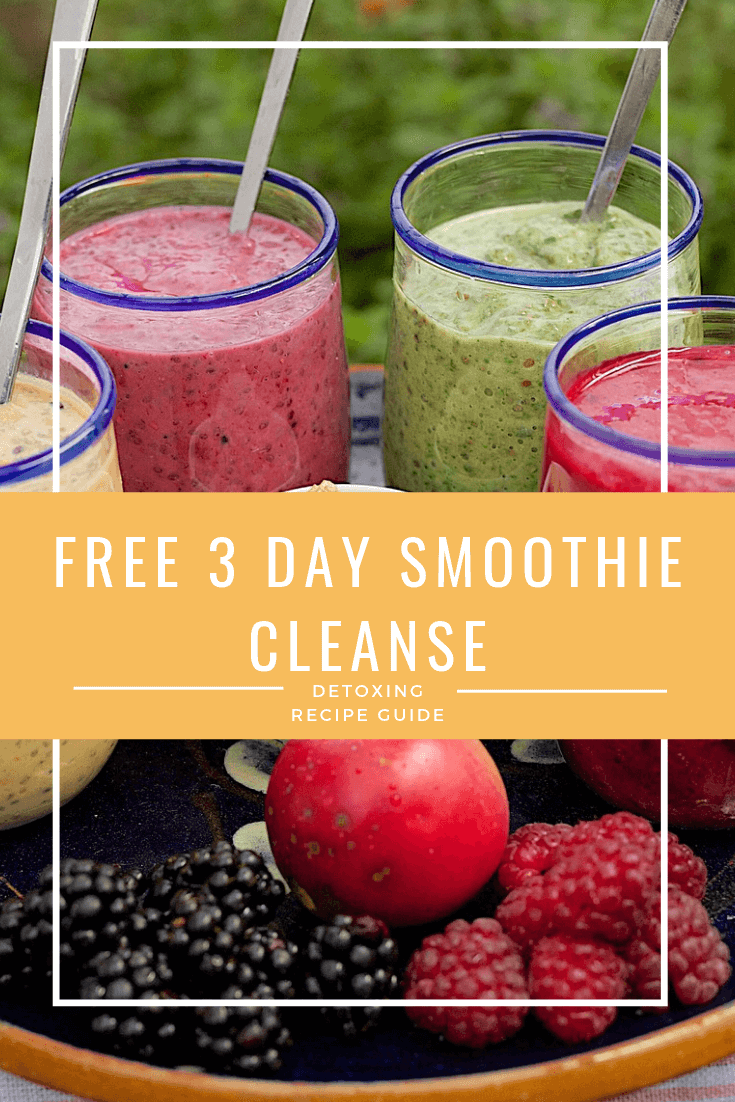
3 Day Detoxifying Smoothie Cleanse

Smoothies · June 19, 2017

Why Do a Smoothie Detox


  1. Stop the Cravings
  2. Get powerful nutrition packed into three days
  3. Reset your body and get it primed to function at its peak (so it can detox itself!)

How It Works

Want the free, easy to follow 3-Day Detoxing Smoothie Cleanse Guide to take with you? Here it is!

Resetting cravings and hunger signals: 


Cravings are a strong decider in many people’s day when it comes to food, often leading us to pick foods that are not healthy. For example, you might have a bowl of ice cream, and although there are a lot of calories in it, you might still want a second bowl. The processed ingredients and chemicals can mess with our hunger signals. Processed sugar, fats, and flavorings all do this to our brain. Also, unwanted chemicals in foods can cause digestive upset, making our bodies store water and bloat. 


When you take out problem foods in your diet that might be over-processed and causing your hunger signals to get out of line, you allow your body to reset, and you begin to recognize the signals that your body is trying to give you. 


By taking a three-day break from them, you can let your body enjoy whole, real foods, which don’t cause your hunger signals to go crazy.


Smoothies vs Traditional Juices

You often see juice cleanses that are made up of only the juice from fruits and vegetables with all the pulp removed. While this is a good way to get all the nutrients in quickly, it’s also hard for some people because of the lack of filling fiber and calorie intake. 


On this smoothie/juice cleanse you’re going to be enjoying the whole food, and while we are still making them into delicious drinks, they will be filling, packed with nutrients and won’t put you in an extreme calorie deficit, if a deficit at all if you don’t want to be. 


Remember the idea behind this smoothie cleanse is to reset your hunger signals, lose the cravings, lose unwanted bloat from chemicals in the foods we eat and get a ton of nutrition at the same time. Follow up this with whole food recipes from the blog and continue to use superfoods supplements like Detox Organics to provide a super nutritional boost, better digestive support, and detox support for your body. 


Breaking Down the Day

First, every day you’ll start your morning with a warm glass of lemon water. Lemon is a powerful antioxidant and helps the liver keep the body clean of toxins, while the warm water stimulates proper bile flow in the liver to help your body break down toxins and fat and flush them out. 


After that, you’ll have a glass of green tea. You can add a tsp (max) of honey if you are coming off of sugary coffee or if you like the taste.


Then you’ll have your breakfast smoothie which is Smoothie 1: Breakfast Pie. This is a savory-sweet breakfast smoothie to start your day off.


After that, you’ll have your second tea, either another green tea or dandelion or milk thistle tea. For help deciding which tea you pick, use the how to pick your tea section. 


For lunch, you’ll be having Smoothie 2: Mango Tango. This is a brighter and punchier smoothie with a little more zing to it. 


After lunch, you’ll enjoy your third and last cup of tea of the day. This one can be either dandelion or milk thistle. We encourage you not to have another cup of green tea this late in the day so that the caffeine has time to get out of your system and you can get a good night’s rest.


For dinner, you’ll enjoy Smoothie 3: Berry Berry Good. This is less sweet and packs a lot of antioxidants at the end of your day. 


The last smoothie of the day is Smoothie 4: Short and Sweet. This smoothie is the dessert smoothie! It’s going to be smaller and richer than your other smoothies. This is a good place to use the almond milk if you choose to as an optional food to make this taste like a chocolate milkshake. You can also sub in Detox Organics instead of cocoa powder. You can find out more about this in the substitution section.


Veggies and Guac:

There is a recipe for homemade guacamole dip and sliced veggies. This is a great addition to your day if you are feeling hungry after you’ve had all of your smoothies. This is also great if you have a long afternoon break and are feeling munchie. When making the guacamole dip, use smaller avocados and be sure to make your own instead of buying it from the store. This will be a good extra boost of calories for someone with a very active job or who will be working out on this Smoothie Jumpstart.


How to pick your teas: 

Selecting teas should be easy and quick. If you can get the organic box, always do. Teas can be highly sprayed, and we want you to be drinking the highest quality product you can. 


If you ARE a heavy coffee drinker, you will want to have green tea for your first two teas and have your dandelion or milk thistle for the third. If you are NOT a heavy coffee drinker then just having one green tea in the morning is enough and having your other two teas of either dandelion and milk thistle. 


If you find a tea that combines dandelion and milk thistle that is a great option too! Both are great digestive supporters and sometimes come together in one blend. Also, you can get both and drink all three teas each day, but it’s not necessary – either dandelion or milk thistle will do if you just pick one.


Tea 1 – Green Tea

Tea 2 – Dandelion Tea or Milk Thistle (if you are weaning off of coffee you can have another green tea here instead)

Tea 3 – Dandelion Tea or Milk Thistle


Substitutions: 

While on the 3 Day Smoothie Detox you’ll find that we list a few substitutions that can make it a little easier if you are having trouble finding some ingredients. 


Hemp heart:

Most grocery stores carry these in their health food section or in the sections where you can find nuts and chia seeds. If you can’t find them, you can use quinoa or an all-natural grass-fed whey isolate (as long as you are not dairy sensitive) instead. These are both great protein choices and can help you feel fuller for longer during the three days. These are the approximate swaps.


¼ cup hemp hearts = ¼ cup cooked quinoa = 2 scoops natural whey isolate protein


Non Dairy Milk:

All of these smoothies are delicious with water, and we encourage you to try them with it. However, organic unsweetened almond, cashew, or coconut milk are great alternatives for making them taste creamier and can add a few more calories to your smoothies if you are hungry. 


1 cup water =½ cup almond milk + ½ cup water = 1 cup almond milk 


Greens:

While we swap between baby kale and baby spinach during the 3 days, you have the option to get regular kale and spinach separately (baby leaves tend to have a lighter taste) or to buy a mixed bag of these greens and use them in every recipe that calls for greens. Either way works perfectly. 


Shopping Tips:

One huge help, if some of these fruits and vegetables are not in season, is to buy your produce frozen. Fruit is especially easy to find frozen year-round and can be much cheaper than buying fresh. Fruits and vegetables are frozen at the peak of ripeness and are as nutritionally sound as when you purchase them fresh. A good rule of thumb is to figure out what is on sale fresh and then buy the rest frozen. 


Preparing the Smoothies:

To save time and keep things super simple, you can prep all of the smoothies ahead of time. You can pre-measure all of the ingredients except the liquid portion into freezer zip lock bags for each type of smoothie, and make three of each. Then label them with a marker so you can easily identify which meal they go with. Finally, when you are ready to make your smoothie, you can pull it out of the freezer, dump the contents of the bag into the blender and top it off with enough water (or almond milk and water) to cover all of the ingredients and blend it together. 


These smoothies will travel well in an insulated bag as long as they get put back into a refrigerator. Otherwise, if you freeze them overnight and then let them thaw during the morning, you’ll have a smoothie ready by lunch in a normal lunch bag. 


You can add extra ice to the smoothie, just make sure you add a little more water to cover the added ice, so it blends smoothly.

Don’t forget your free guide you can download here. Recipe guide inside!

Smoothie Detox Protocol 


Day 1,2 & 3: 


Lemon Water (upon waking)


Tea 1: Green Tea (20 mins after lemon water)


Smoothie 1: Breakfast: Pumpkin Pie


Tea 2: Dandelion or Milk Thistle Tea


Smoothie 2: Lunch: Mango Tango


Tea 3: Dandelion 


Smoothie 3: Dinner: Berry Berry Good


Smoothie 4: Dessert: Short and Sweet


Anytime Snack: Guacamole and sliced veggies 


Recipe Guide:

Smoothie 1- Breakfast Pumpkin Pie 

½ cup Pumpkin Puree 

1 Apple

2-3 cups Baby Spinach

2 tbsp Almond Butter

¼ cup Hemp Hearts (or approved subs)

½ tsp Cinnamon


Smoothie 2- Lunch Mango Tango Smoothie

1 cup Mango

1 cup Pineapple

½ Avocado

2-3 cups Baby Kale

¼ cup Hemp Hearts (approved subs)


Smoothie 3- Dinner Berry Berry Good

1 Banana

1 cup Mixed Berries

½ Avocado

¼ cup Hemp Hearts (or approved subs)

2-3 cups Baby Kale 
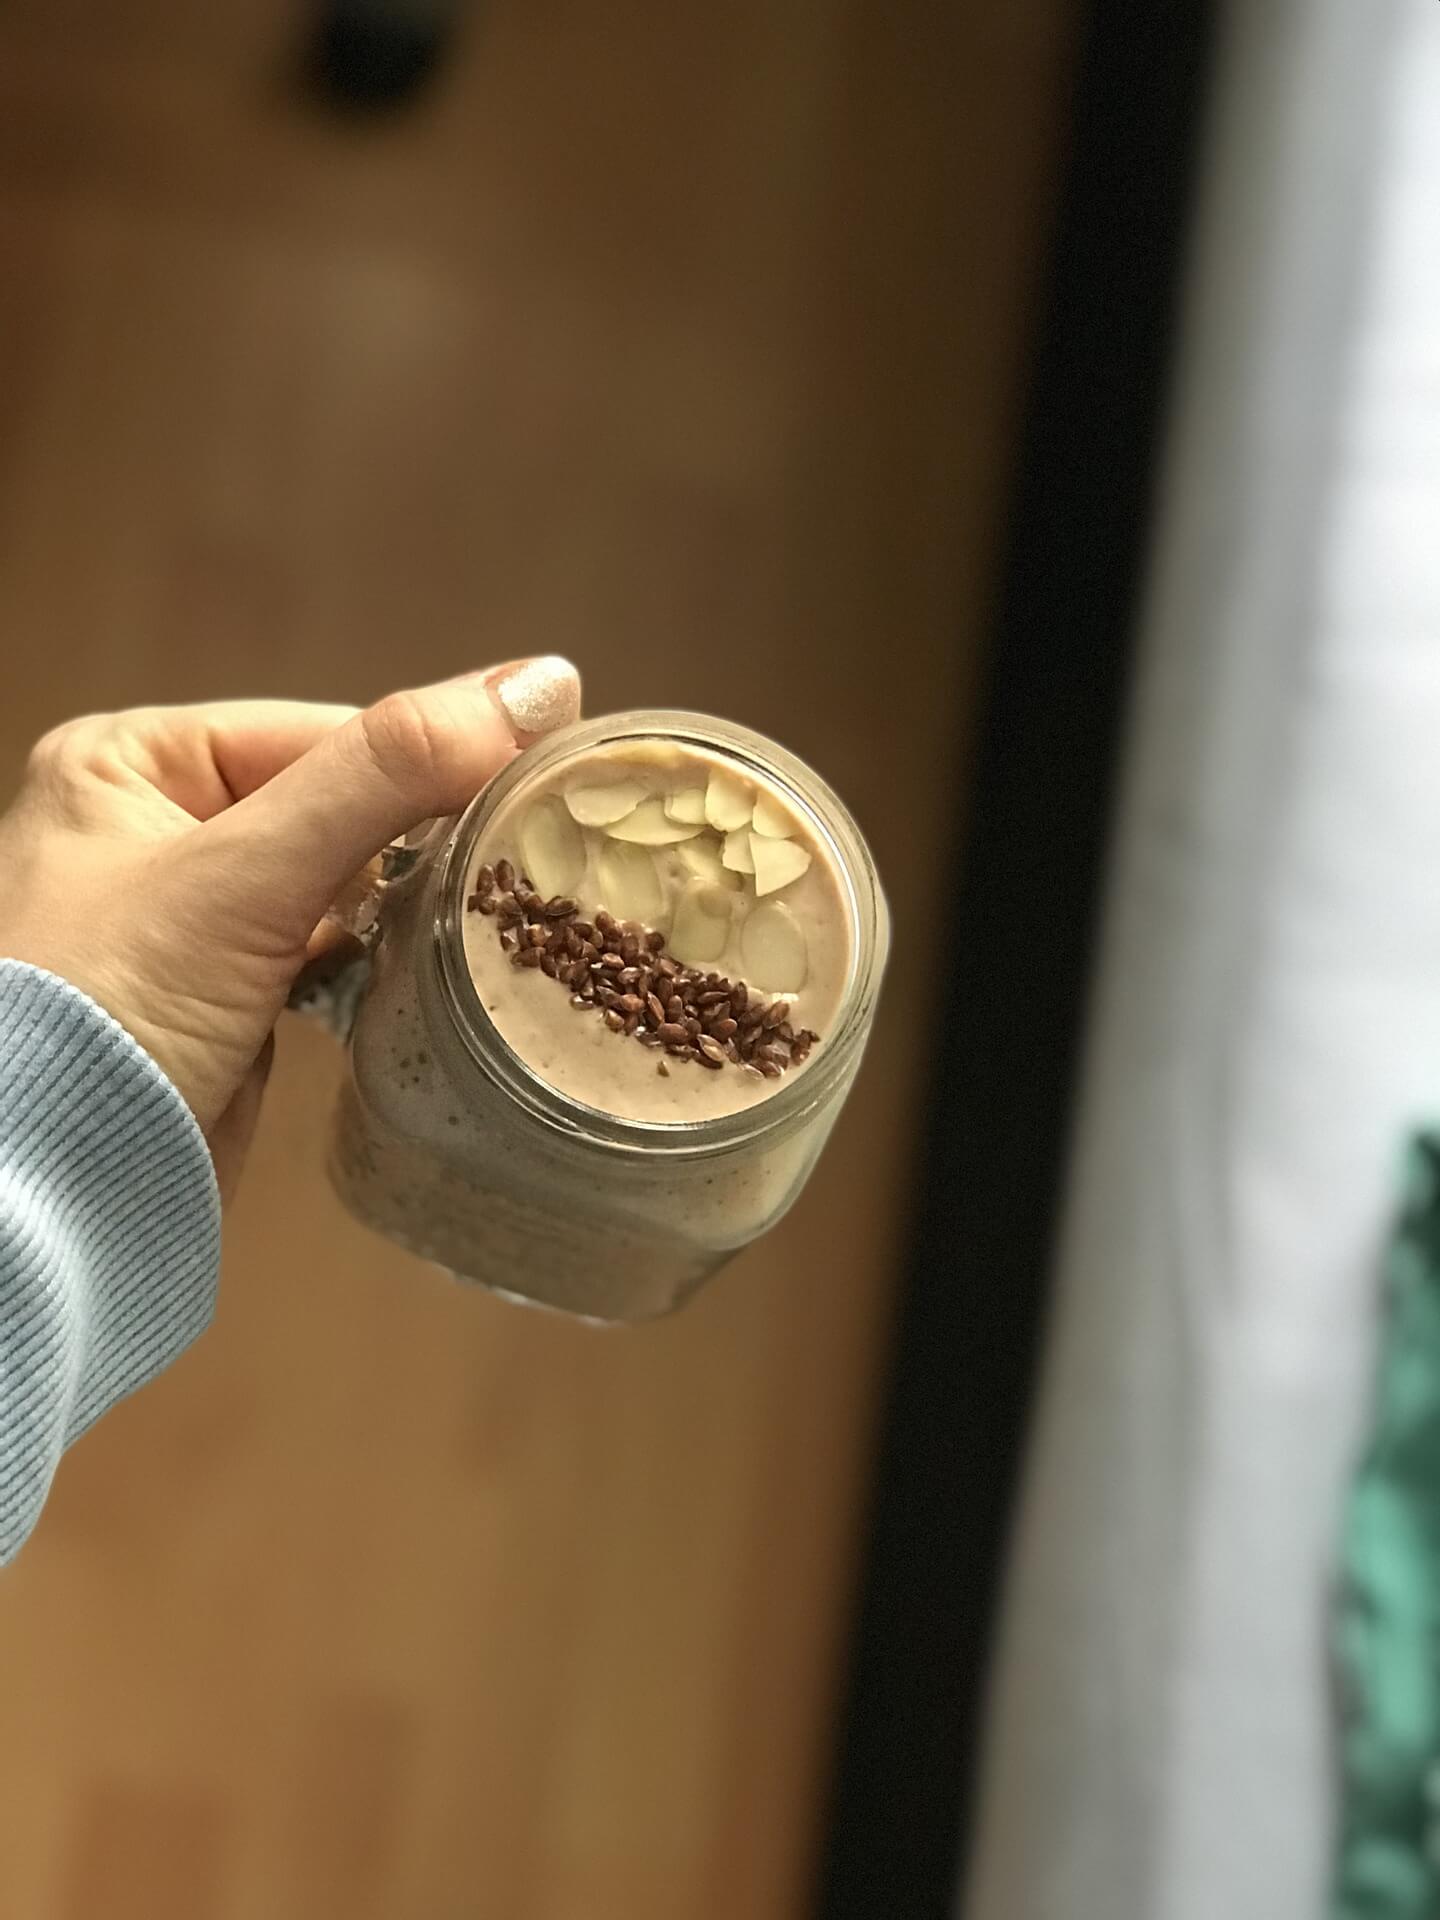
 

Smoothie 4- Dessert (the short and sweet stack)

1 Banana

2 tbsp Almond Butter

1 tsp Cocoa Powder (or Detox Organics)


Guacamole Recipe: 

1 large Avocado

1 small Roma Tomato, diced

¼ small Onion diced 

1 tsp Sea Salt

1 tsp Chili Powder

1 Lime

Veggies to Dip


Mash avocado and then fold in tomato and onion. Sprinkle on salt and chili powder and mix together. Top with a full lime squeezed over guacamole and mix in. Chop up veggies of choice, dip, and enjoy!


Lemon Water: 

½ lemon 

8 oz warm water (not boiling)


Squeeze lemon into water and enjoy!


Green Tea:

Follow steeping instructions on box. Do not steep for too long or tea can get bitter.


Dandelion or Milk Thistle Tea:

Follow steeping instructions on box. Do not steep for too long or tea can get too strong.


Tea 1 – Green Tea

Tea 2 – Dandelion Tea or Milk Thistle (if you are weaning off of coffee you can have another green tea here)

Tea 3 – Dandelion Tea or Milk Thistle


Shopping List:

Download the Free Smoothie Detox PDF for a printable shopping list!
1 ½ cup Pumpkin Puree (100% Pumpkin – not the pie filling – 1 large can should do)

3 Lemons

3 large Apples (sweet variety, not tart)

3 cups Mango

3 cups Pineapple

3 cups Mixed Berries (or pick on you really like)

3 large Avocados (plus extra if making Guacamole

6 Bananas

1 16 oz bag of Baby Spinach

1 16 oz bag of Baby Kale

1 tub of pure Almond Butter (blended with just Almonds and Salt)

Cinnamon 

3 tsp Cacao Powder 

3 cups Hemp Hearts (or Quinoa or Grass-fed Whey Isolate All Natural Protein – natural vanilla flavor goes well with these smoothies)

1 box Green Tea (1 box)


1 box Milk Thistle Tea (or Dandelion Tea)


Shopping List for Optional Foods and Snacks:

Raw Honey (optional for teas using 1 tsp max)

Almond Milk Unsweetened (optional for smoothies)


Guac Ingredients:

Avocado

Roma Tomato

Onion 

Sea salt 

Chili Powder


Snacks on Hand: 

Raw Nuts

Sliced Veggie Sticks – Carrots, Celery, Cucumber, Bell Peppers, Cucumbers

Farro and Chicken Bake

Drinks, Lunch, Recipes · June 16, 2017

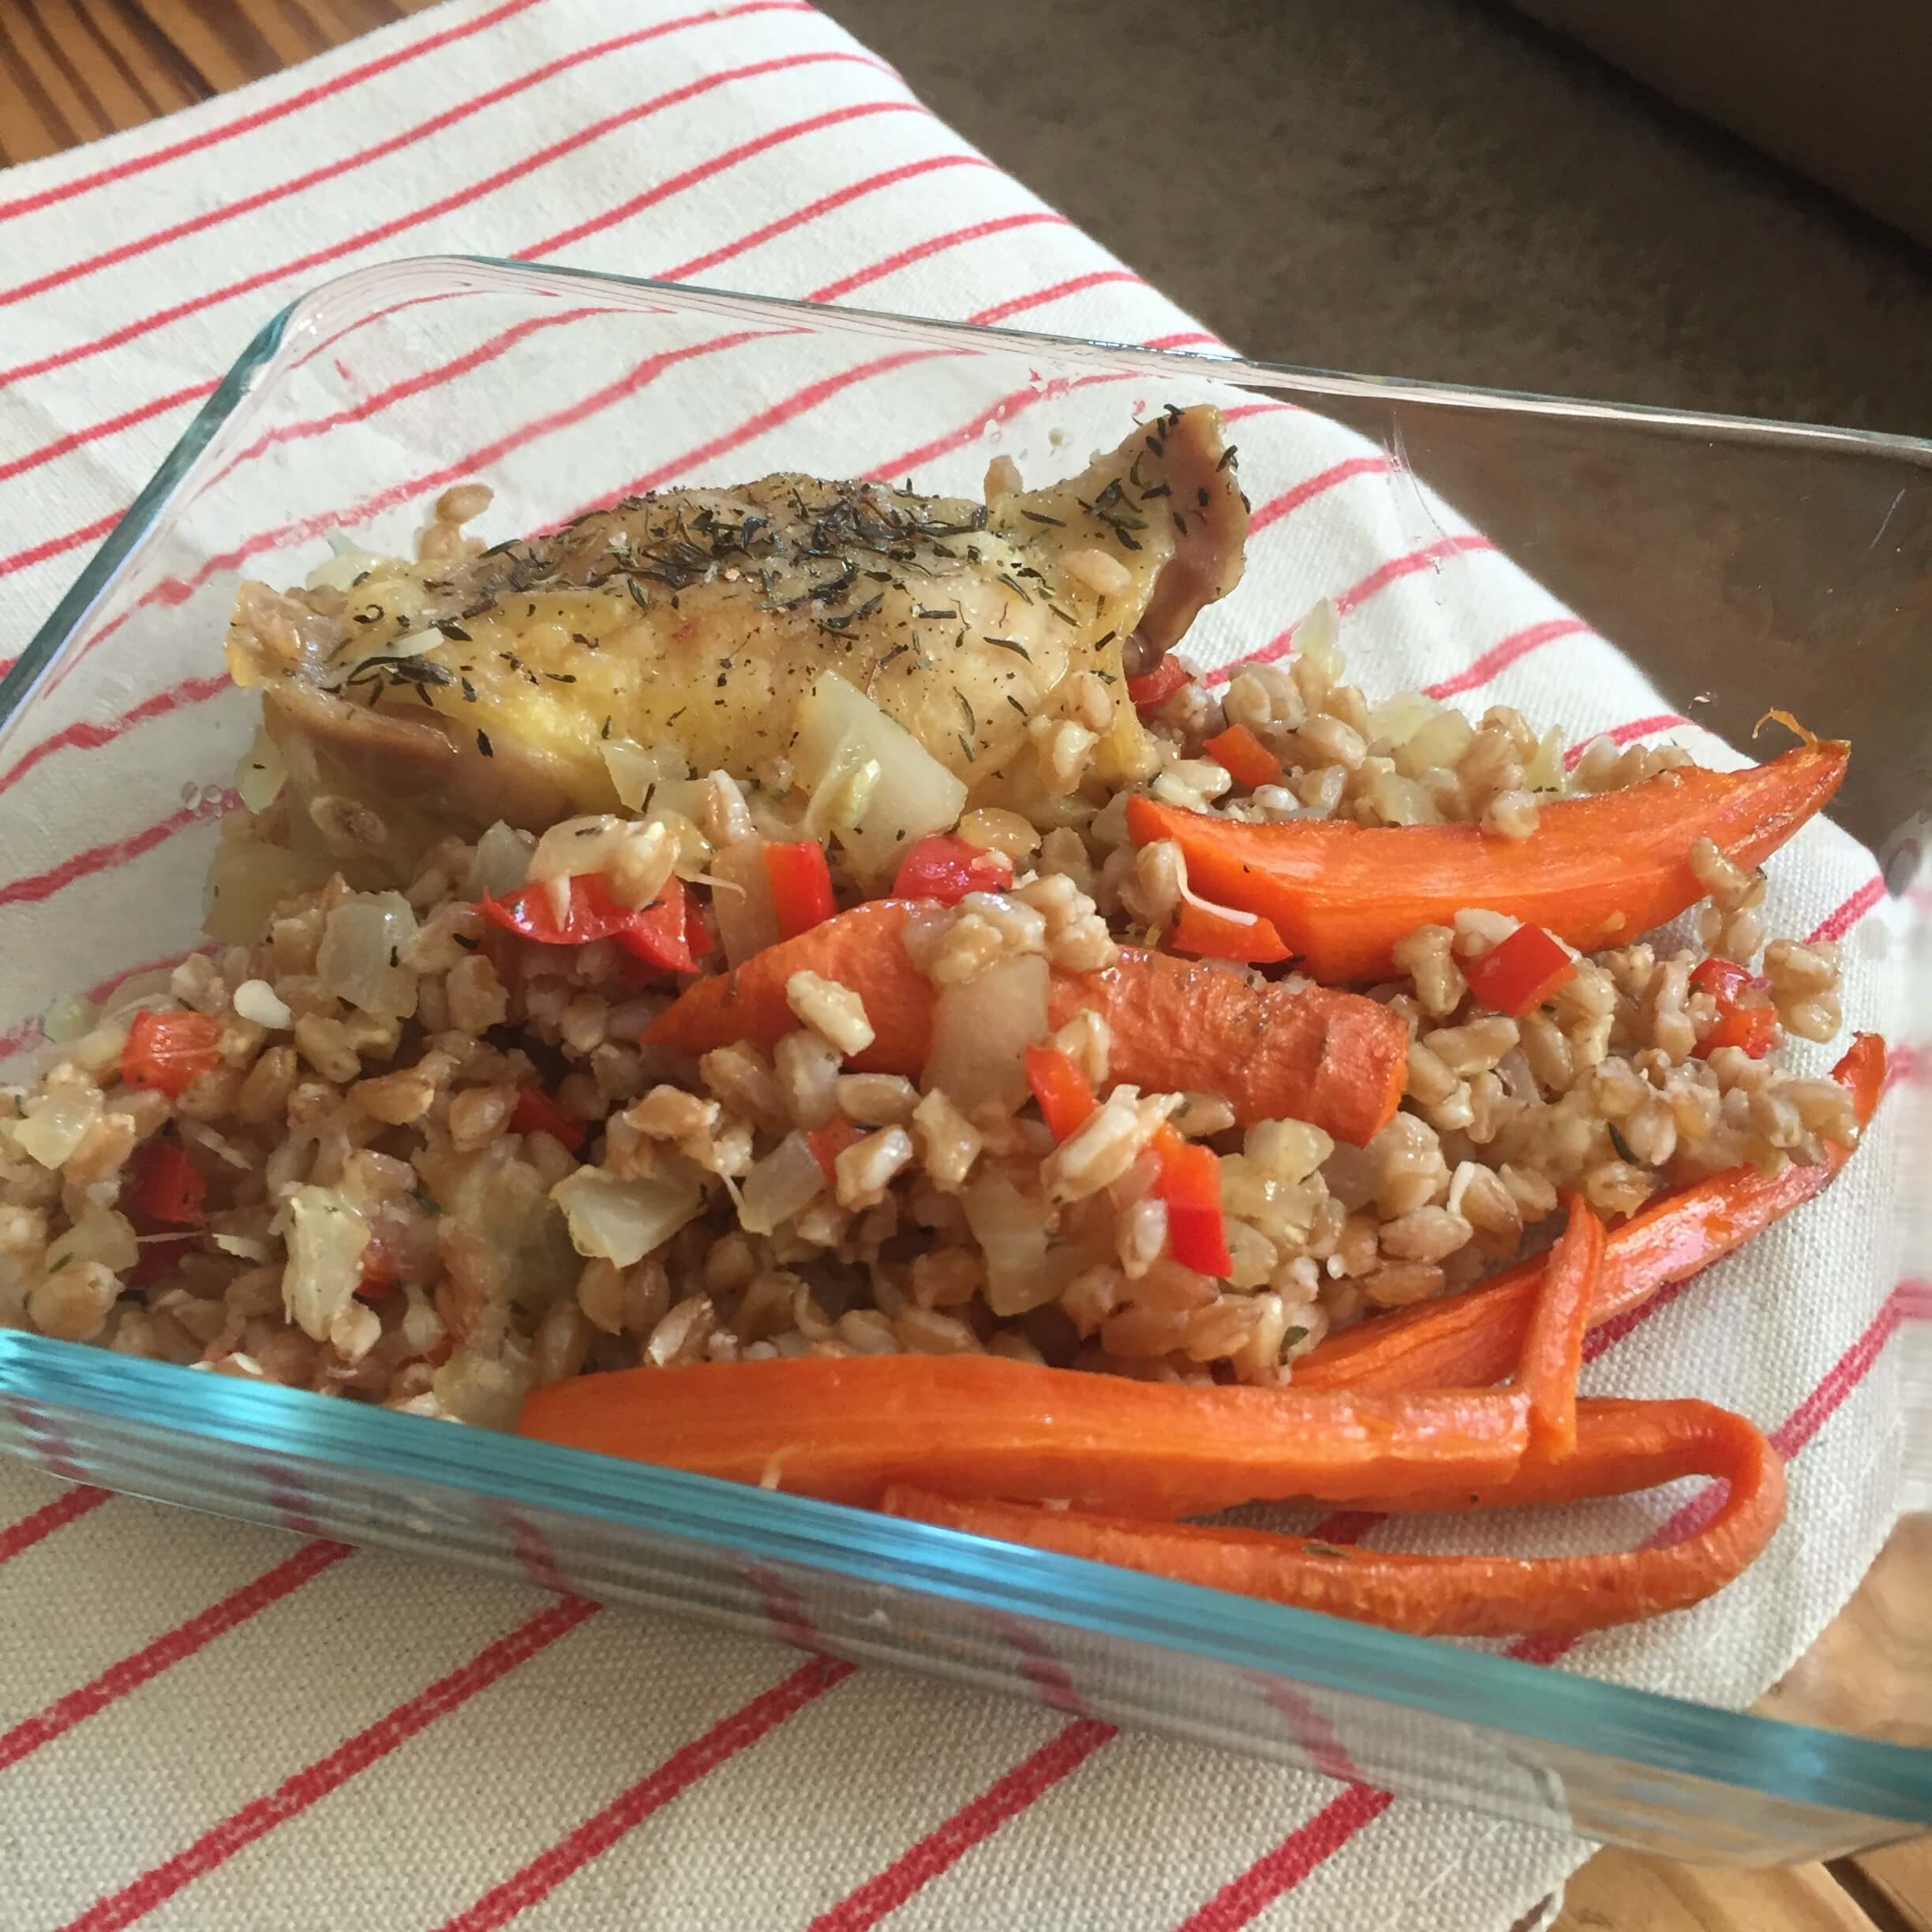
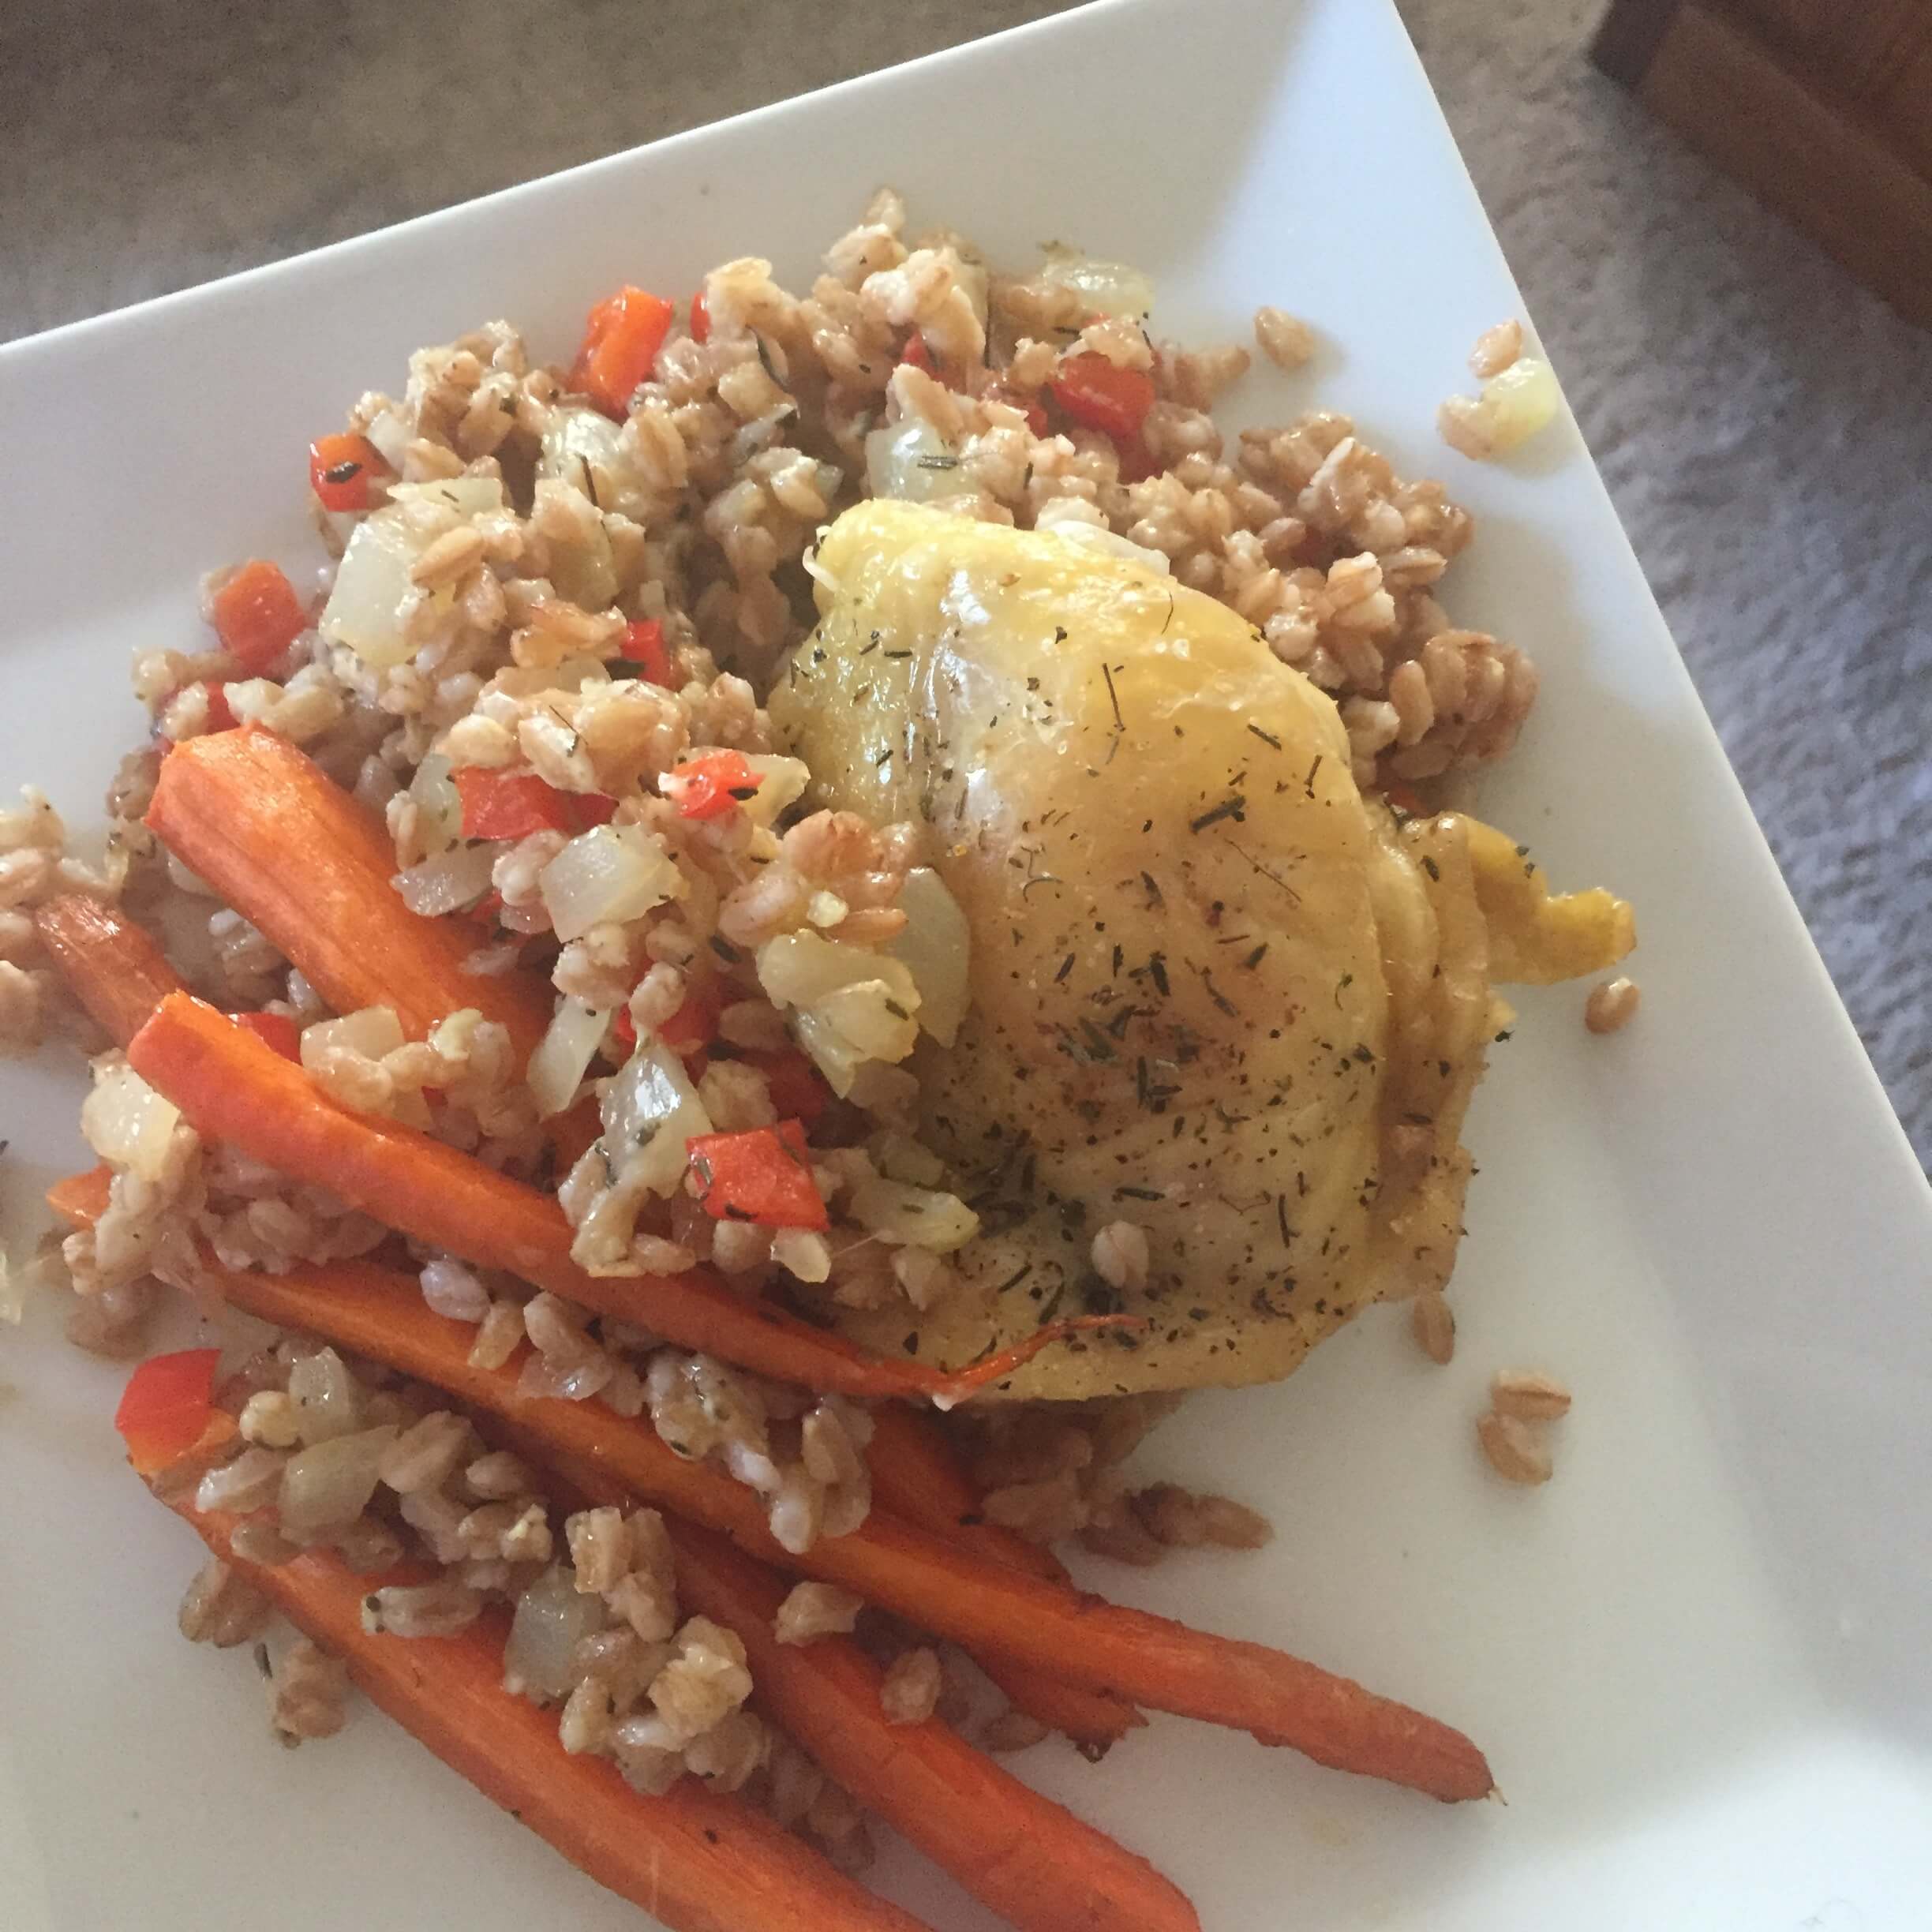
This recipe was a hit! I honestly loved it and so did Matt! And the best part was that it was very easy. This recipe used something that was new to me. And ancient grain called farro. It was so delicious, I ended up making it twice!

YESSS and it’s easy!!

Ingredients:

  • 2 cups farro
  • 1/2 cup peppers (chopped)
  • 1/2 cup onion (chopped)
  • 1/2 cup raw cheese
  • 1 lb carrots
  • 2 tbsp olive oil
  • 6 chicken thighs with skin on (bone in take longer to bake)
  • Italian seasoning

Instructions:

  1. Preheat oven to 450 degrees.
  2. In a rice cooker follow instructions on the back of farro package and prepare with enough water and set to cook.
  3. While farro is cooking, season chicken with italian seasoning and place chicken thighs in a big pyrex baking dish and spread out each piece. Place in the over to bake for 45 minutes.
  4. Cut up all the carrots lengthwise and toss in a bowl with olive oil. Place in one flat layer on a cookie sheet. When there is 25 minutes left on chicken time, slide in carrots to bake in the oven as well.
  5. In a sauce pan sautee peppers and onions with a little bit of water until transparent and cooked through.
  6. Once farro is cooked, remove it from the rice cooker and add into the pan with peppers and onions.
  7. Check carrots for tenderness periodically. If you can push a fork through them easily, they are done, don’t over cook.
  8. Once timer for chicken goes off and they reach 165 degrees, remove from oven as well.
  9. In the same chicken baking dish, spoon in farro and pepper and onion mix around chicken thighs. Top farro lightly with the raw cheese mixture and place back into the oven for 10 minutes or until cheese is melted.
  10. Then take out and ENJOY!

Share this with your friends and family and feel good because it’s less processed but more flavor. It makes a great meal prep dish and warms up nicely for a few days!

Chocolate Chip Detox Ice Cream

Dessert · June 15, 2017

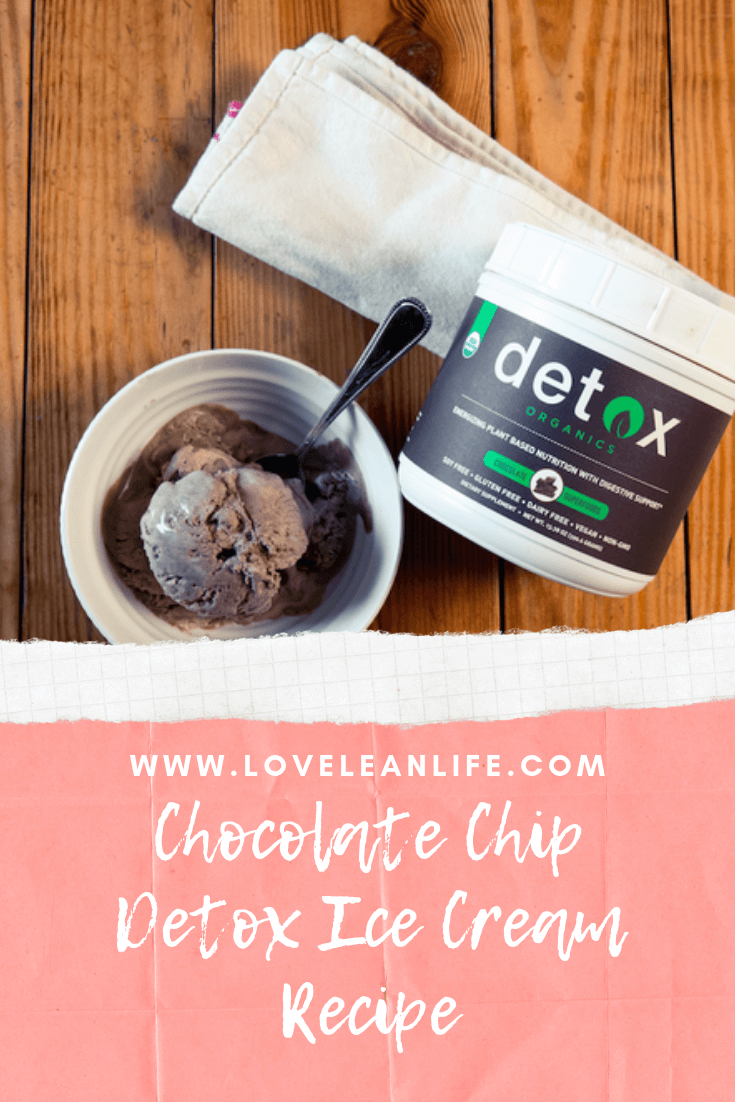
I wanted to make ice cream at home. But almost every recipe required a specialty ice cream maker and I do not have one. Instead, I searched high and low for a set and freeze in your own freezer recipe. This is what I was able to come up with.

I wouldn’t swap out the whipping cream with milk. I have been asked this, but it wouldn’t give you the creamy ice cream texture if you don’t use heavy whipping cream. I have not tried with non-dairy milk but I would assume the same thing about it not turing into a thick, creamy ice cream.

You can change out the Detox Organics chocolate superfoods with just Cocoa powder and it gives the same amazing chocolate flavor and is still packed with antioxidants.

One note, the chocolate chips did sink to the bottom and that was ok with us! We just cut it out of the ice cream tub in slices. If you want to have it set more evenly, just put in half of the chips at first, then add half of the chips an hour later. This should help with keeping them a little less congregated at the bottom.

We found an awesome freezer ice cream container at The Container Store and still use it all the time!

Ingredients:

2 cups Organic Heavy Whipping Cream

1 can organic condensed milk or organic condensed coconut milk

½ cup Detox Organics™ (or 4 level scoops)

1 cup organic dark chocolate chips

Directions:

  1. In a large bowl, using a hand mixer, beat the 2 cups of whipping cream until it is light, airy, and stands at a peak when you take out to mixer. Do not continue to beat the cream after it peaks.
  2. In a second bowl mix together the vanilla extract, Detox Organics™ and condensed milk until thoroughly combined.
  3. In the larger bowl, start to gently fold in the chocolate condensed milk for the second bowl. Fold in lightly as to preserve the integrity of the light and airy mixture.
  4. Once combined, gently fold in the chocolate chips. 
  5. Place mixture in a metal loaf pan or a glass loaf pan. The metal will chill the ice cream quicker. Cover and place in the freezer for at least 3 hours. 
  6. Take out from the freezer and scoop into bowls to enjoy.

Eating Local and Eating Healthy: The Perfect Combo

Education, Lifestyle, Restaurant Guide · June 15, 2017

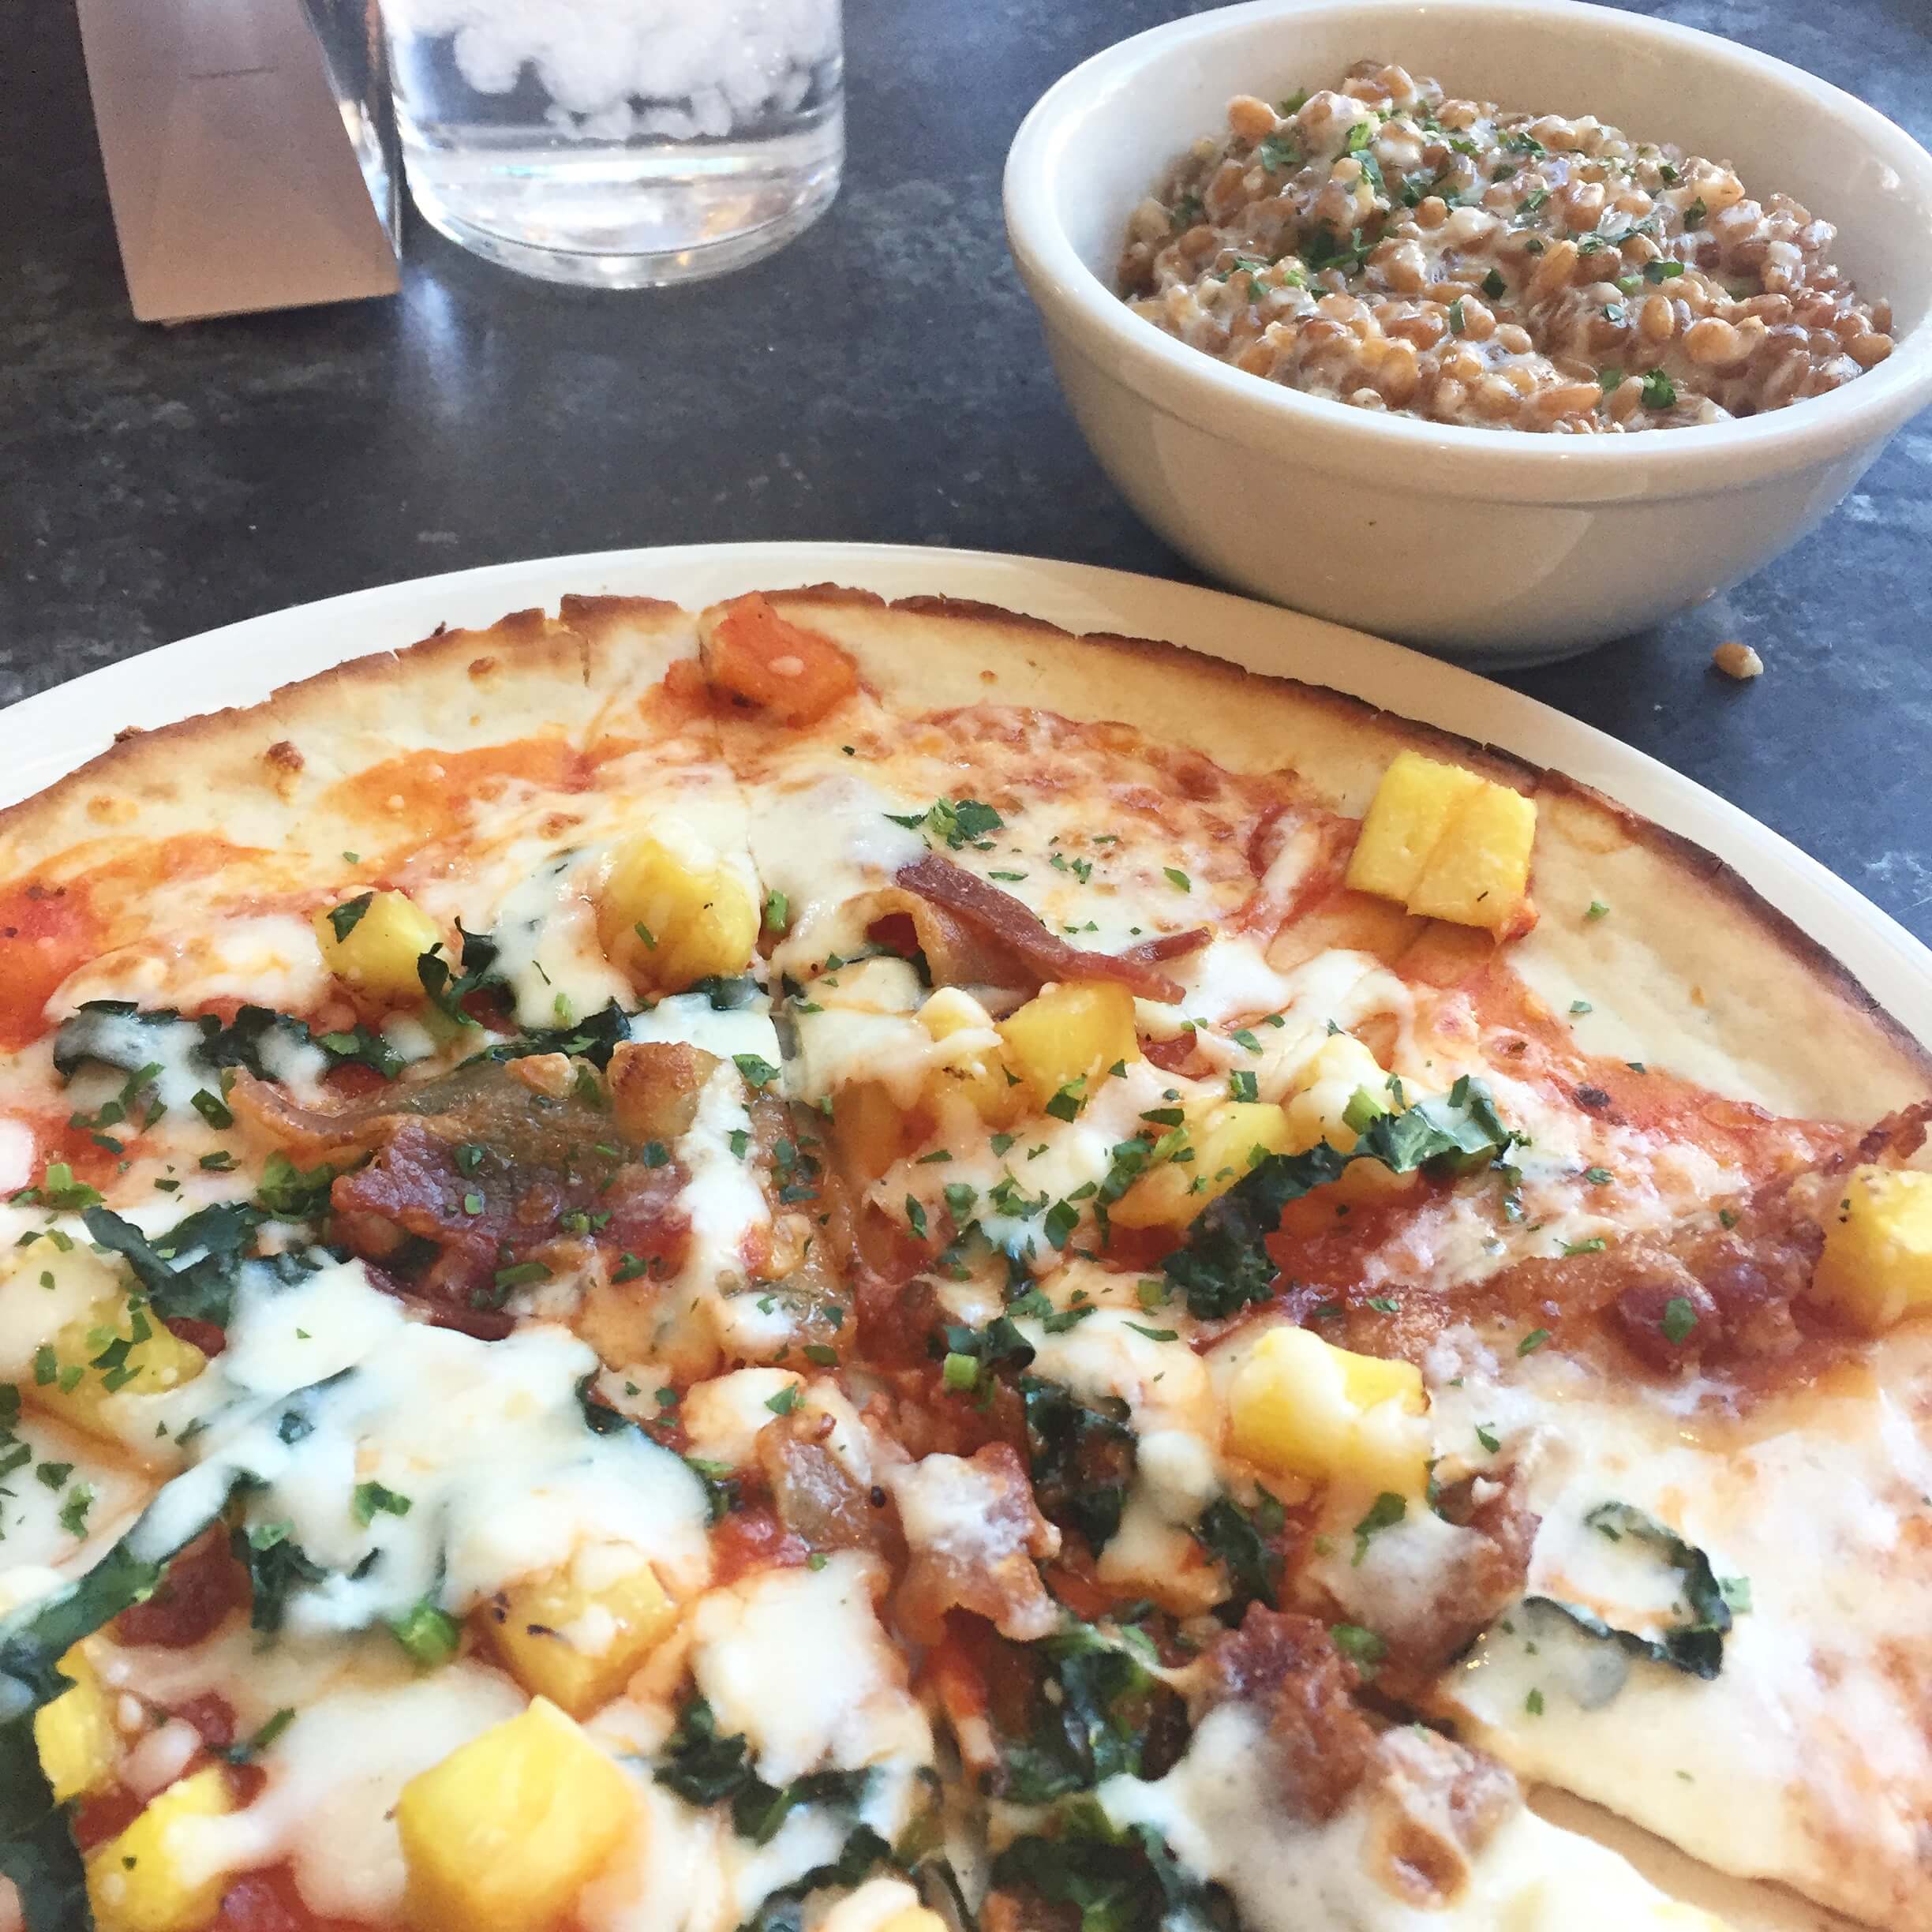
If you haven’t explored any Farm to Table restaurants, this summer is the time to do it. Using locally grown ingredients and straight from the ground attitude, their dishes are delicious and support local farmers.

This pizza…oh man.

And don’t forget the healthy kombucha cocktails!

Healthy Take Out Choice – The Nice Median

Education, Lifestyle, Restaurant Guide · June 15, 2017

Eating out feels like the downfall of every sane person’s diet. But it really doesn’t have to be that way. I find that if I go to a restaurant a few times I can pinpoint a few good picks and stick to those while I’m there. Here are a few that, while not the healthiest, are pretty good choices that let you loosen up a tad and enjoy going out to eat with your friends and family. I like to find the balance between eating super healthy at home and not being so strict out, but not going overboard.

Pictured above: The Tapas Menu at Pita Jungle

This menu has a lot of very easy to figure out healthy choice. Hummus, and you can request the veggies instead of pita (or just eat the pita), grape leaves and mozzarella and tomatoes. Everything is pretty upfront about ingredients and delicious to boot.

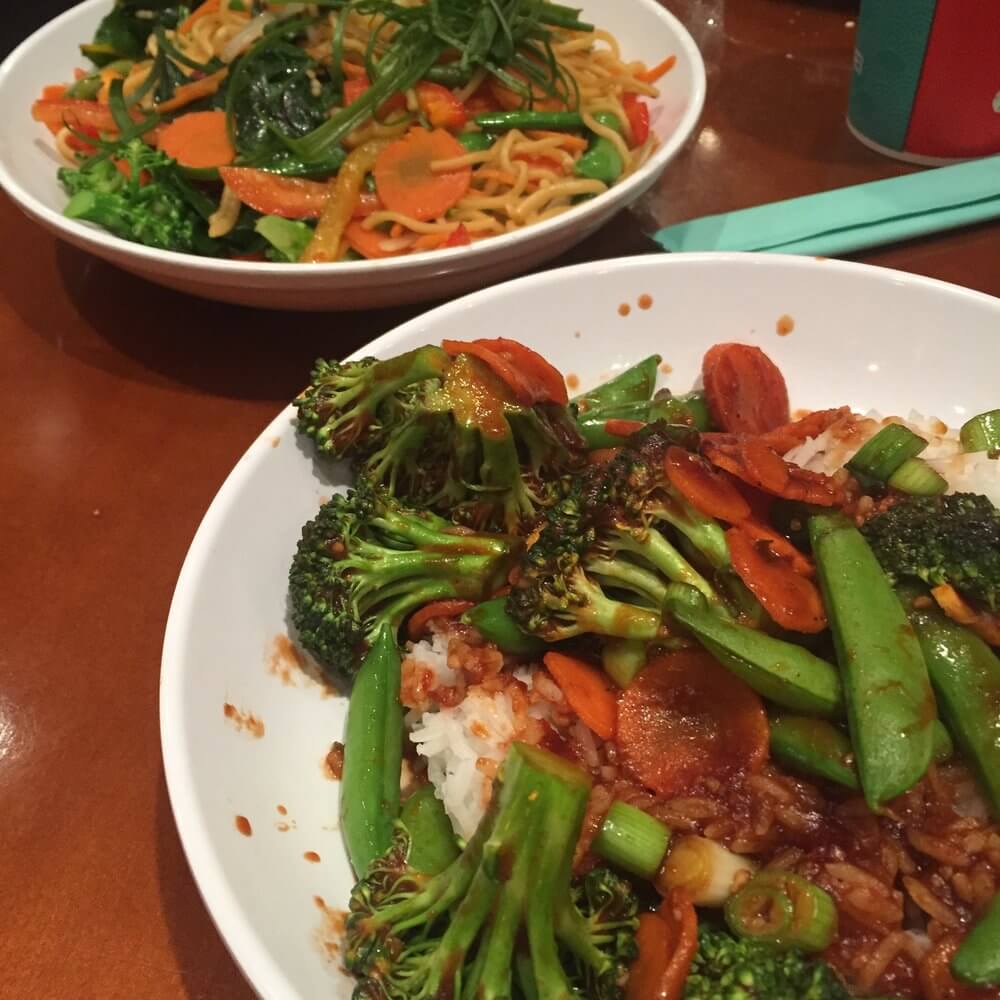
Next up is Pei Wei. If you’re a Chinese food junkie like I used to be, then this is great. Going there and asking for extra veggies is a good plan. Also, asking for light sauce can bring down the sugar intake and still let you enjoy the dishes you really came for. They actually have a very extensive health conscious menu as well that has steamed veggies, less sauce and lettuce cups instead of rice or noodles.

Next we come to sushi. While pictured is a shared plate, the middle roll is all veggies. And it’s not deep fried of full of cream cheese like the surrounding rolls. At sushi restaurants it’s easy to avoid the high calories and low quality ingredient sushi if you want to. Avoid heavy sauces, deep frying or both. Or pick one roll like that and have a second roll stuffed full of fresh veggies and raw or cooked fish. It’s easy to add healthier options into it. Also, if your restaurant has a ginger salad – just say yes. So delicous! And you can ask for the dressing on the side to control how much you get when you eat your salad.

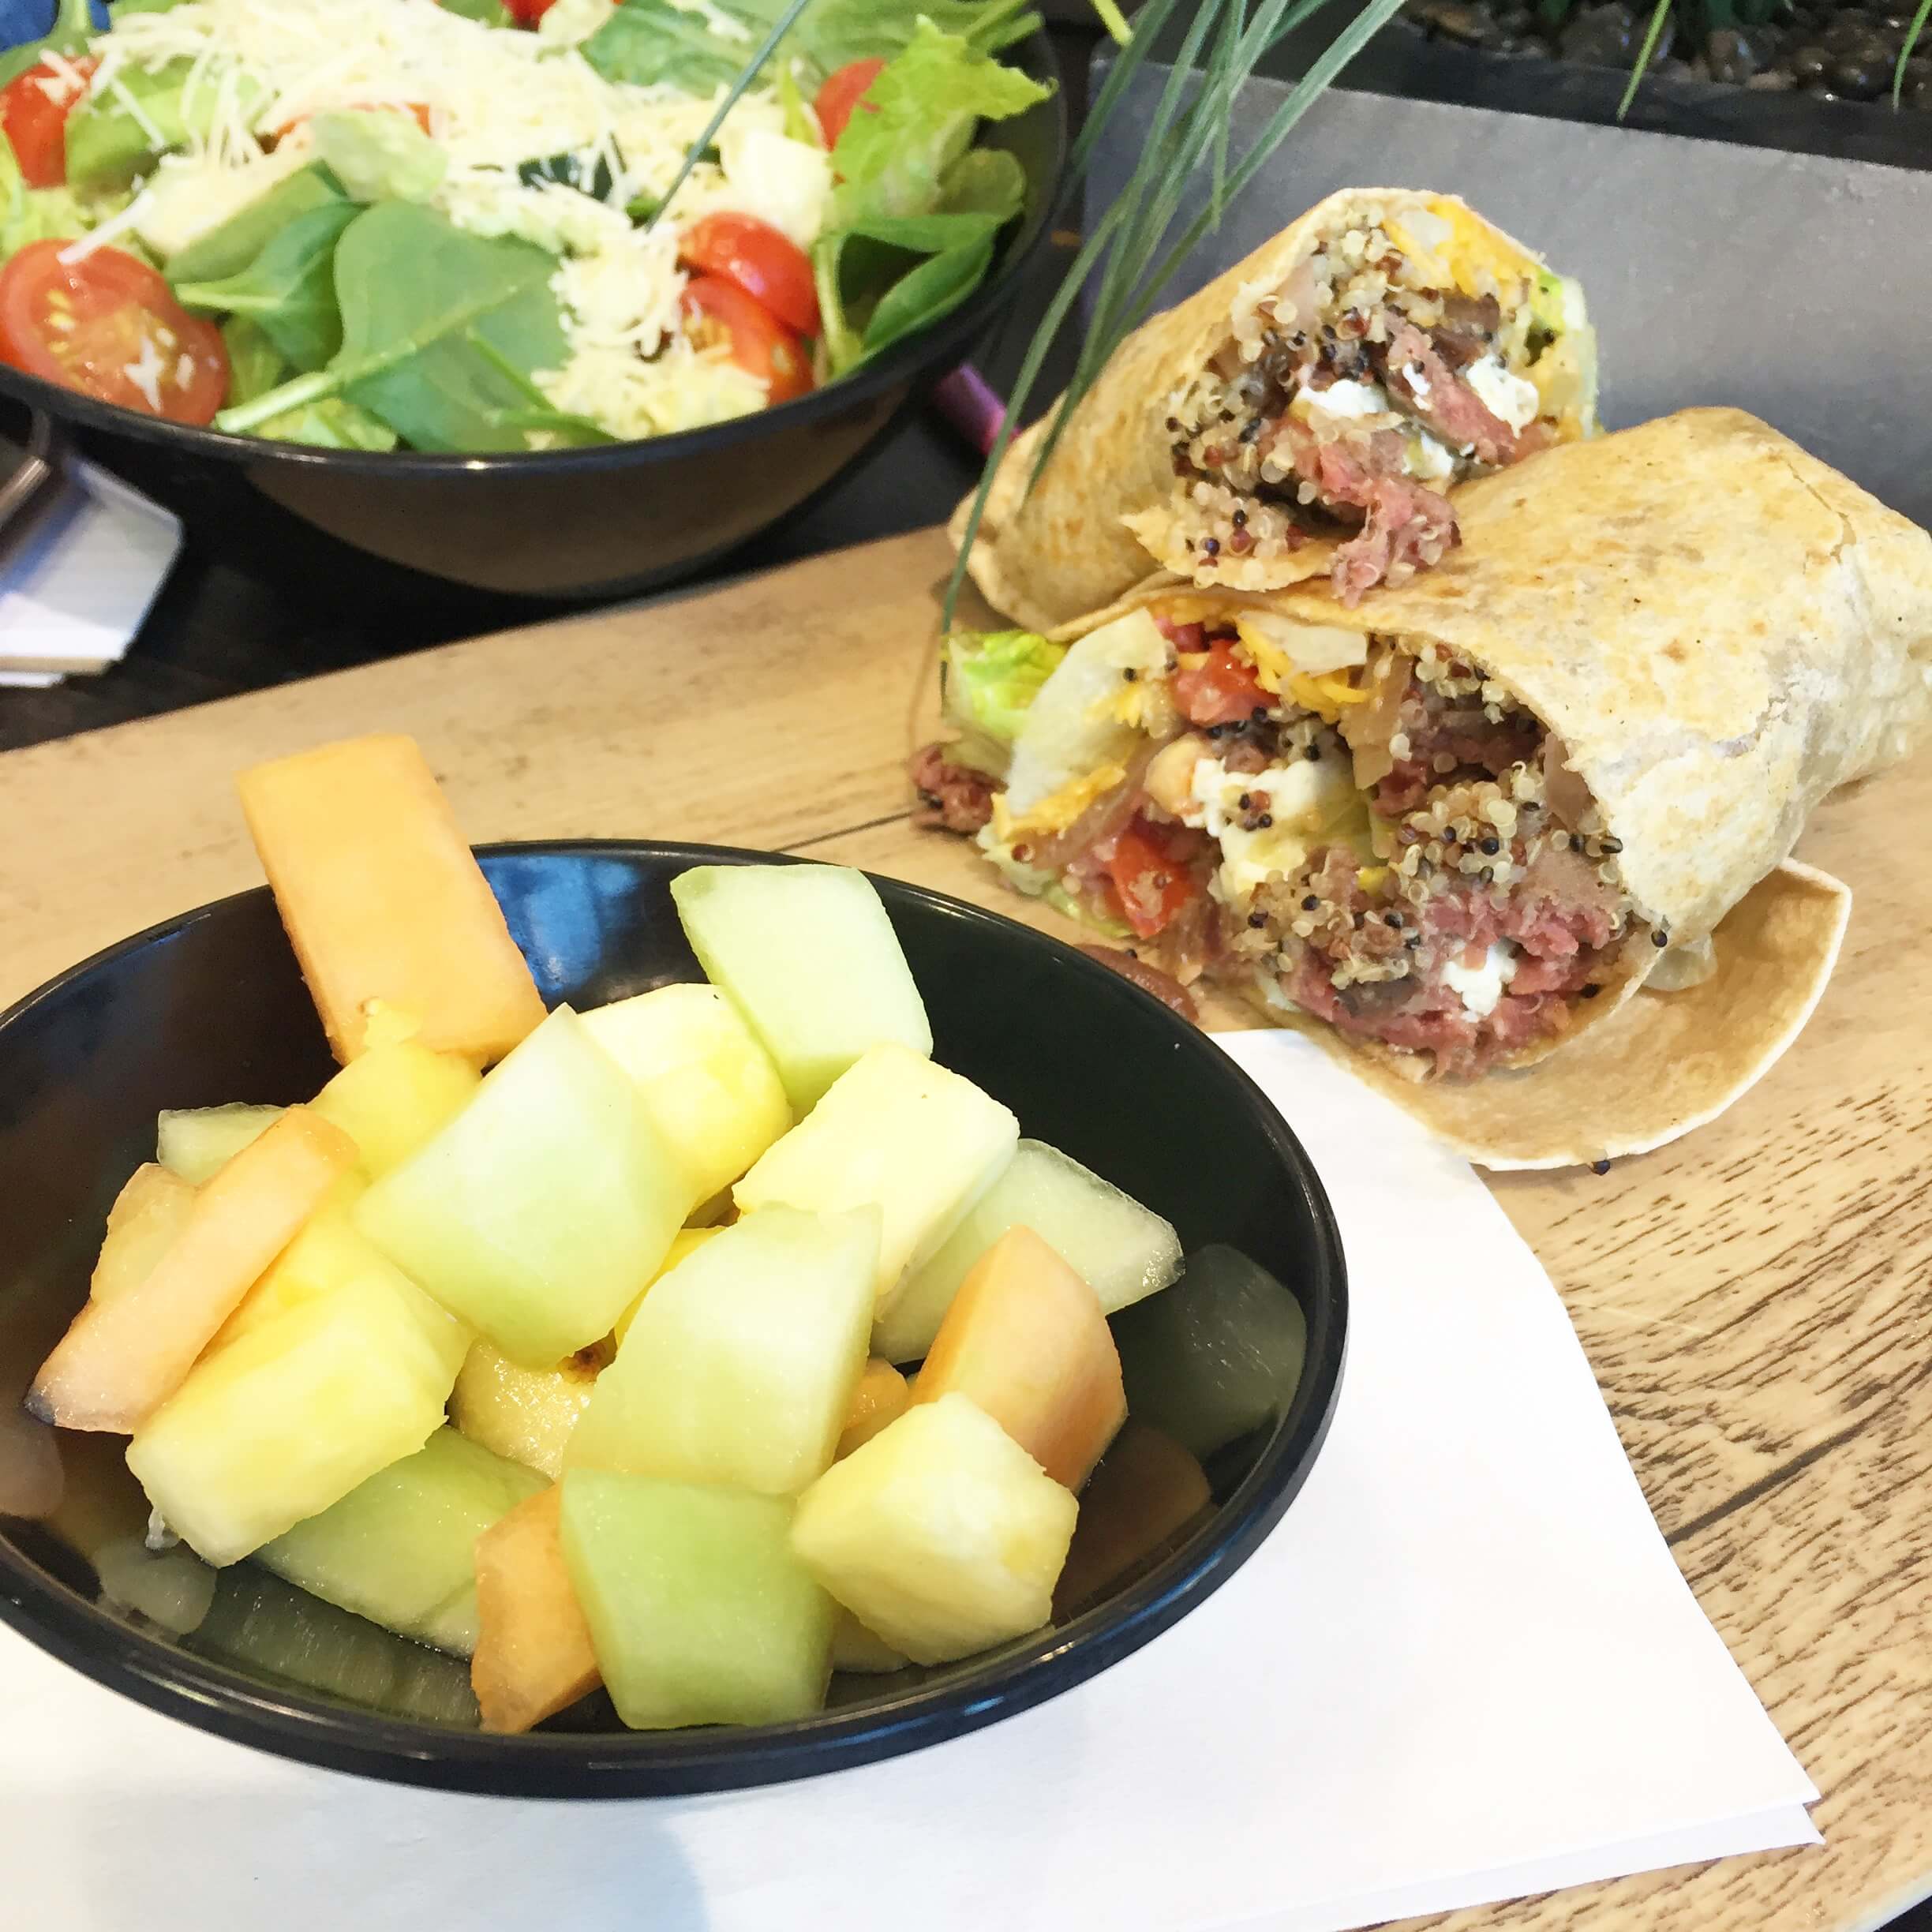
My last example comes from Protein House. This place is mostly healthy options. But I just used this as an example on sides. More and more restaurants will offer a wider variety of sides options. Good ones are salads with dressing on the side and fruits. Grilled protein options, whole grain wraps, and more protein options like eggs are always popping up.

The key is to not force yourself to be avoid things when eating out and instead to make better choices where you can and still enjoy yourself. What are you favorite places to gather with friends, family and food and what do you pick on the menu?

<3

Chocolate Chip Pudding Cookie – Processed Free Transition Cookie

Dessert, Recipes, Uncategorized · May 24, 2017

So aside from my super long title…I wanted to just be very clear about why I made this cookie. As I share recipes for sweets that are processed free, sometimes people say that it’s hard to go from super sweet to “super healthy” where the sugar levels are much lower.

So I created a transition cookie using a recipe for a pudding cookie that I used to love getting at school fairs and at friends birthday parties. It’s not the “healthiest” version of a chocolate chip cookie you can get – however, it does take a very popular cookie and take out the artificial dyes, colors, preservatives and additives – using organic ingredients – and make it a better choice than what you’re used to – all without sacrificing any flavor.

Now once you’re on these bad boys, the next step would a be processed free chocolate chip cookie which I will post later!

But for now, for those people in your life who refuse to try the “healthier” version of foods, they will never know we cut out the crap and cleaned up this cookie because it’s so good. Also, warning to people who are already used to less sugar, these will make your sweet tooth ache. I find however if I’m going to give people cookies they are willing to eat, they will never know they are eating cleaner ingredients in this recipe.

**Also forgot to mention that it was gluten free, because honestly I forgot – doesn’t taste gluten free at all! So anyways, yes a good option for your gluten free friends.

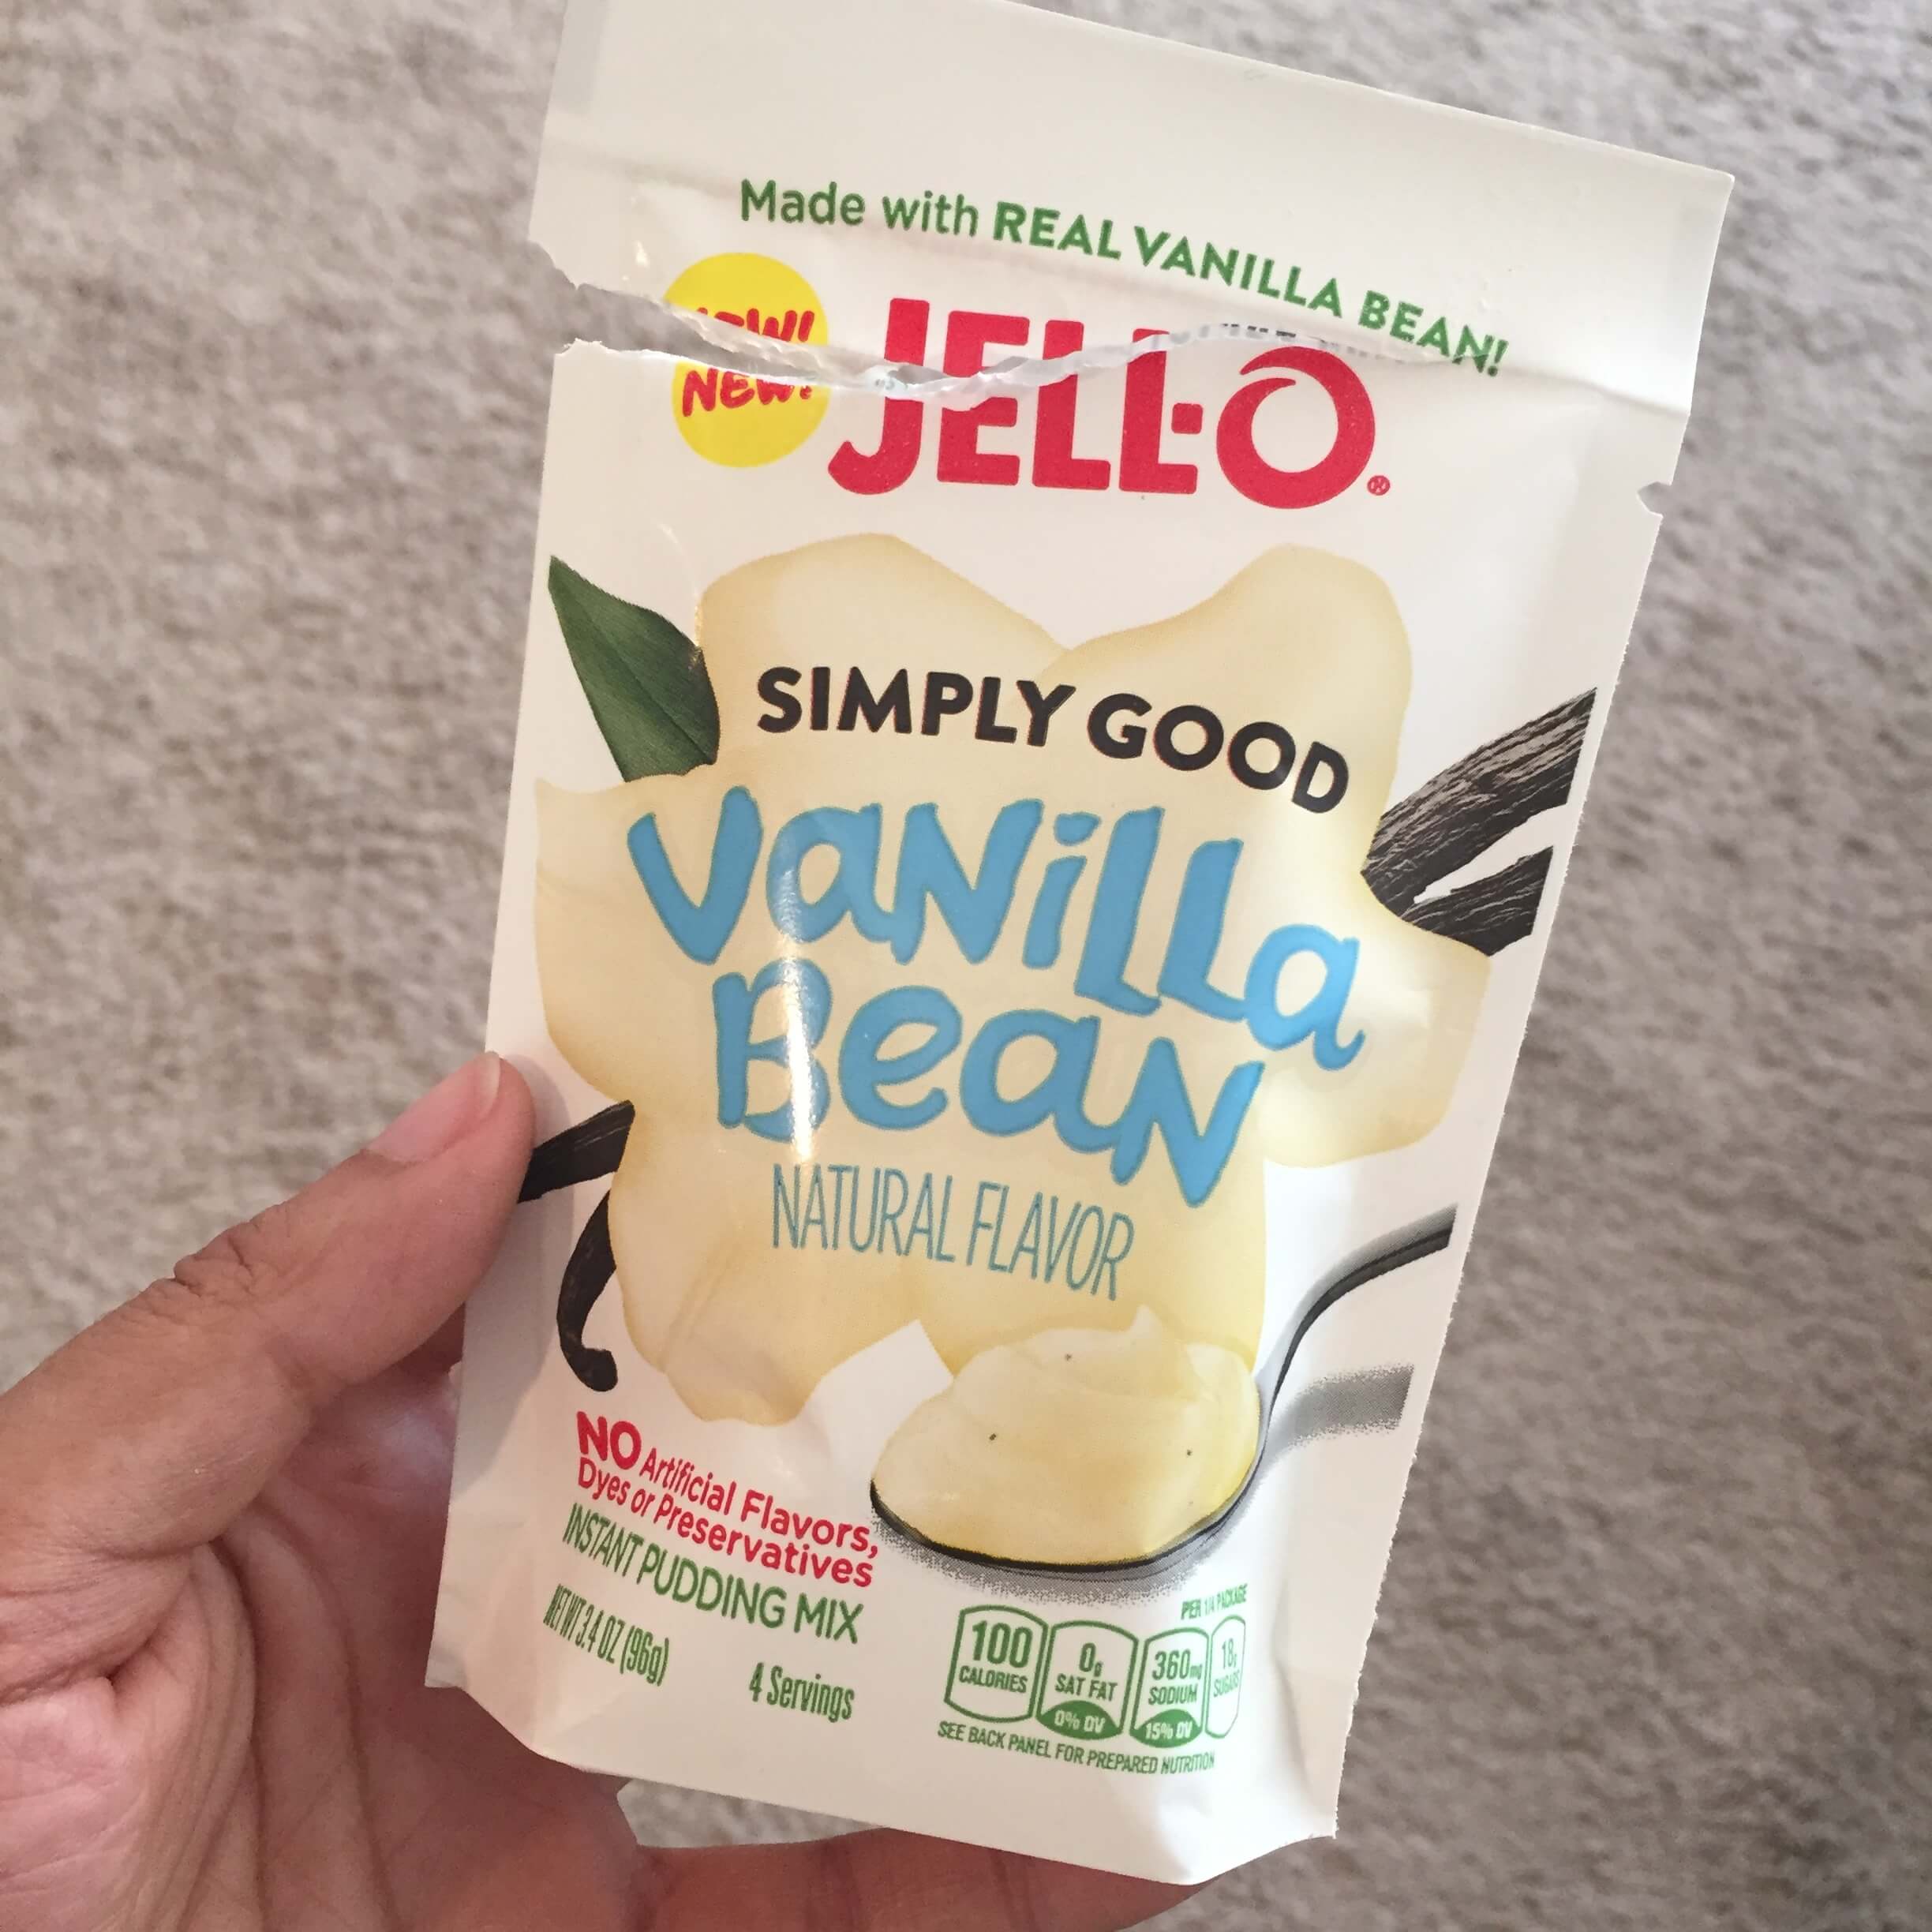
And now for what you need. One of the biggest switches in this recipe is using the natural version of pudding mix which just recently became available in stores.

Ingredients

  • ¾ cup grassfed or pastured butter, softened
  • ¾ cup organic brown sugar or unrefined coconut sugar
  • ¼ cup raw sugar cane sugar
  • 1 (3.4 oz) package instant naturals vanilla pudding, dry
  • 2 pastured organic eggs
  • 1 tsp organic vanilla
  • 1 tsp baking soda
  • 2¼ cups gluten free flour
  • 1½ cups organic chocolate chips

Instructions

  1. Preheat oven to 350 degrees F.
  2. Stir together flour and baking soda in a large bowl and set to the side.
  3. In a large bowl, using a hand mixer, cream butter and sugars together until fully combined.
  4. Add in pudding package and beat until combined.
  5. Mix in eggs and vanilla.
  6. Mix in flour mixture slowly until well incorporated ( I did it in fourths).
  7. Add chocolate chips and fold in gently.
  8. Using a teaspoon scoop out heaping teaspoons and place on greased baking sheet or parchment paper.
  9. Bake at 350 degrees F for 10 – 12 minutes.

And then enjoy!

These spread out quite a bit so make sure to leave at least 1 – 2″ between the cookies before they bake. Also they should be light tan around the edges when you take them out.

And of course, please let me know if you make them and share them. What did everyone think of them!!

Wellness Shot to Fight Colds and Flus

Drinks, Recipes · May 11, 2017

Wellness shots are expensive from the health food store. I tend to get them when I’m feeling like I’m getting sick, or I’m already sick and need an immunity boost. But at $5 or $6 a shot, I can certainly say that making my own is very cost efficient even with the price of ginger.

Learned a lesson really quick:

1. Do not drink straight juiced ginger – it hurts, it burns, it made my esophagus feel on fire for hours.

2. A little bit of ginger root goes a long way. So you only need a few thumb size pieces and it makes quite a few shots.

Wellness Shot

Recipe:

1 tbsp fresh juiced ginger

1 tbsp lemon juice

2 oz warm water

Mix and drink.

That mix is delicious, strong, and I can feel it kick in right away. Germs and viruses beware! Try this little remedy a few times a day when you’re feeling a cold come on and see how you feel after!

SNAP Challenge Part 5: The Finale and Did I Make it Under Budget?

Education, Lifestyle, Recipes · April 12, 2017

The end of the challenge has come. And I’m going to share a few more of the recipes, the struggles, and of course my final numbers because there was an additional purchase that I ended up making, to get me through the week.
Let’s start with the recipes

I want to point out how much I enjoyed getting creative through out this week, with the limited spices and ingredients that I was able to buy. While I bought very small portions of many things, usually I have a whole spice rack at my finger tips and that makes getting new dishes with old ingredients to the table very quick and easy.

However, I was able to have very good use of the three spices I had, and realized that sometimes, quantity of spices doesn’t matter. Even meals that I had worried about being bland, ended up delicious with just one spice added.

And of course there was a vegetarian and omnivore version to all of these dishes.

The recipes are great in simple variations and the salads let me use up a lot of the foods I had bits and pieces of left over. These also created lots of left overs, like most of the recipes, and I was able to pack them and eat them for lunch and dinner the next day.

The Snack Struggle Strikes Again

Now onto another struggle I encountered. I originally thought that snacking was going to be my downfall. I felt like I was eating bean soup for a snack and that I would eventually not be able to go on with that. Well that proved true. While I had a few apples, and the oatmeal and organic brown sugar to provide me with sweet, I still was missing one important snack in my life.

And that snack was chocolate.

I don’t think of myself as too much of a chocolate monster, but that week, both my fiancé and I were craving chocolate more than usual. So I did end up making an additional purchase with the money that I had not spend yet in my challenge budget. I was about $5.00 under, and was able to acquire some chocolate bars for $2.

Even though I still needed to stop and get something else, I was under budget and my chocolate cravings were squashed with a few pieces of dark chocolate each night.

Final Budget Number

That brings me in at $3 under budget!

I was really proud of the week me and my fiancé spent, cooking, getting creative, and living on a tighter budget than normal. A few things became very apparent to me.

What I Learned

  1. I eat when I’m stressed out, and I’m a snacker. Both of these lead me to buy conveniently packed snack foods from my health food sections and that adds to my grocery bill fast.
  2. I eat out a lot. I know it’s all comparative. But, it really brought it to my attention this week. I remember thinking to myself quite a few times “oh we could just go out and grab something since I’m working late” and then immediately remembering that I was on the challenge. I must have said that 3 or 4 times out of habit. That’s a lot of money each week spent eating out on a whim just because I was feeling “too tired” to cook. But the actuality of it was that I was able to make some meals, from prepped and unprepared foods, all in less time than it would have taken us to drive to the restaurant, order and get our food.
  3. I waste a lot of food each week from eating out on a whim, not using up all the ingredients I buy and letting them go bad before I can use them. It felt so good to be using the fresh foods I bought down to the last little drop. There was virtually no waster this week and usually by the next Sunday or Monday I’m throwing out a few wilted veggies, fruits and meats that might be too old to cook.
  4. Dry goods are a great investment because they stretch so far. I actually used up all of my fresh produce and meats, but was left with some dry rice, all of the quinoa, and the spices as well as half of the oatmeal. This of course is awesome because the next time I go to the store I won’t have to buy as much of those dry goods as I did the first time and can invest in other things like more fresh foods or another big staple like the olive oil that I have tons of left.

I did stress a lot in the beginning about no eating out at all and having to make every single meal. In my head I kept thinking “this probably isn’t a good week to do it, you’re busy.” But it ended up being great because I saved money, and I meal prepped so much in the beginning of the week that I actually saved a lot of time.

Plus, I get to follow up on what I said when I started. This is about raising awareness. Not, saying you’ll have the stores I have or the same amount of money. I just wanted to show the creative, healthy, and abundant meals I was able to create for me and my fiancé on the budget that resigned the average supplemental food income people might receive. While I do not think that the SNAP programs and other programs are perfect, I do believe that no matter what you get, you can make it work in a healthy way. I also believe that places like food pantries are changing peoples lives and helping them make the best of these programs as well and that’s why I’ll be donating to them in honor of this challenge.

Ready to do it Again?

And yes, I would do it again. In fact, I will be replicating it at my main grocery store chain. I know there won’t be a bulk section, but there should be a larger variety of store brand priced items that are still healthy. This challenge has taught me to buy thoughtfully, with intention and not just grabbing things off the shelf that look good, or are convenient or seem like a good buy at the time. I spend time thinking about every single item I put in the cart, and in the end, got more out of my groceries than when I spent double or triple that amount.

I challenge you to do this: plan and buy carefully. So carefully that you might not even have to throw anything away that week. Maybe you already do this, but if you don’t, and you find yourself tossing things at the end of each week, just try this out. It doesn’t have to be on this tight of a budget, but it can be if you’re trying to save money. Leaning out your budget is never a bad thing and if you can save a few dollars by not letting food go into your cart that will eventually just hit the trash, then all the better! And if you are wanting to try the SNAP Challenge and want to share your experience, then please do!

SNAP Challenge Part 4: Bring on the Meals

Dinner, Education, Lifestyle, Lunch, Recipes · March 26, 2017

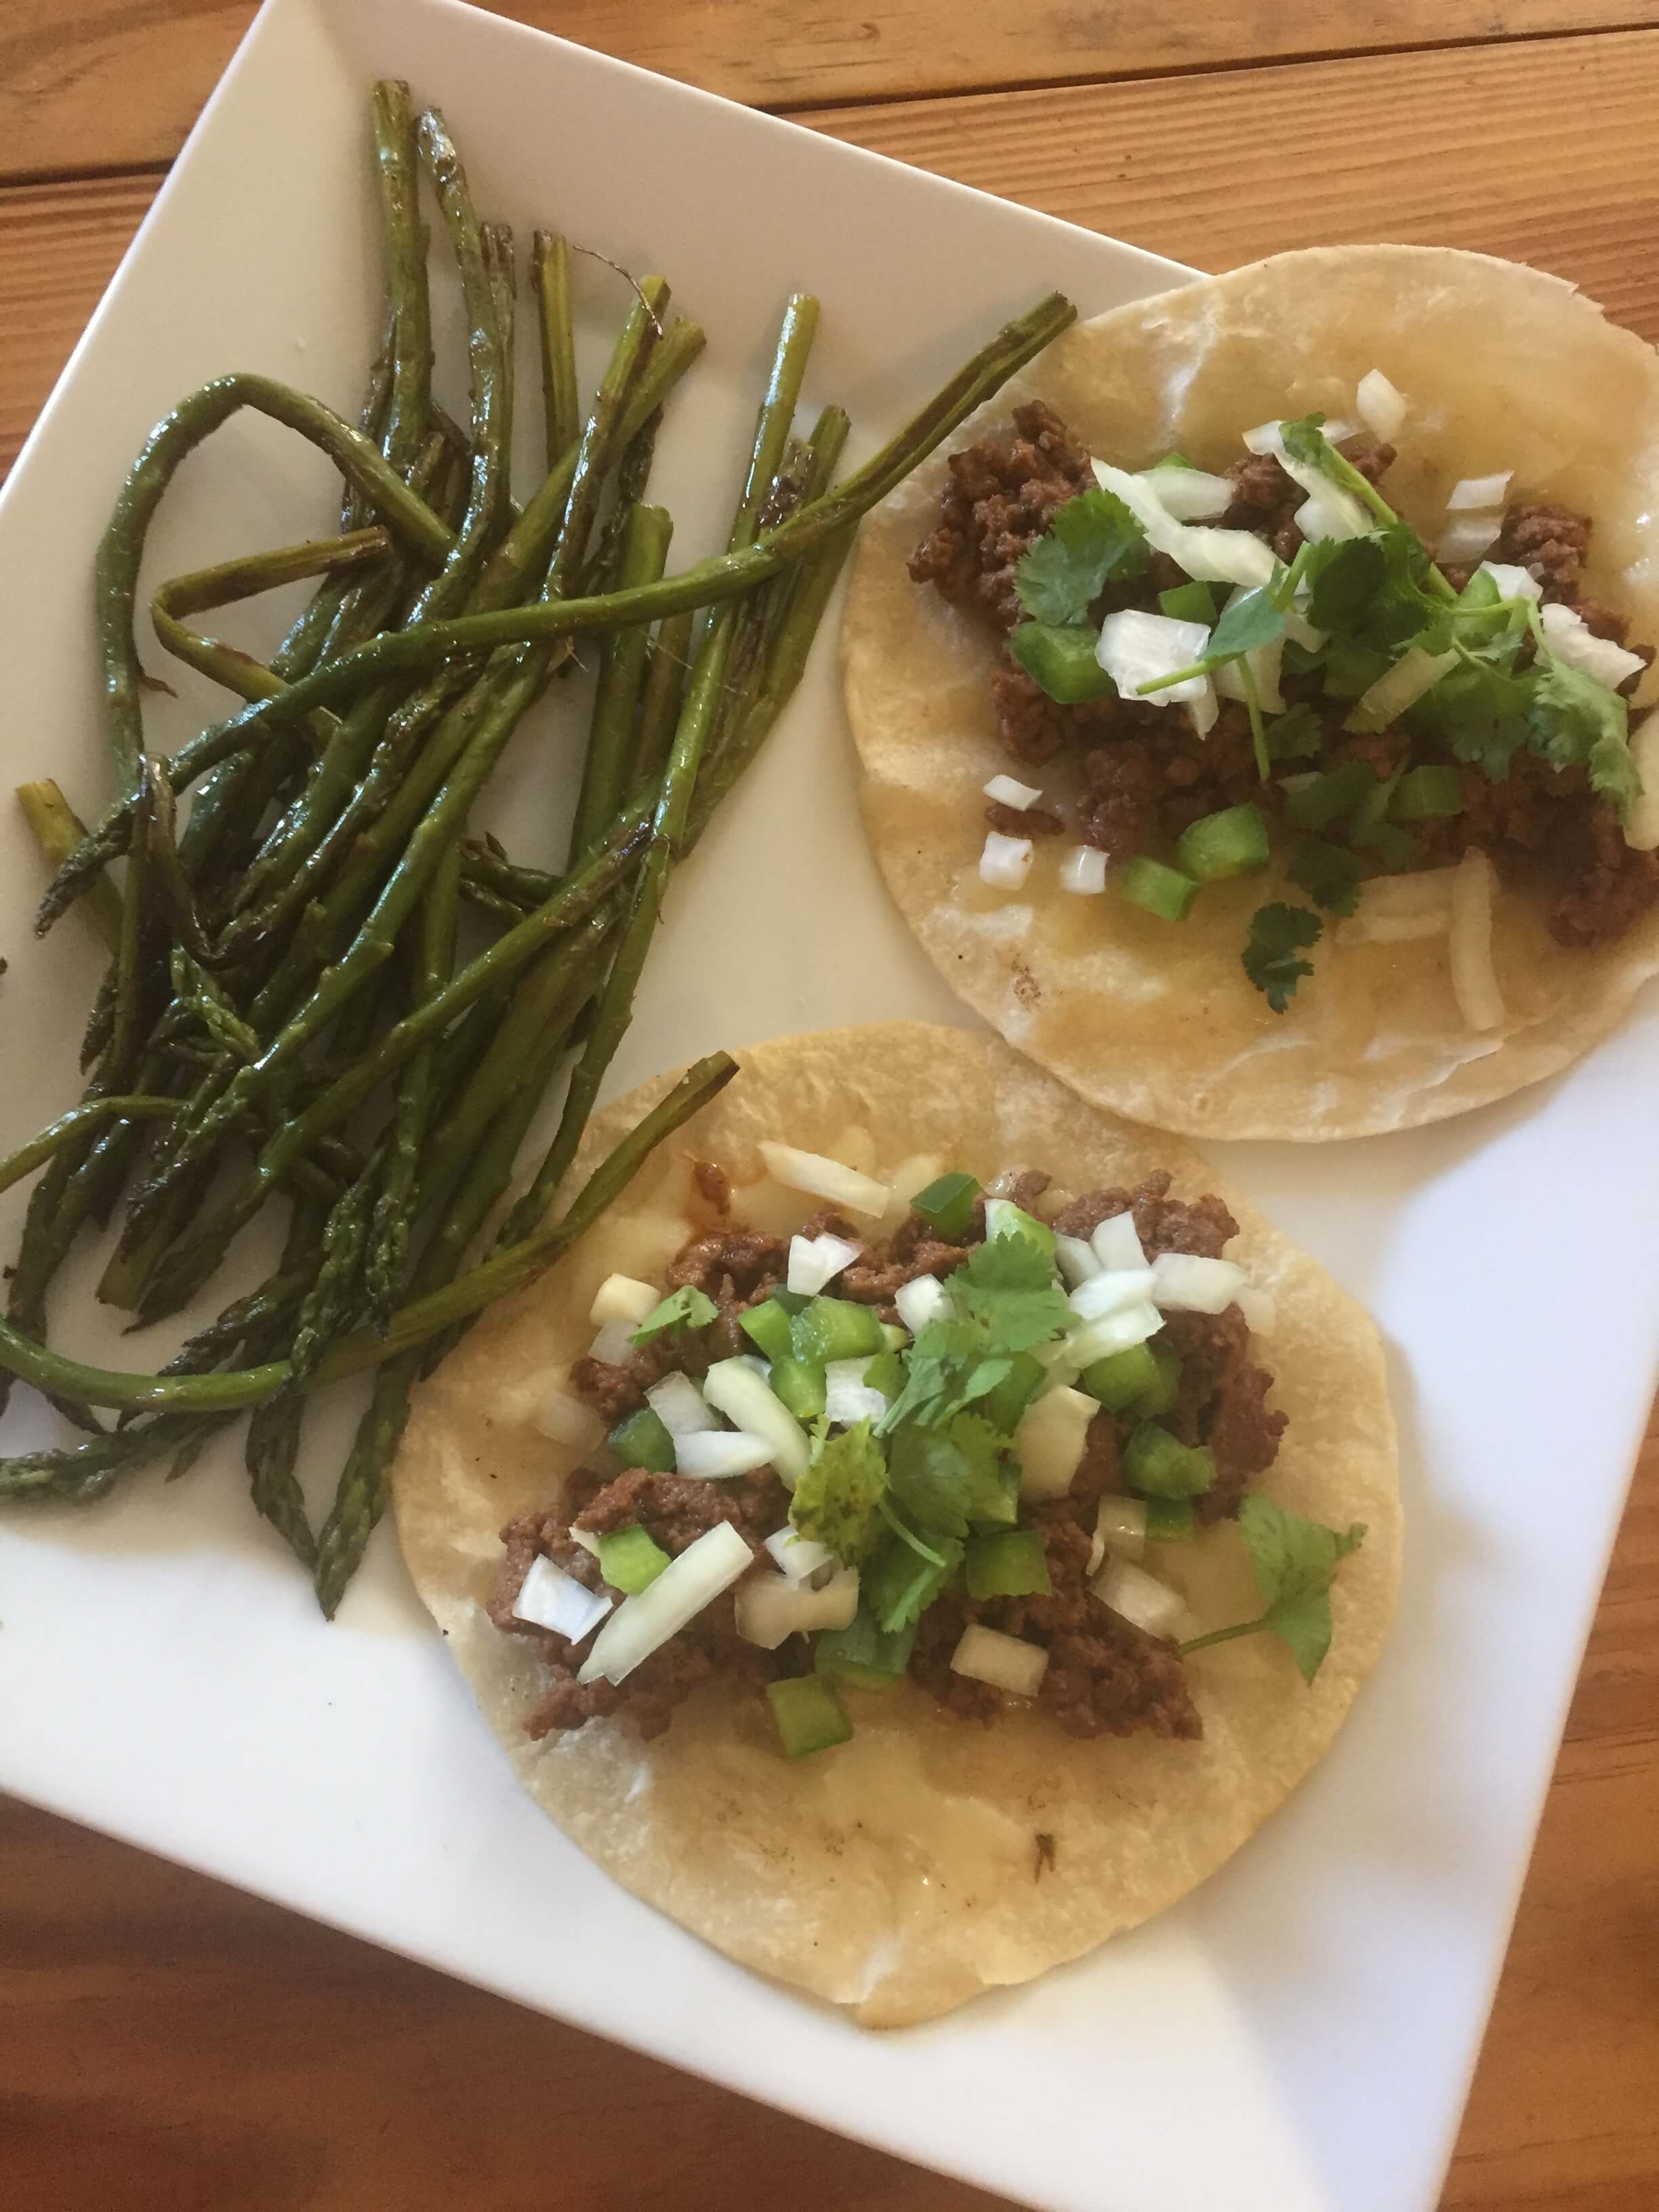
The delicious factor of these meals is off the charts. I will admit, I was worried that only have three spices besides salt and peppers was going to make things boring. But I didn’t take into account the fact that the onions/peppers/salsa/sour cream/veggie stock all contribute to making mix and match flavors which are really good. It also has put my creativity on high alert and I am super excited to show you some of the meals I concocted!

Breakfast:

Quick Breakfast: Eggs, quinoa and side of roasted peppers and onion with some of that italian seasoning.

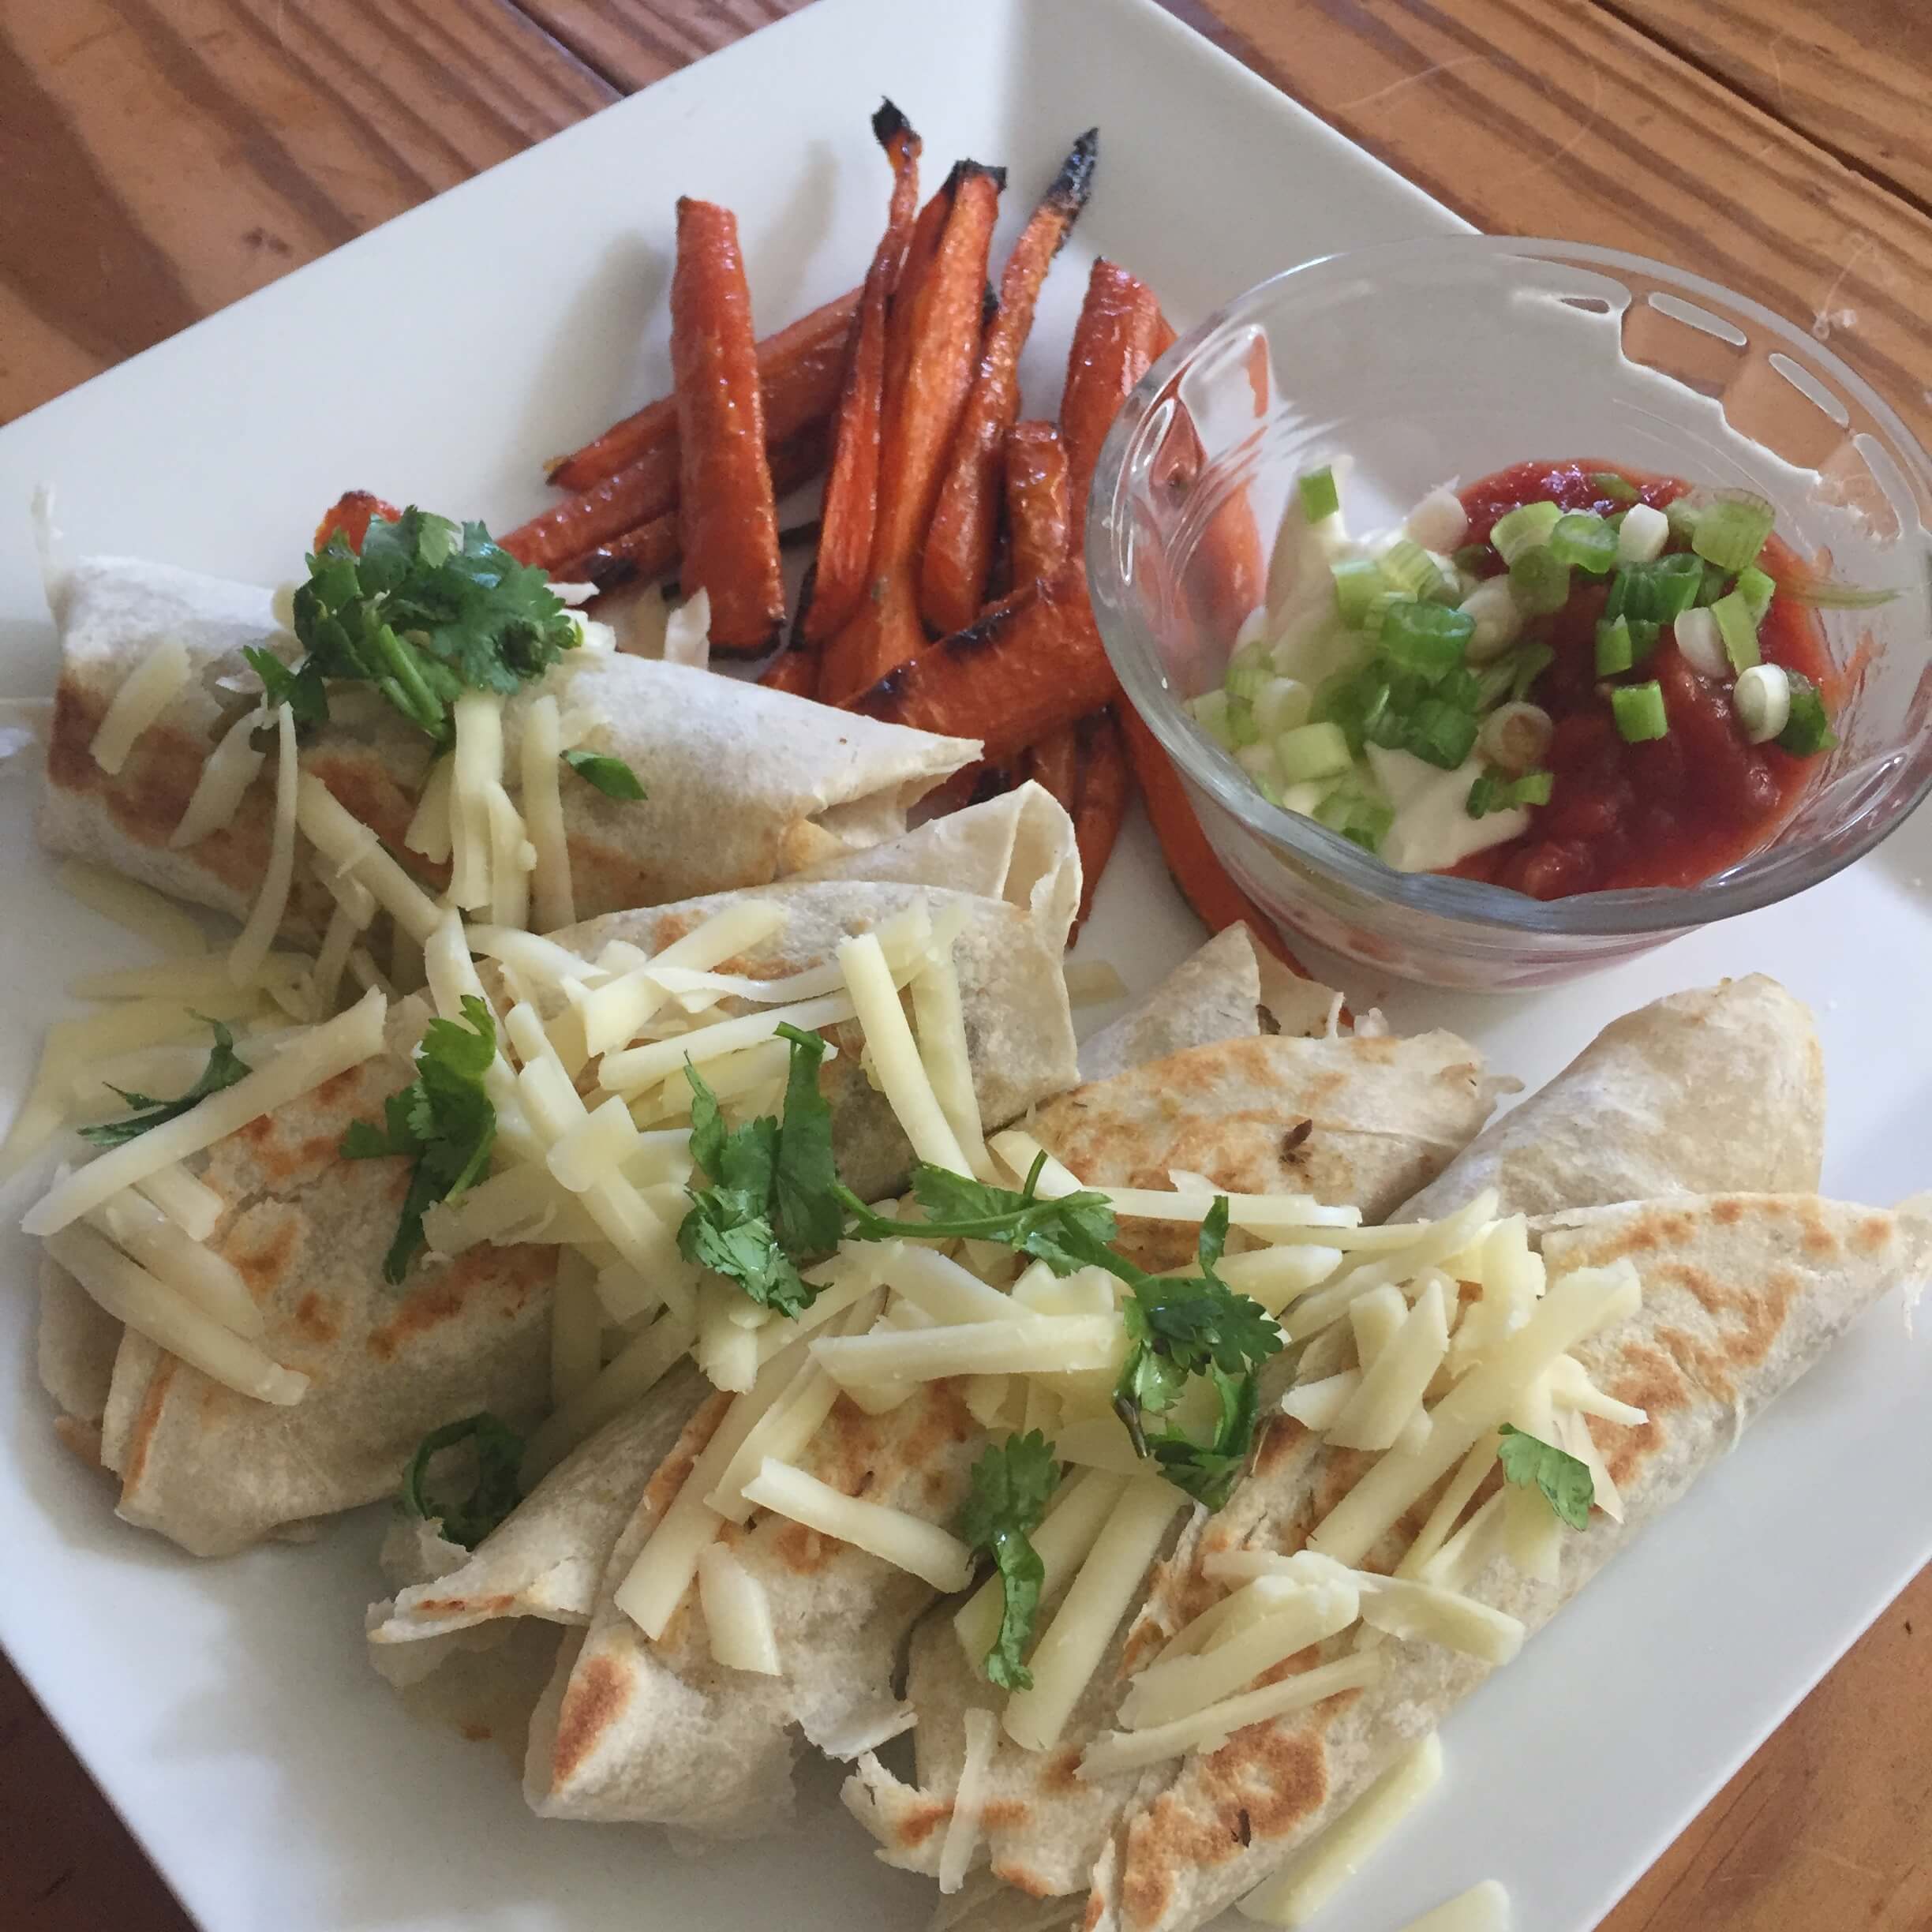
Creative Breakfast: These breakfast mini burritos and roasted sweet carrots!

Start with the side. You’ll need to slice up your carrots (I used 5) and toss them in olive oil and a some brown sugar. Place on a baking pan and broil in the oven for about 10 minutes.

While that cooks you can saute onions, peppers and black beans with a little bit of veggie stock. Then in another pan scramble a few eggs. I did four between two people and we were more than full. Then toss these together when everything is cooked and hot.

Warm an empty pan on the stove and start filling small tortillas with your egg and veggie mix. Then place the seam side down in the pan and toast the mini burritos for a few minutes. Serve with your side of salsa and sour cream and the carrots when they come out.

Lunch:

Quick Lunch: This one was super easy for Matt to grab and go in a container. Just take your chicken breast from the batch cooking from the beginning of the week, seasoned rice, and sauteed asparagus and place in a togo container. This is such a quick, delicious and well rounded meal.

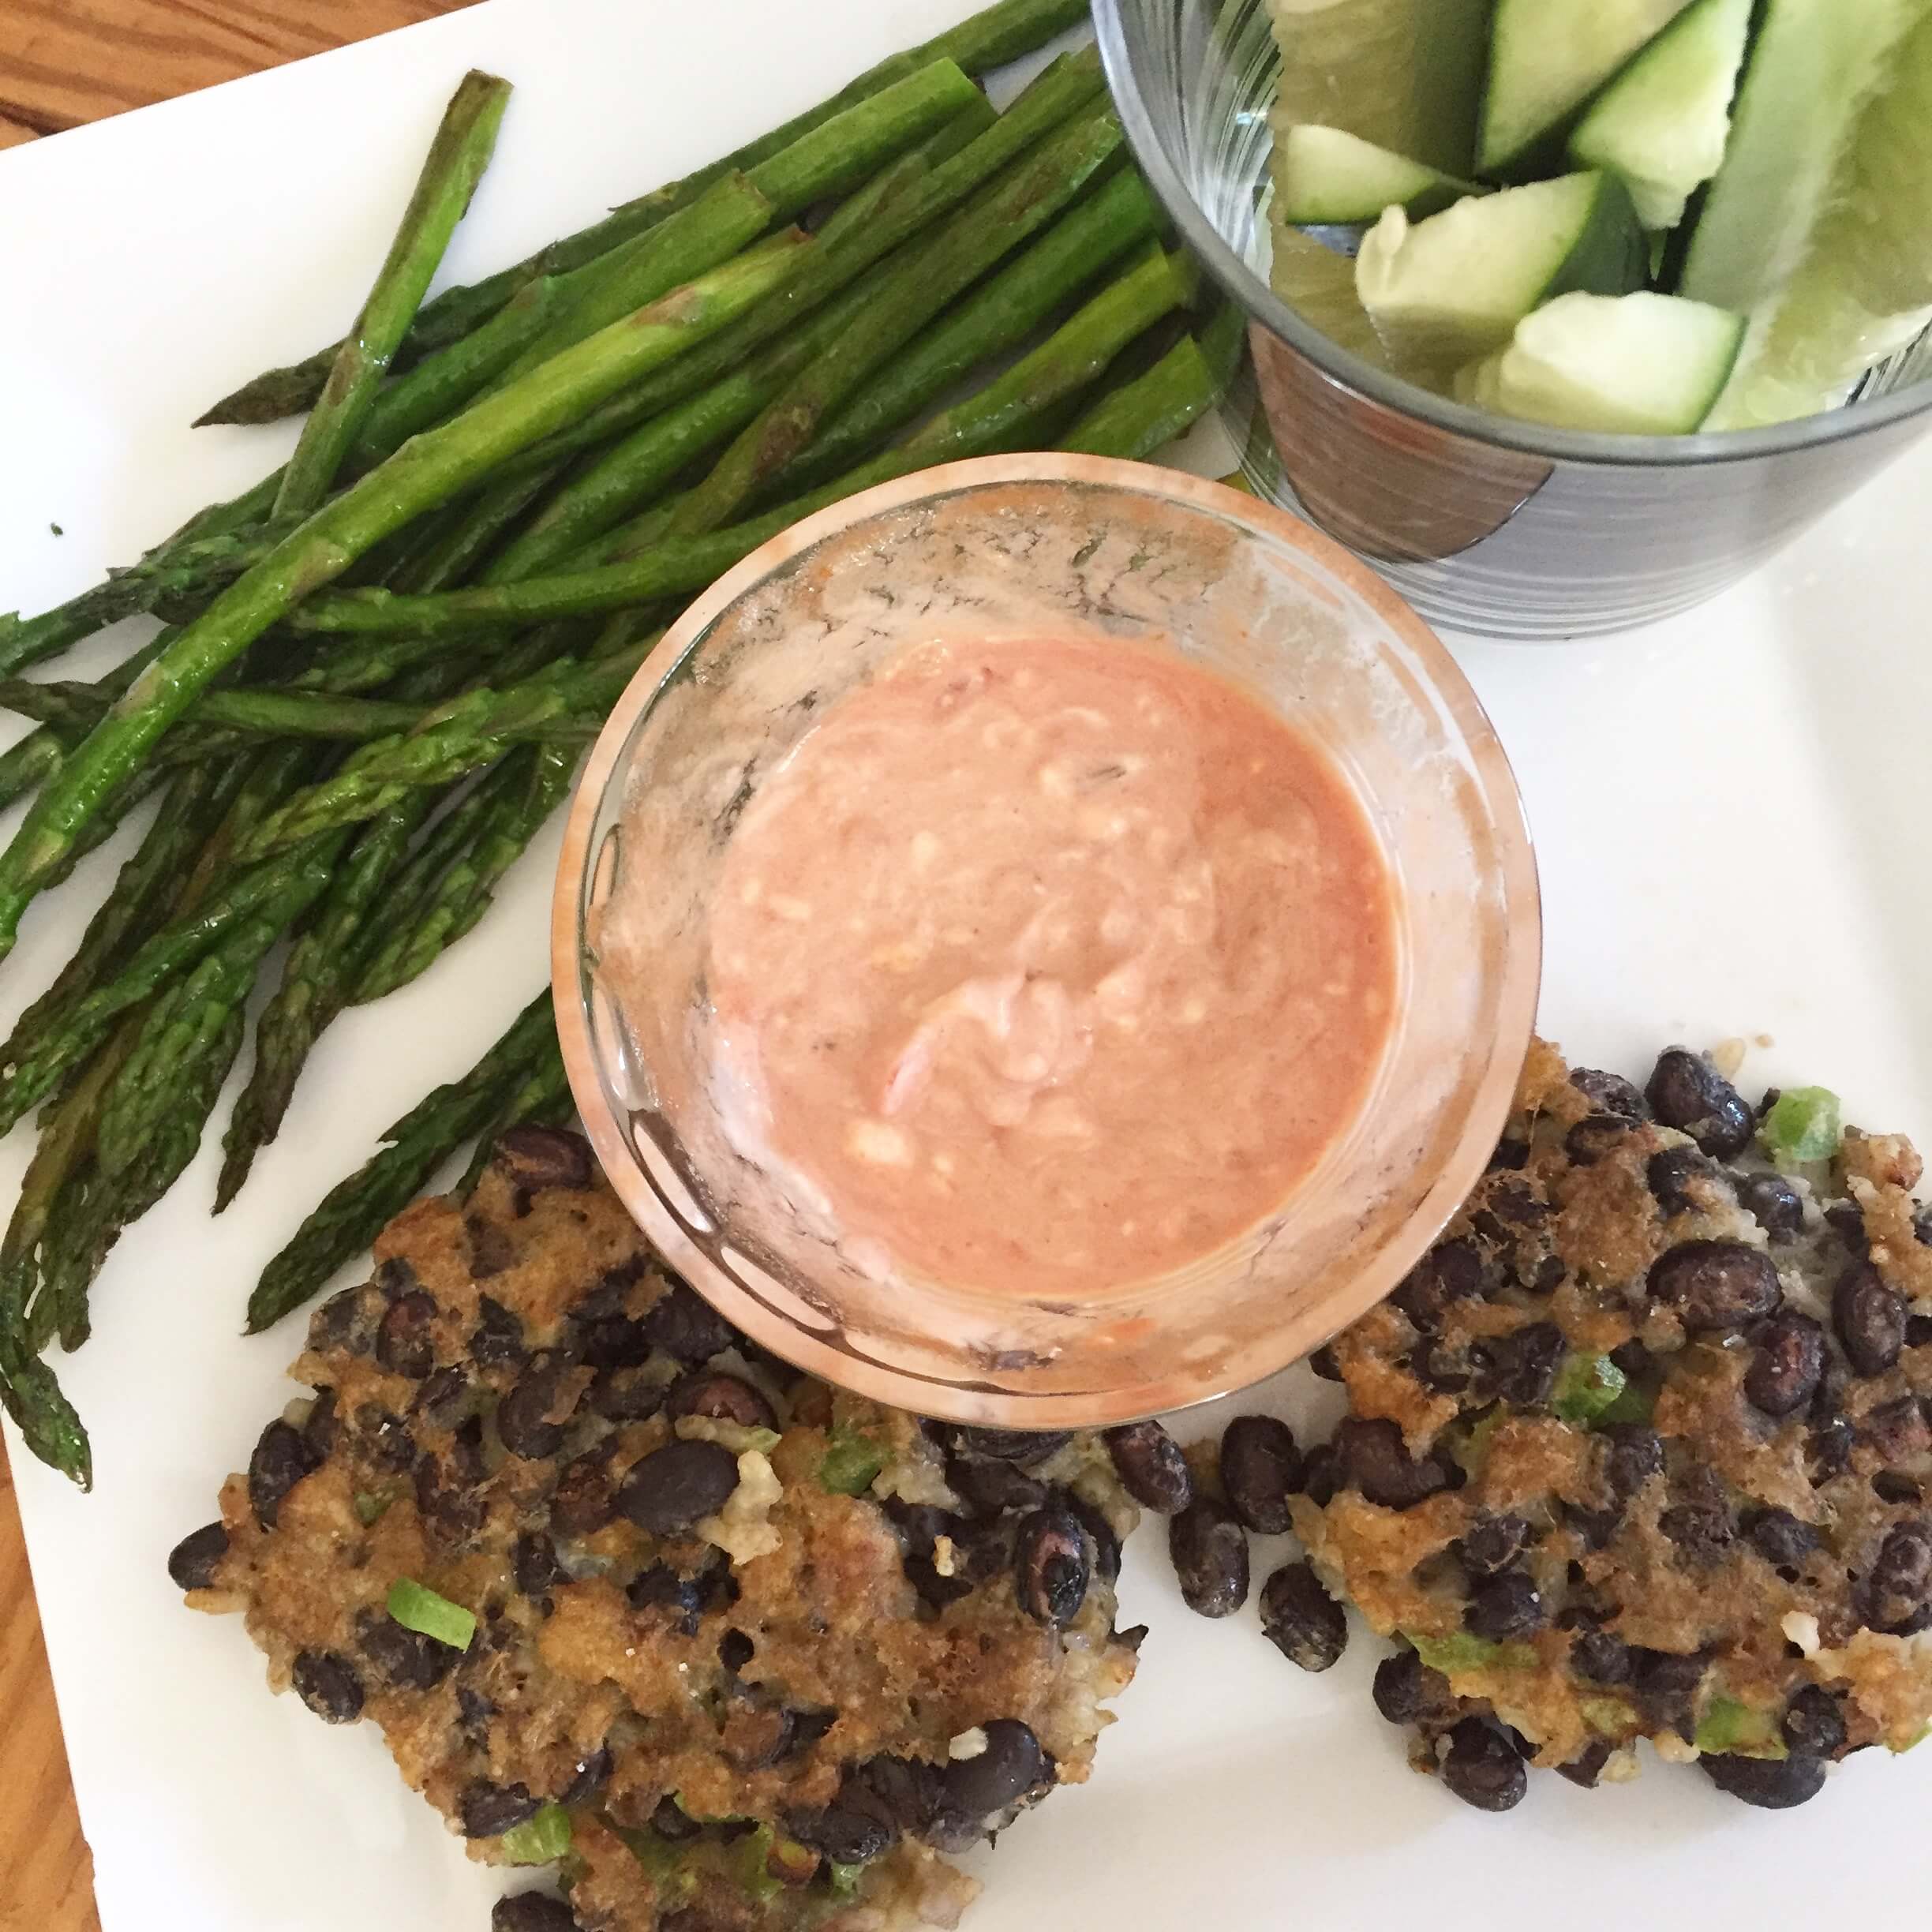
Creative Lunch: Veggie Patties with Asparagus and Fresh Veggies.

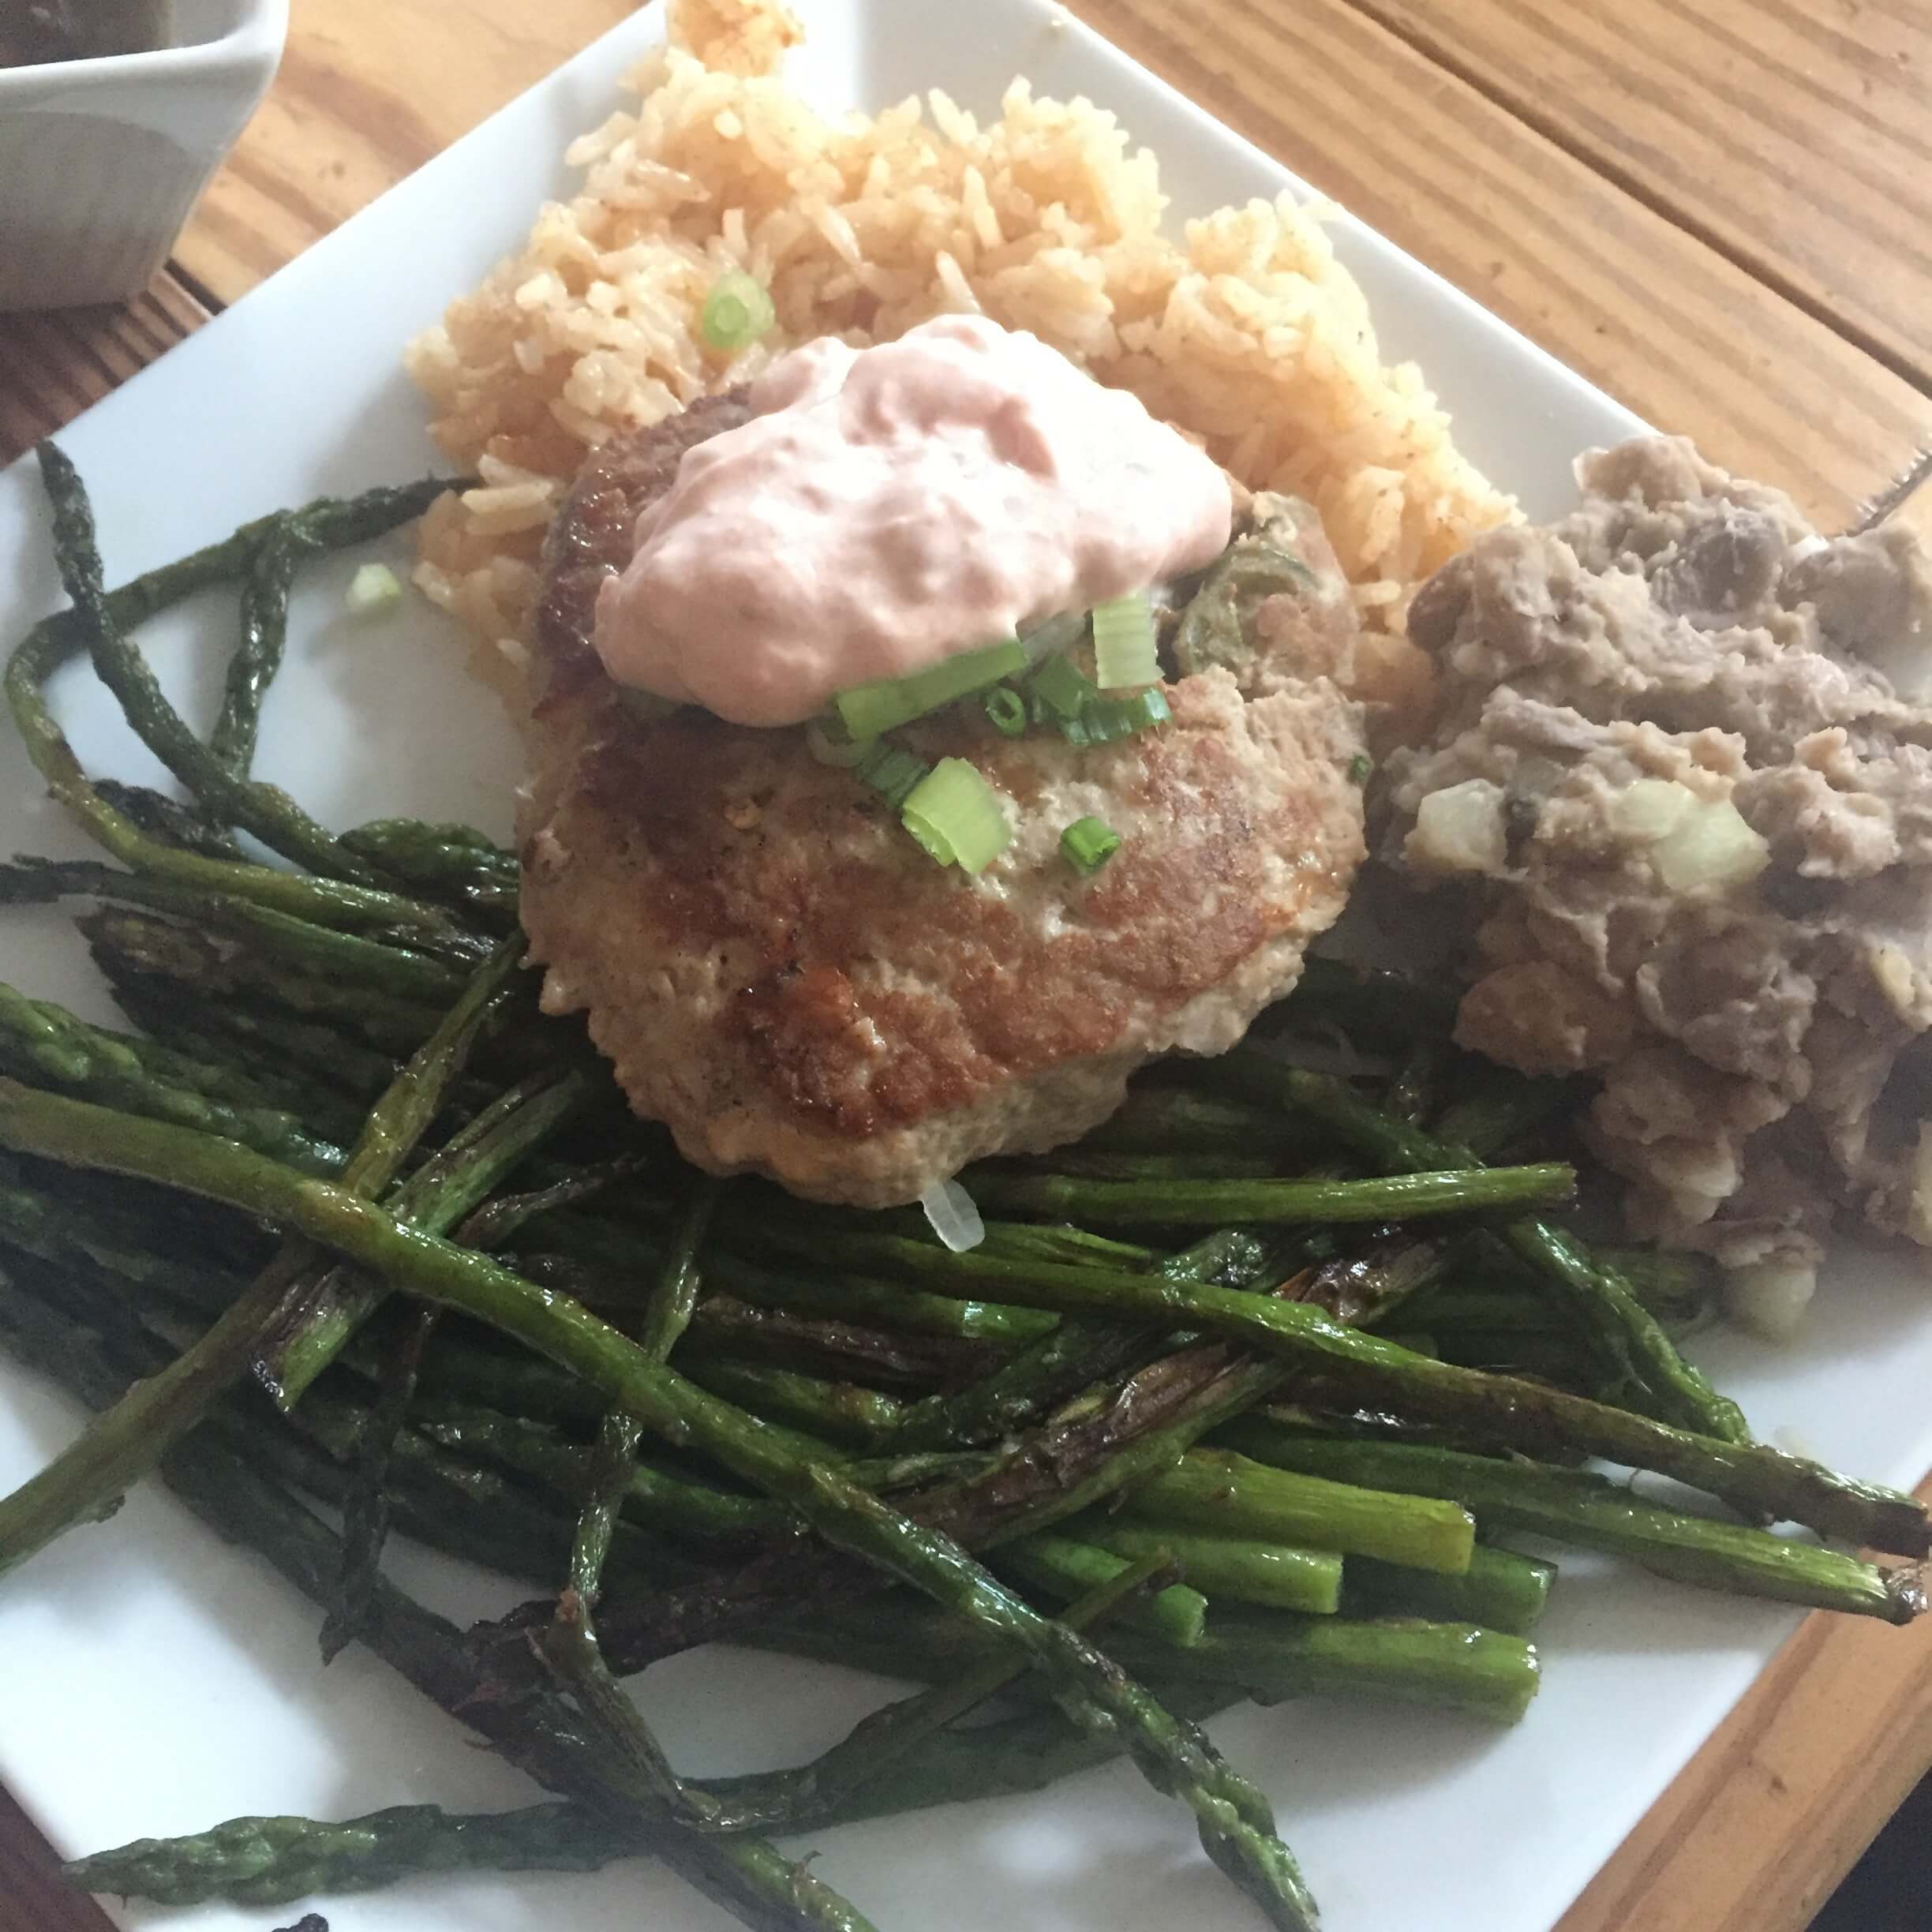
These veggie patties were super simple. Use ½ cup rice, ½ cup smashed up black beans and 1 egg and mix together really well in a bowl. Then season with salt and pepper. In a frying pan put 1 tbsp of olive oil in the bottom, then turn the pan to med high heat. Once oil is hot, using a ¼ cup scoop pack in the patty mixture tightly and place mixture into the pan. Gently press down a little (don’t do it too hard or you’ll break apart the patty. Cover and cook for about 5 minutes on one side without moving the patty around. Then after 5 minutes flip patties carefully and let cook uncovered for another 5 minutes.

While your patties cook, in a frying pan coat a bunch of asparagus with 1 tbsp of olive oil and sprinkle with salt and cook over high heat covered for 10 minutes. Stir occasionally and cook until desired tenderness.

Then plate all your ingredients and enjoy with a side of cut up veggies. I’ve been using a mix of salsa and sour cream for toppings and it’s just delicious.

Dinner:

Quick Dinner: You can go off the easy lunch ideas as well for dinner and switch up your starches and veggies with the different meats you cooked off. I love batch cooking because it allows for mix and match meals.

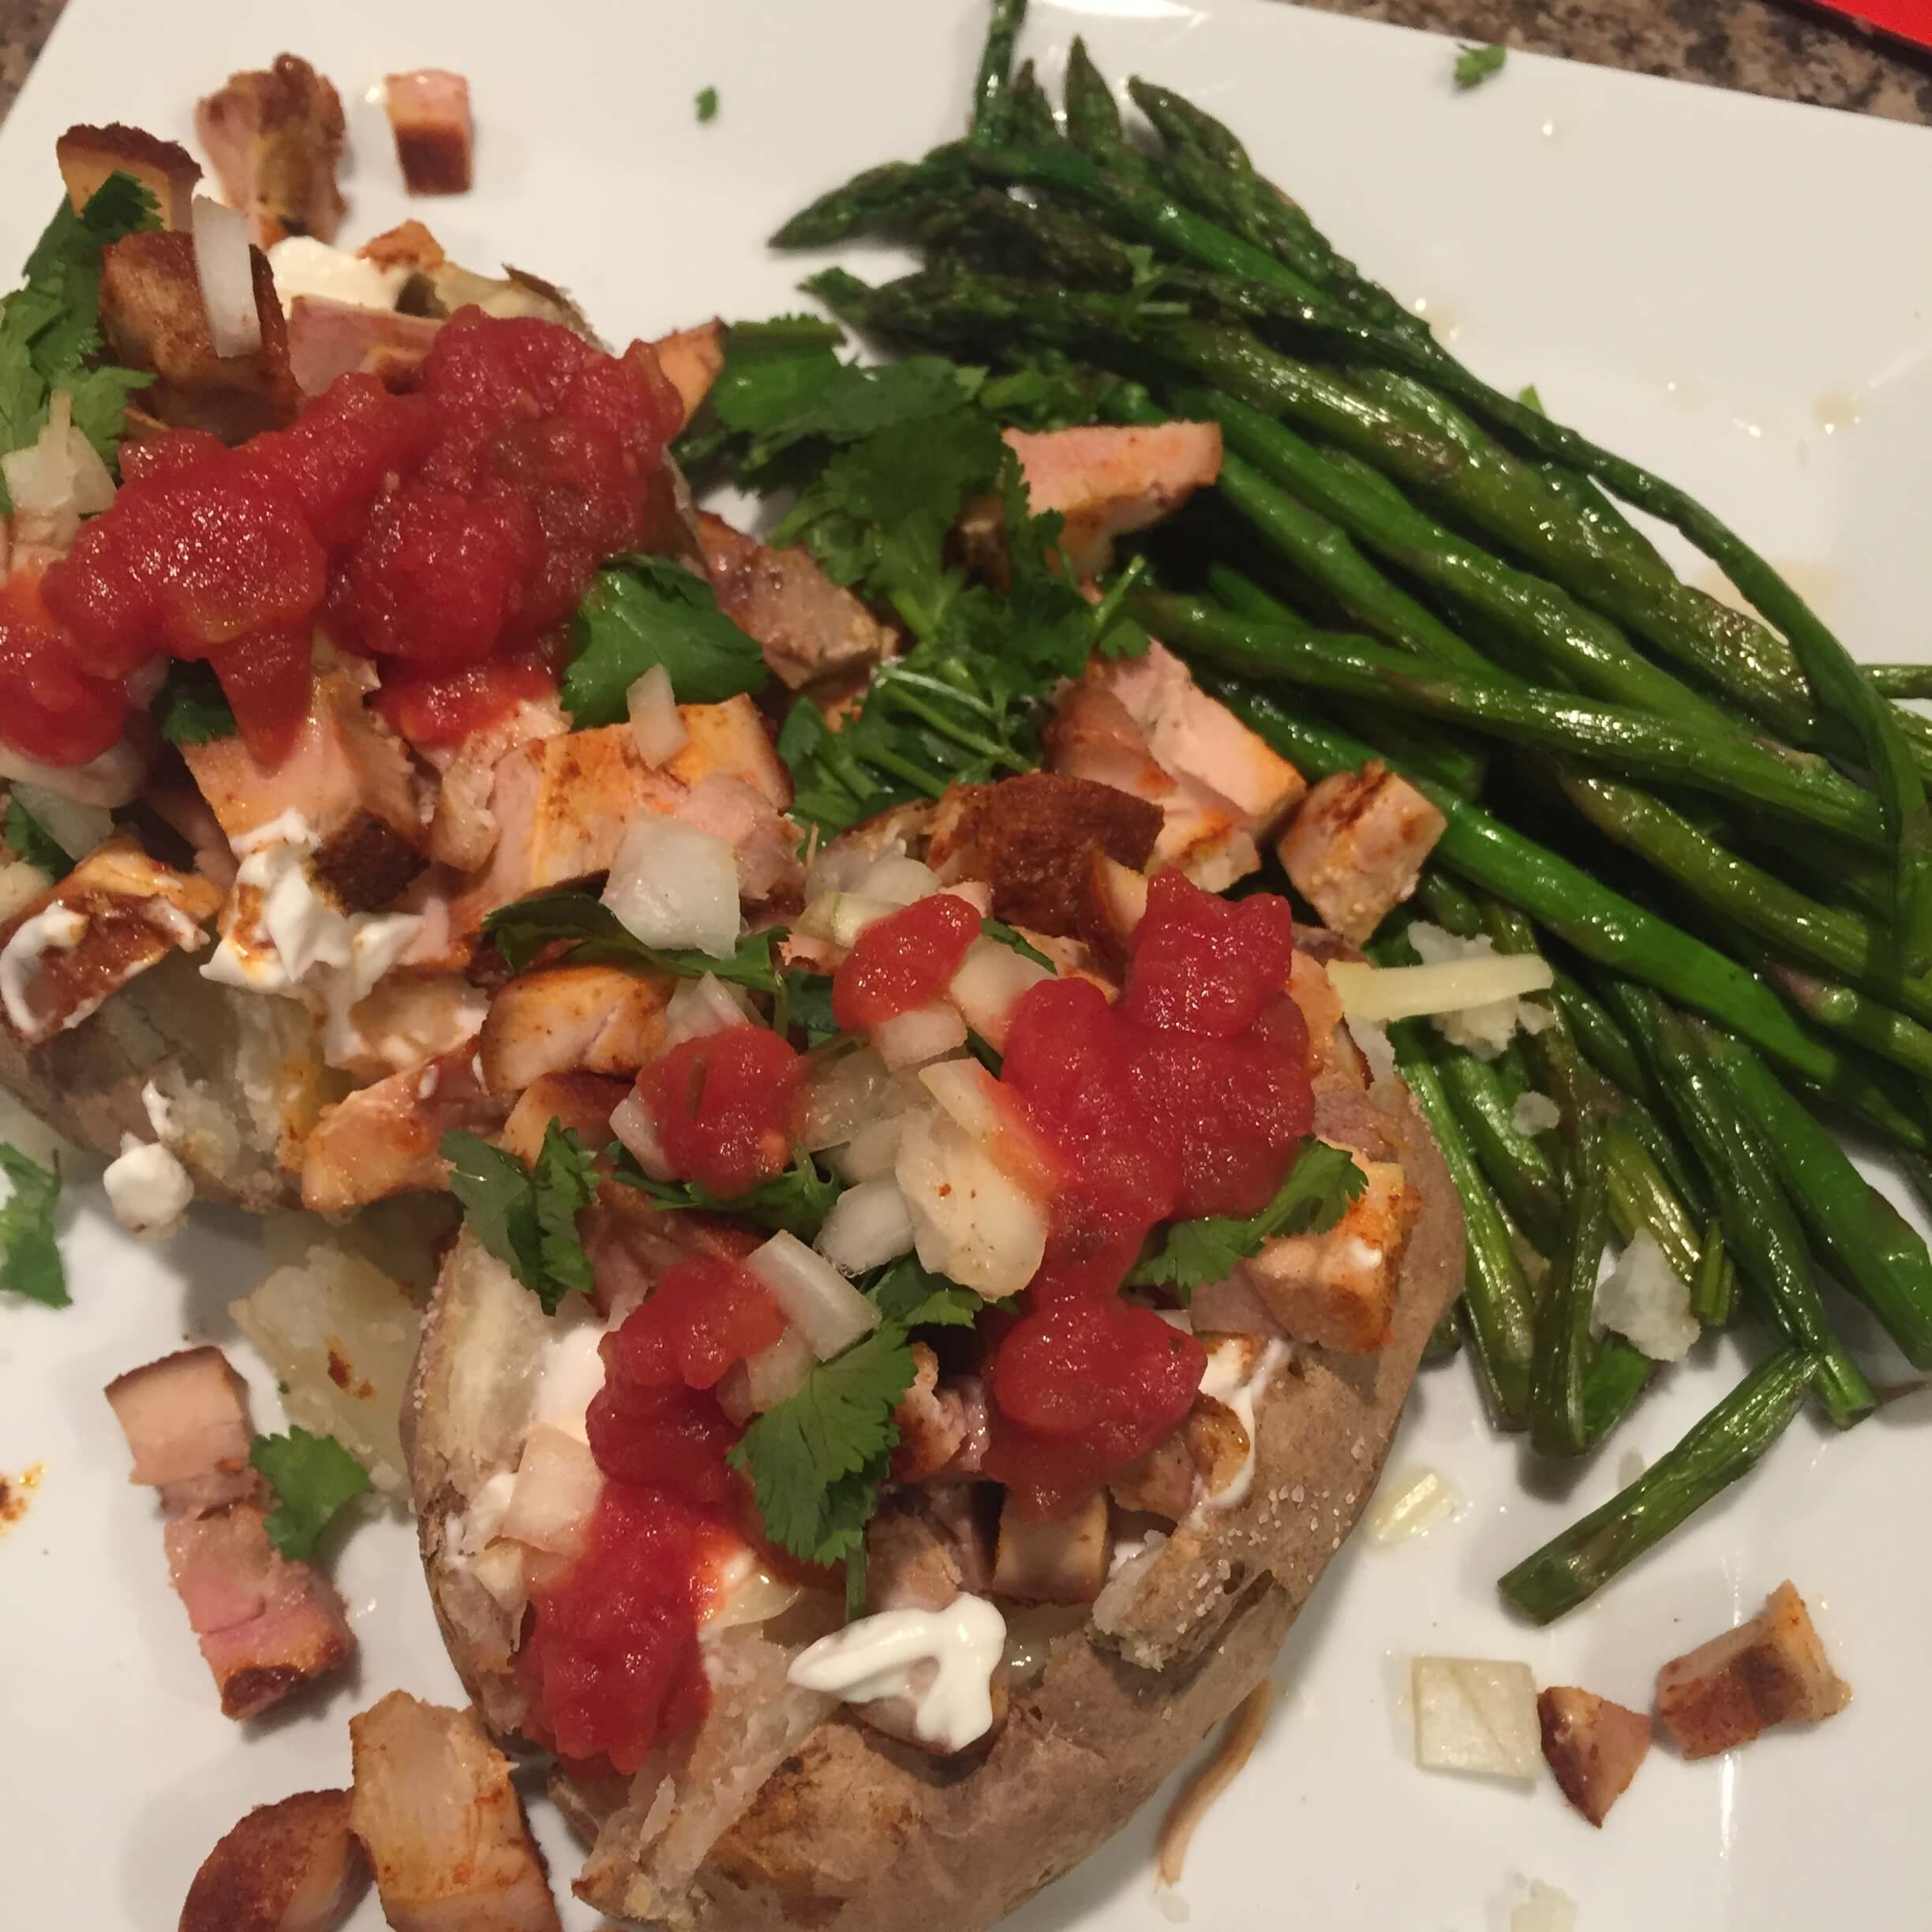
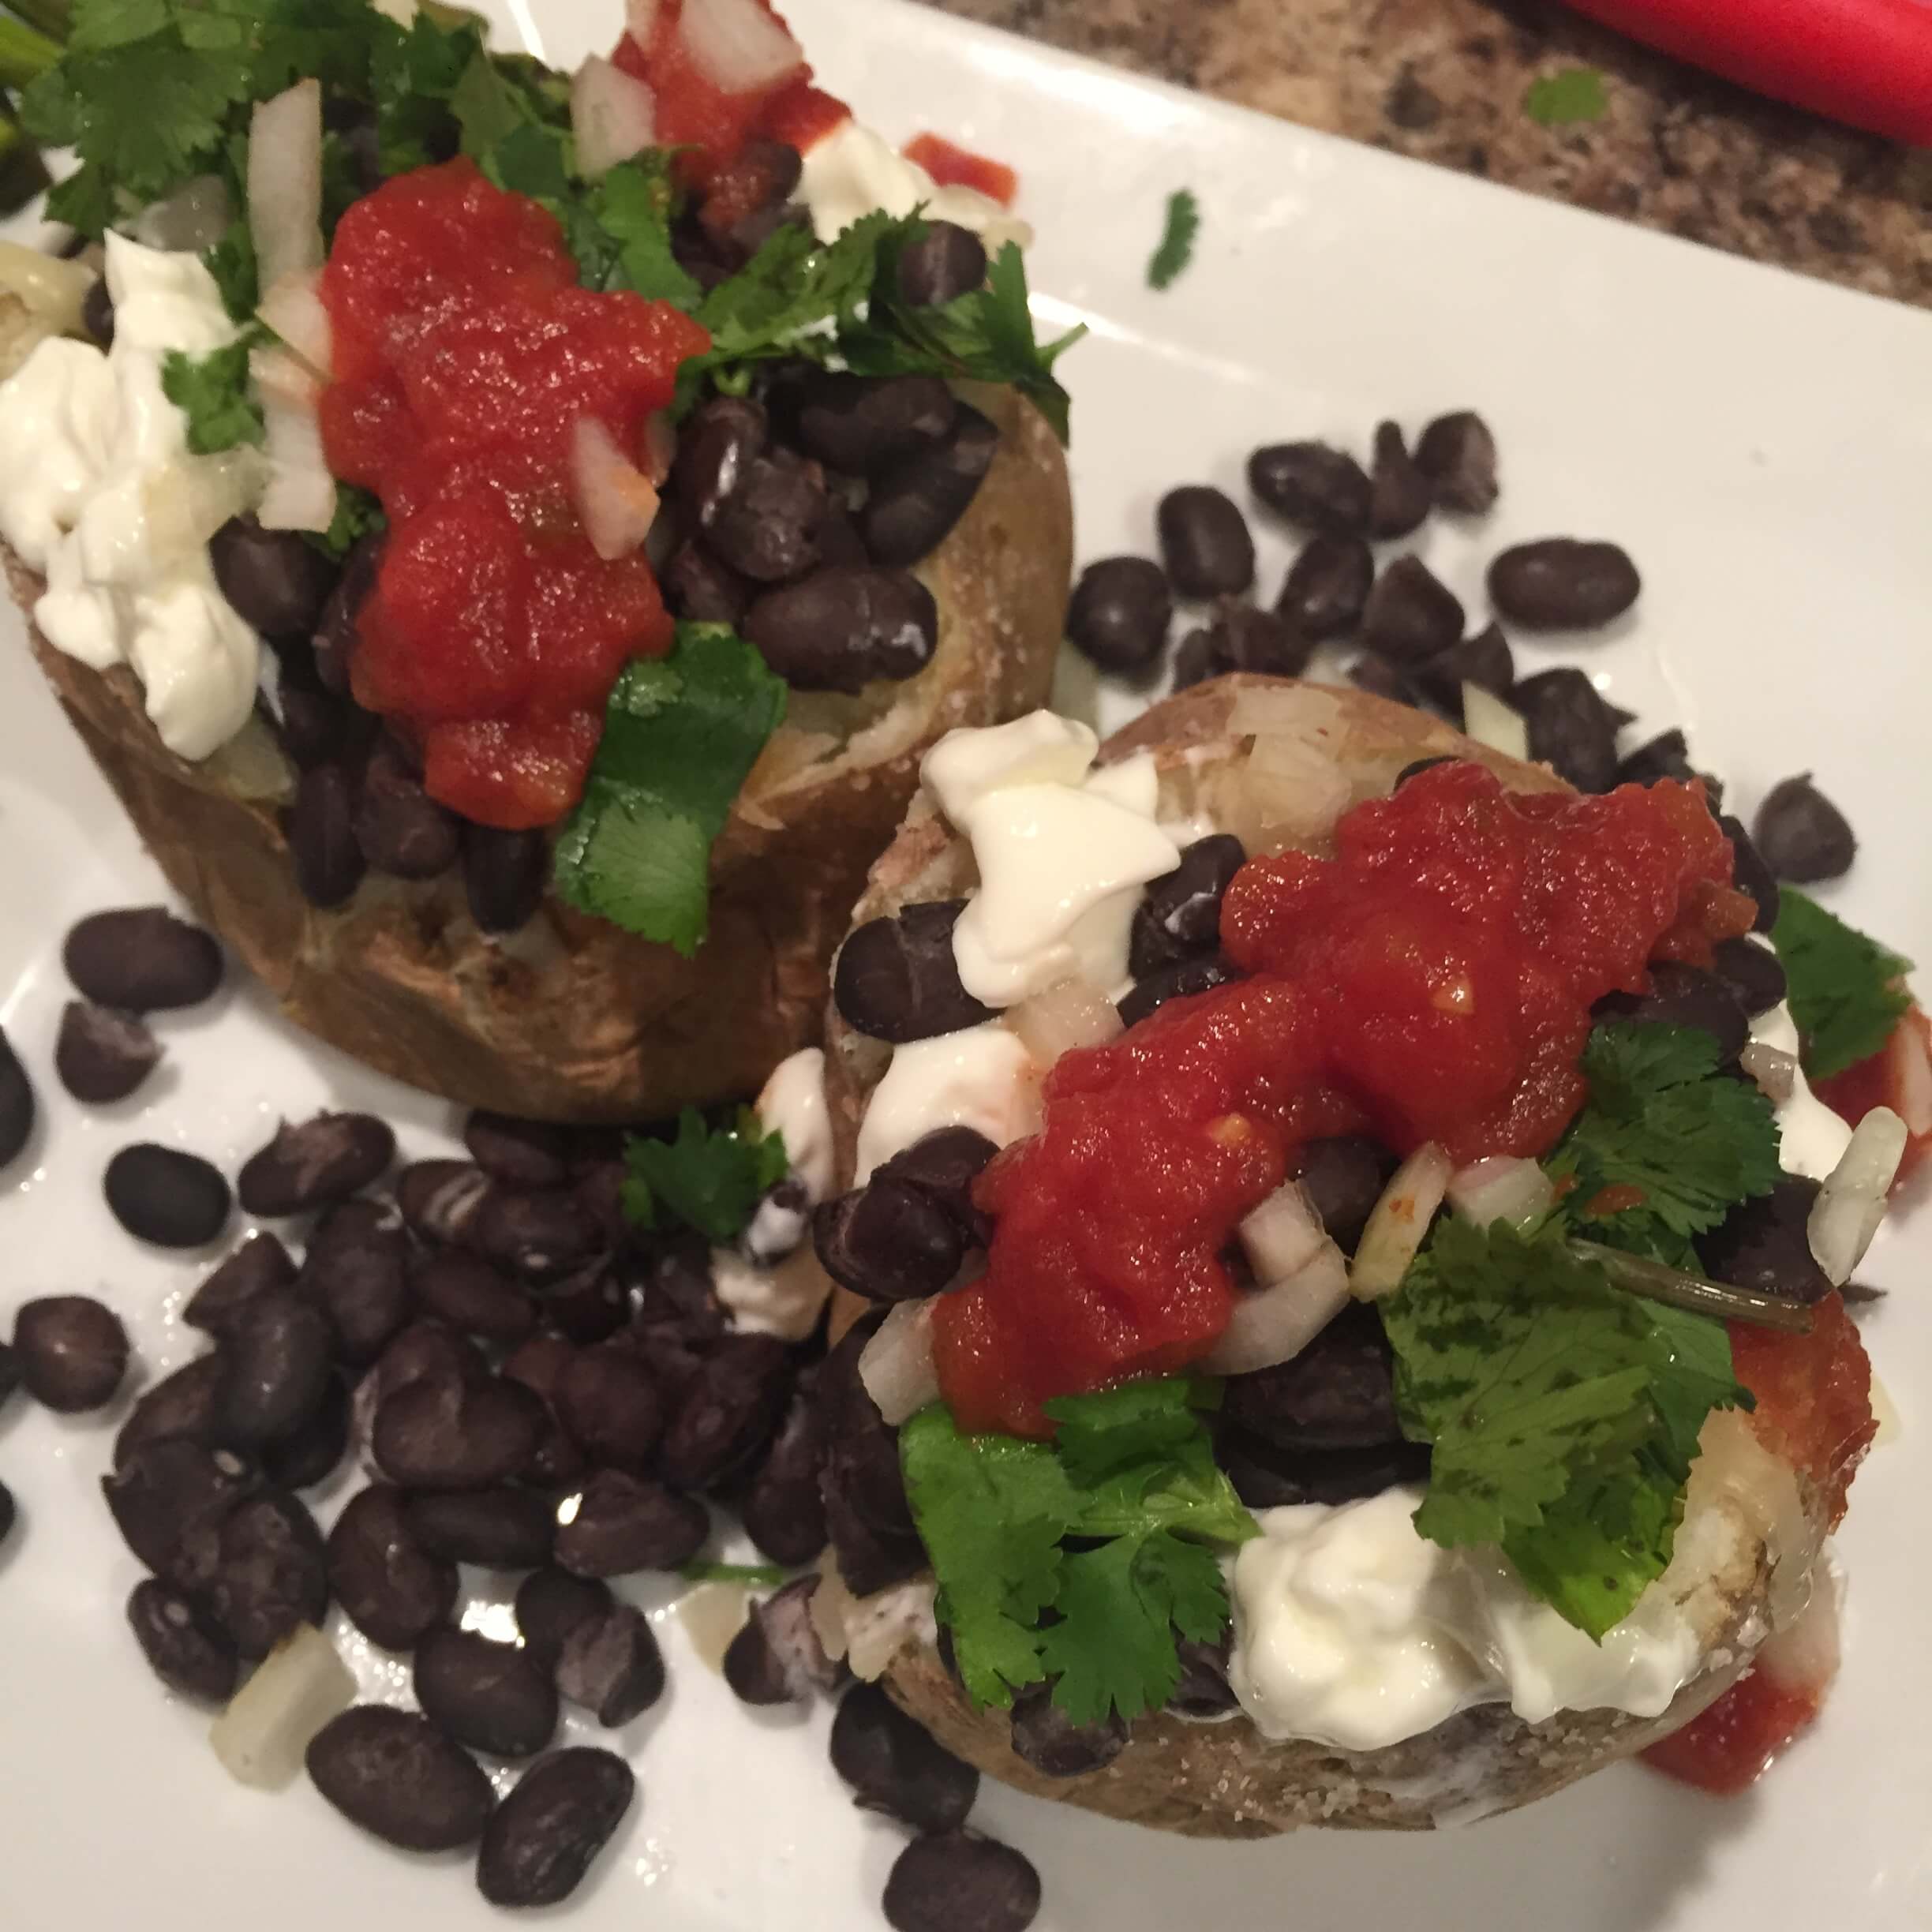
Creative Dinner: Baked Potato Tacos.

These were easy and delicious because everything gets piled on one base – the potato. Heat the oven to 450 degree and poke a few fork holes in your potatoes. Put on a baking sheet with tin foil and a sprinkle of salt ( I didn’t rub my potato skins down with any oil, but you can if you’d like to) and bake for 40-60 mins or until your potatoes are fork tender.

During the last 15 minutes of cooking throw in some veggies (we had more asparagus to roast) as a side with a tbsp of olive oil and a pinch of salt.

Then cut these bad boys open and top with cut up chicken, beans, onions, salsa, peppers, sour cream, cilantro or anything else you can think of. The best part of these is everyone can grab their own toppings and make it their own meal.

Being limited on spices and ingredients really pushes you to get creative. And in doing so, I’ve found some simple meals that were not only cheap, they will be making their way back onto my table very soon!

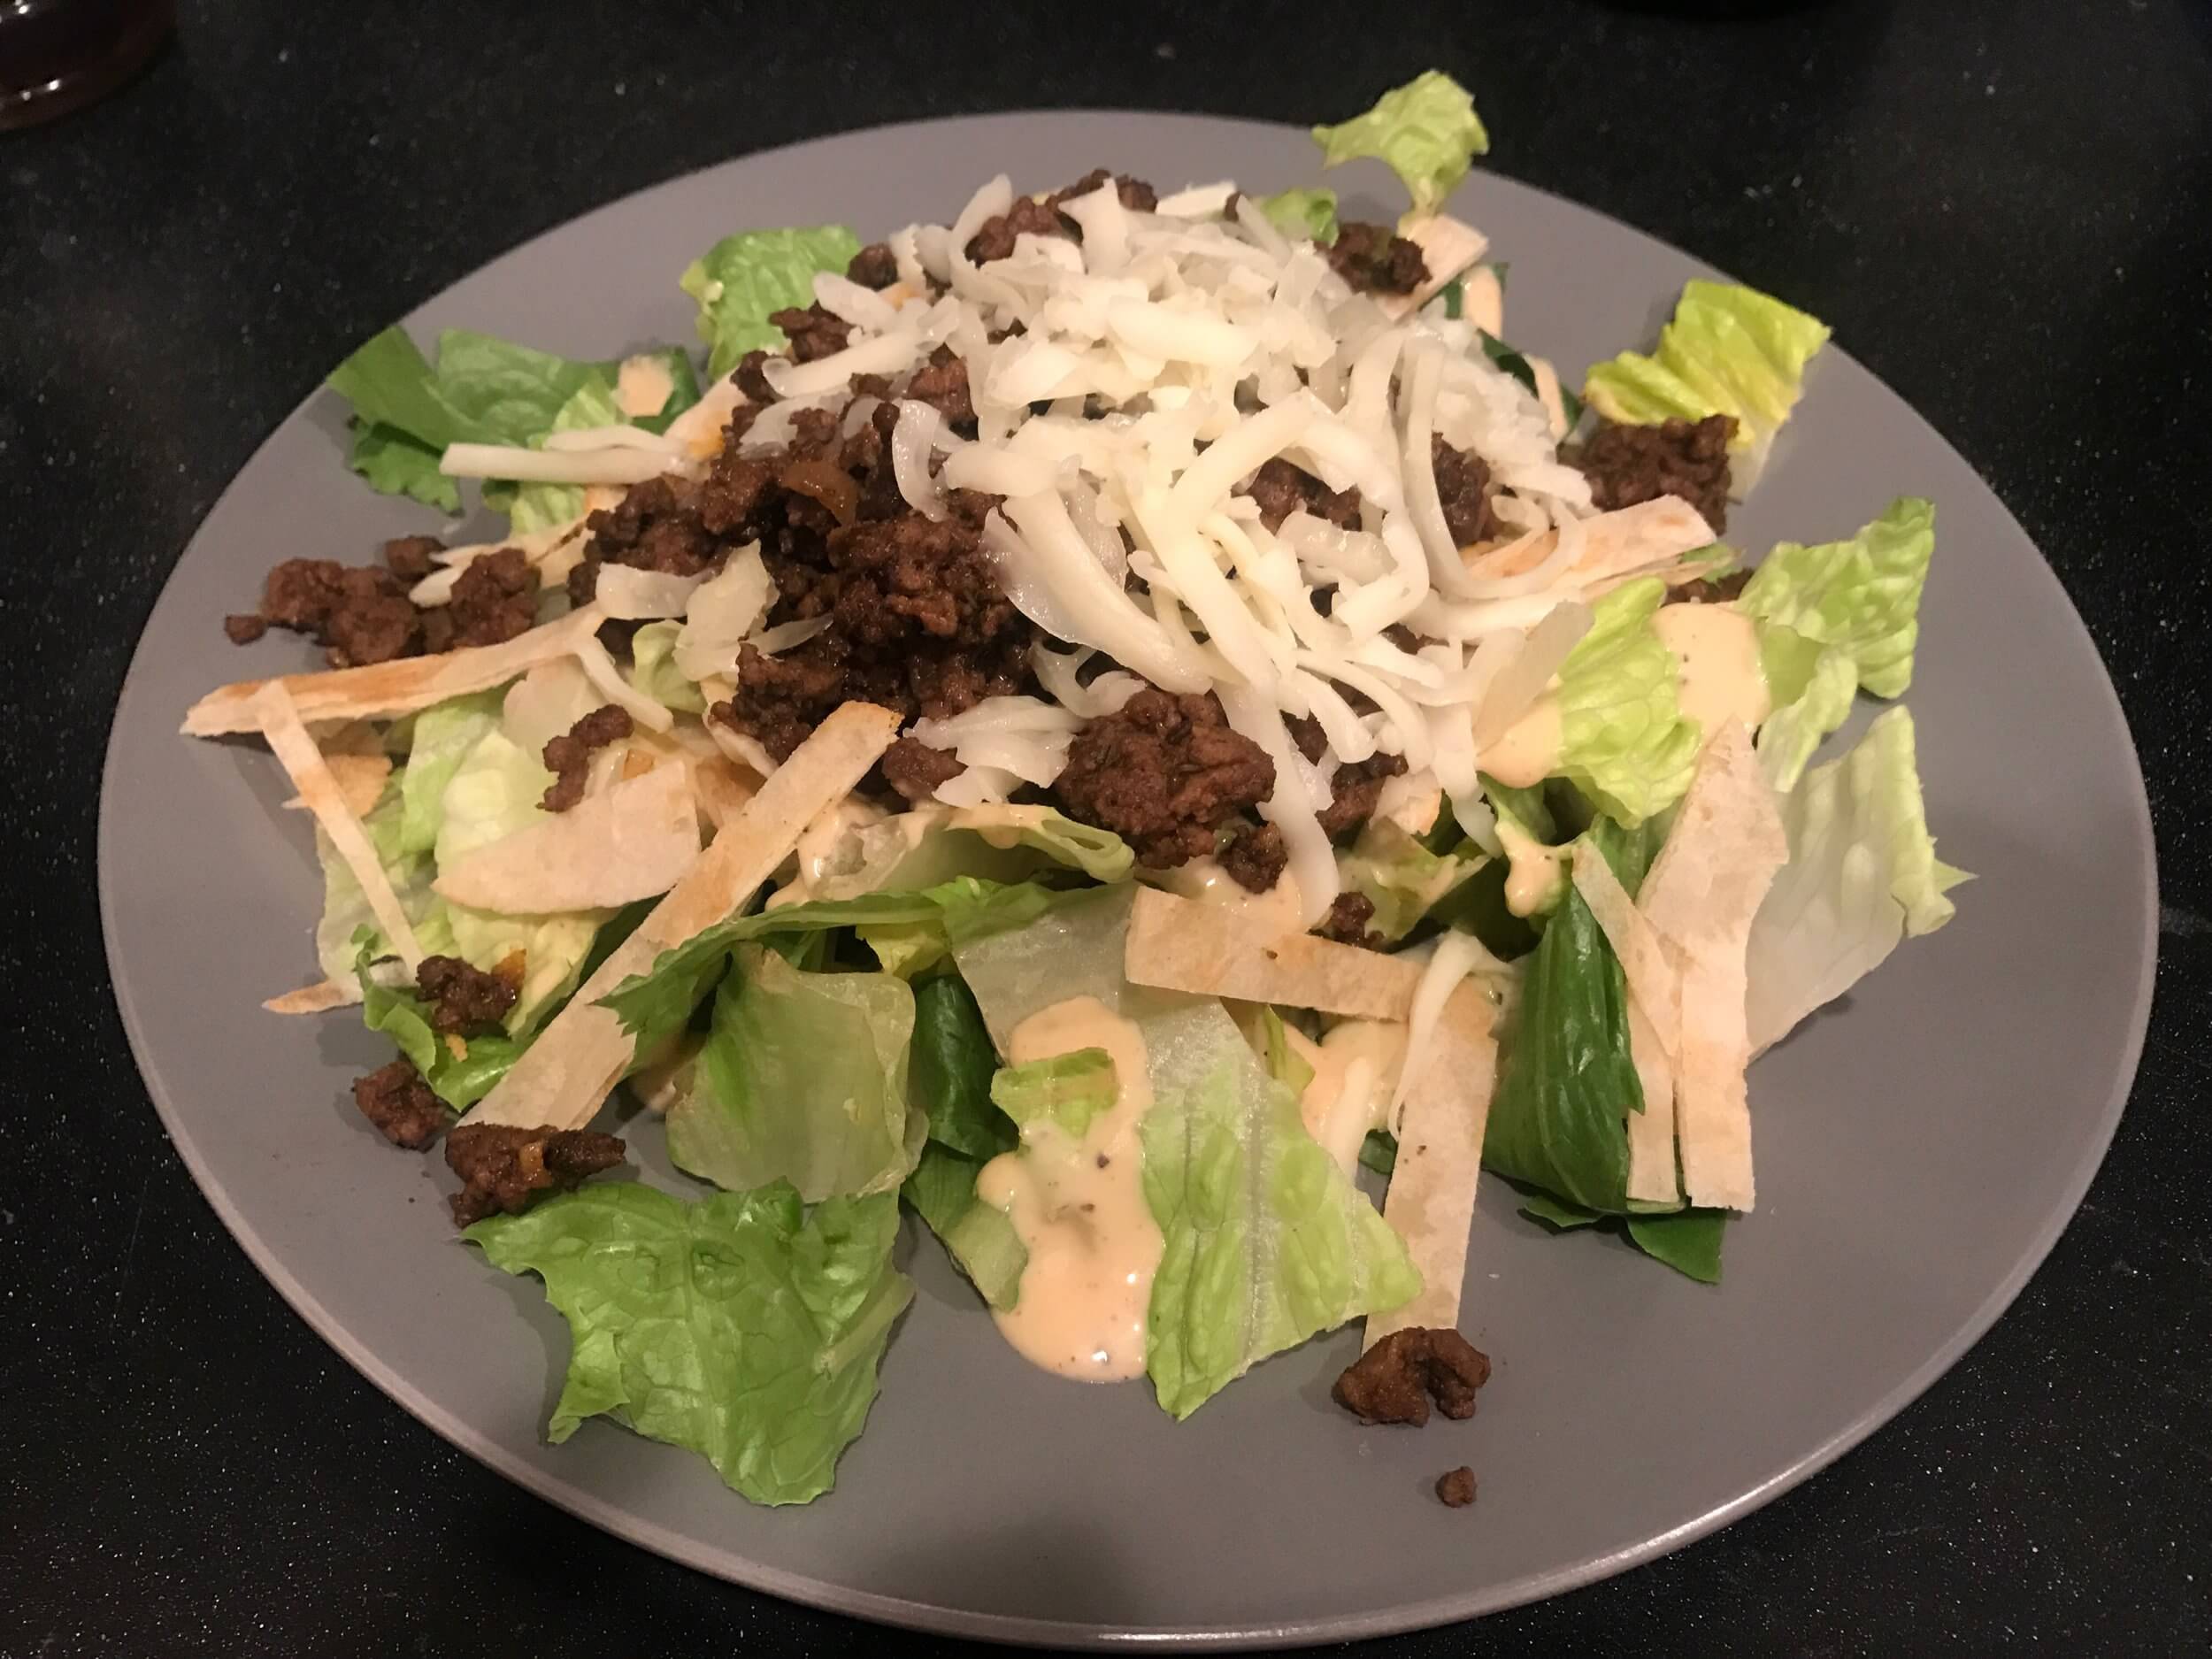
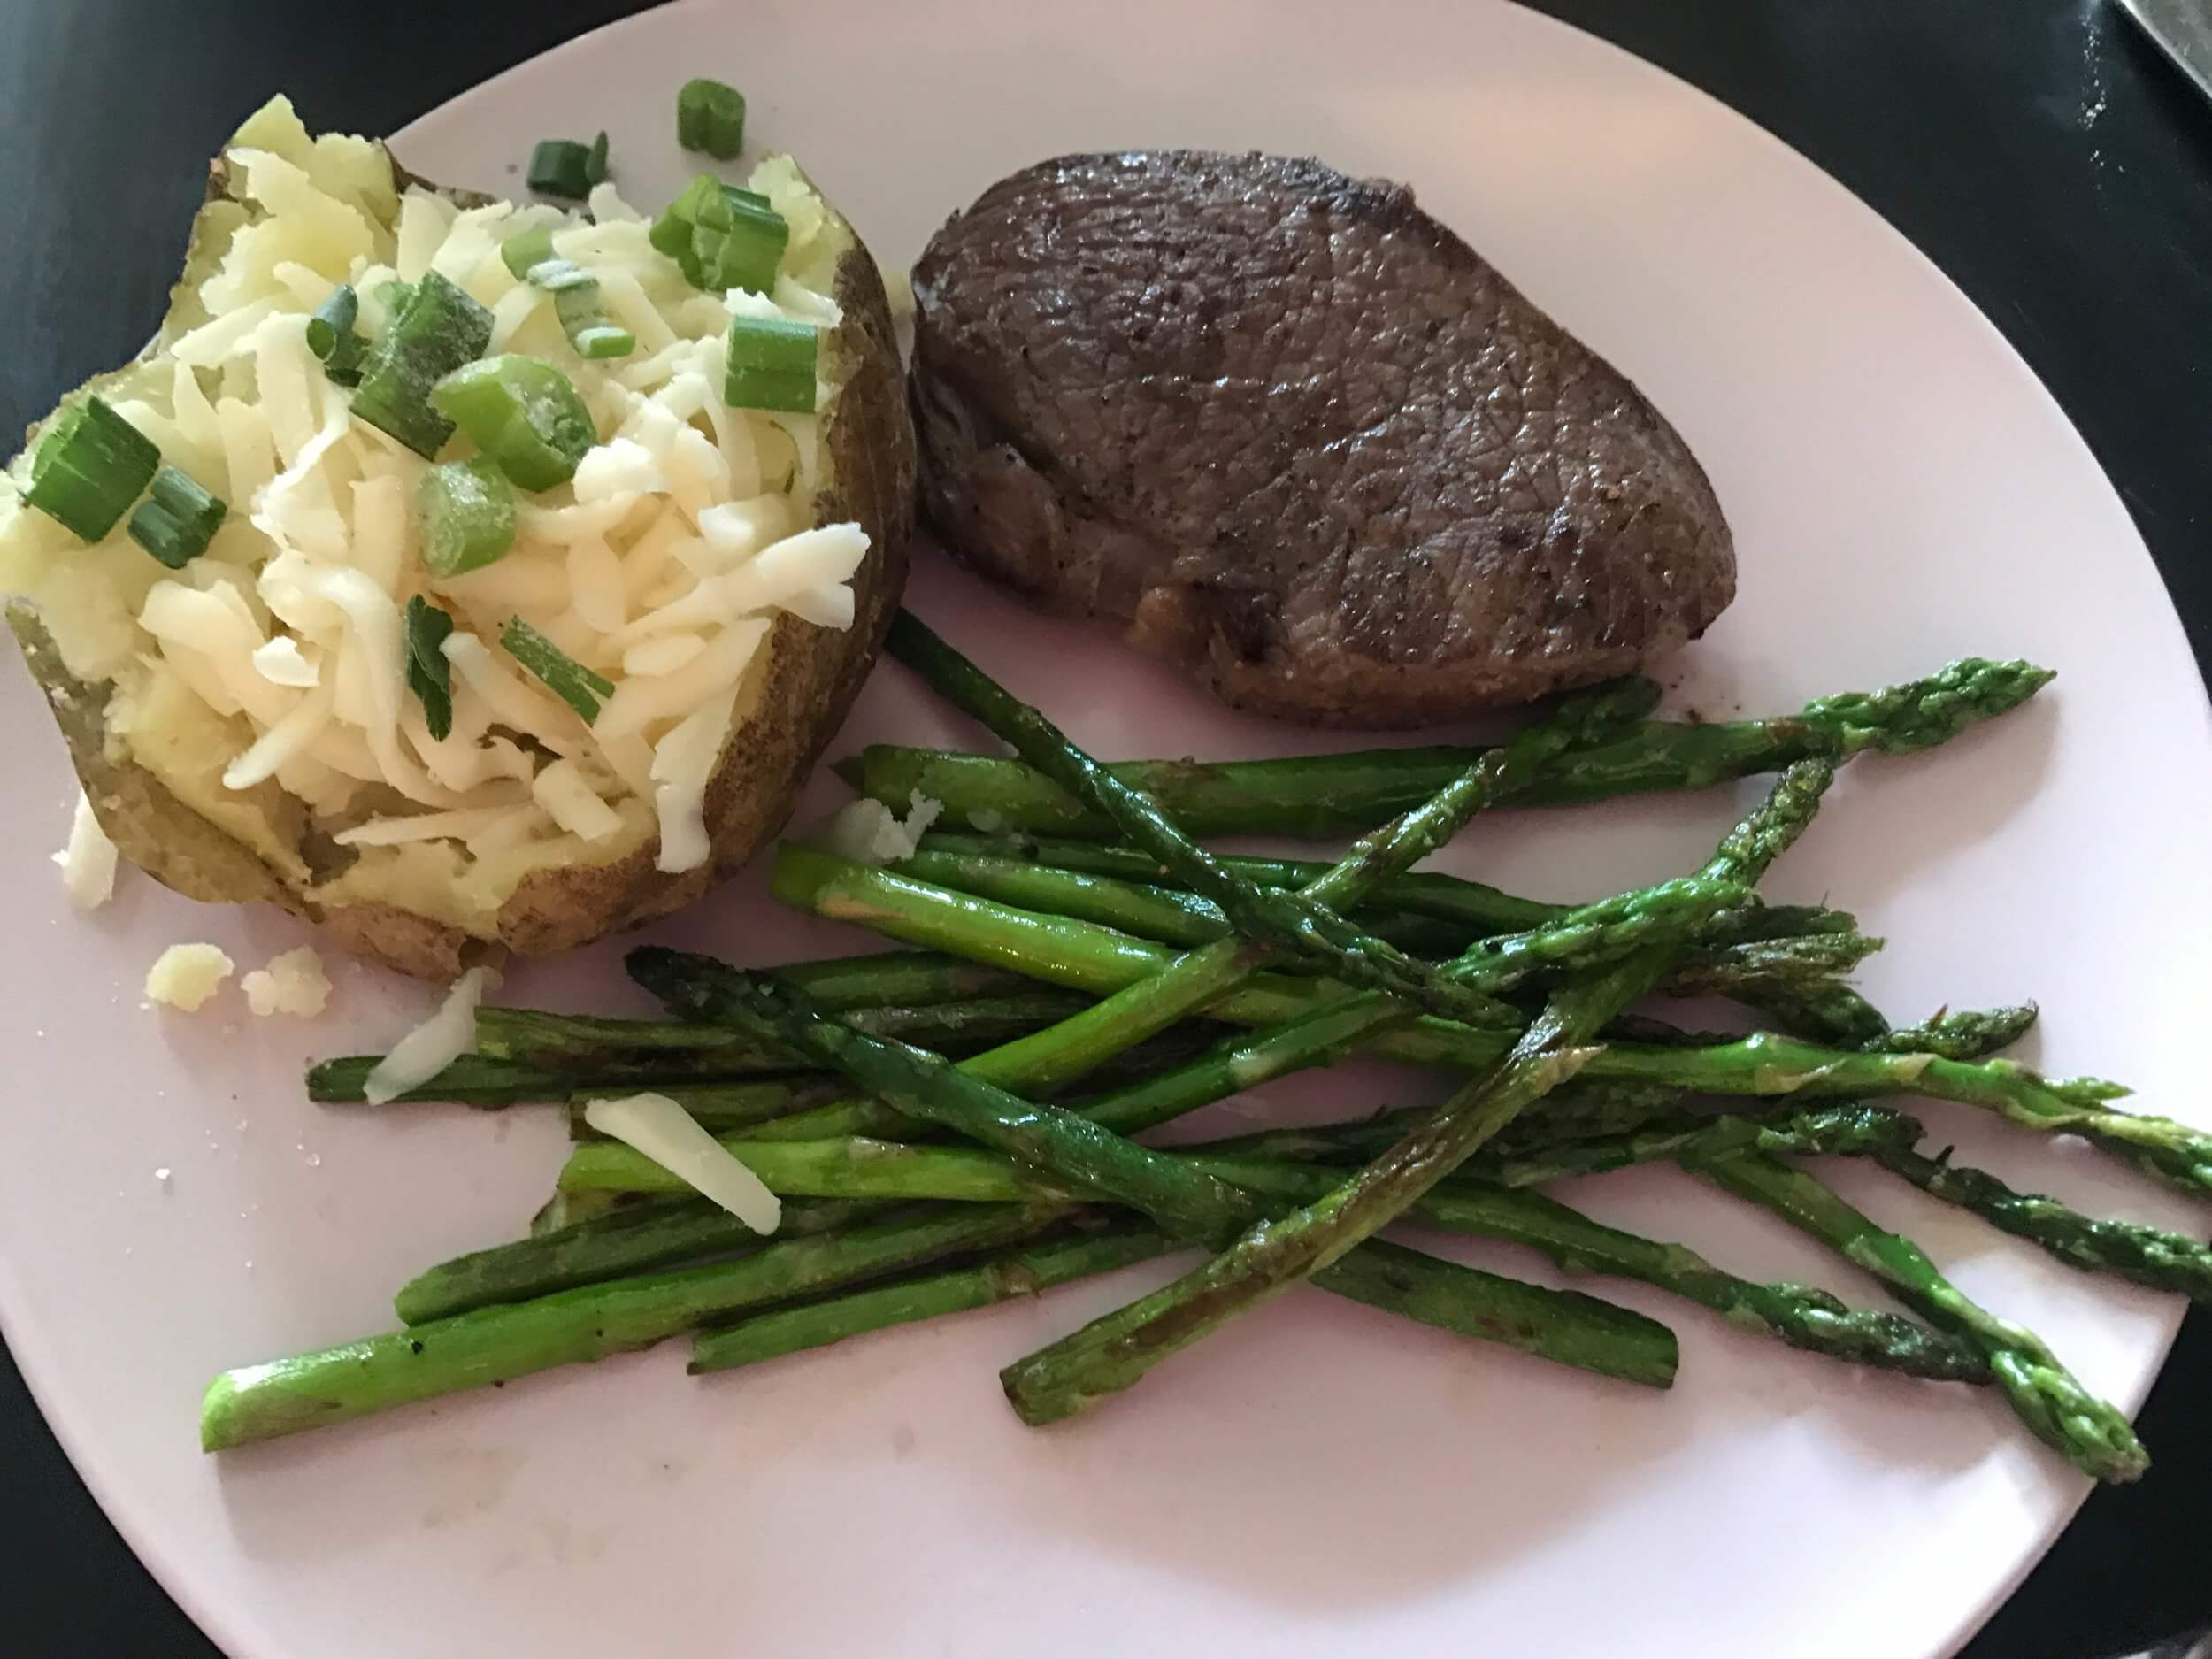
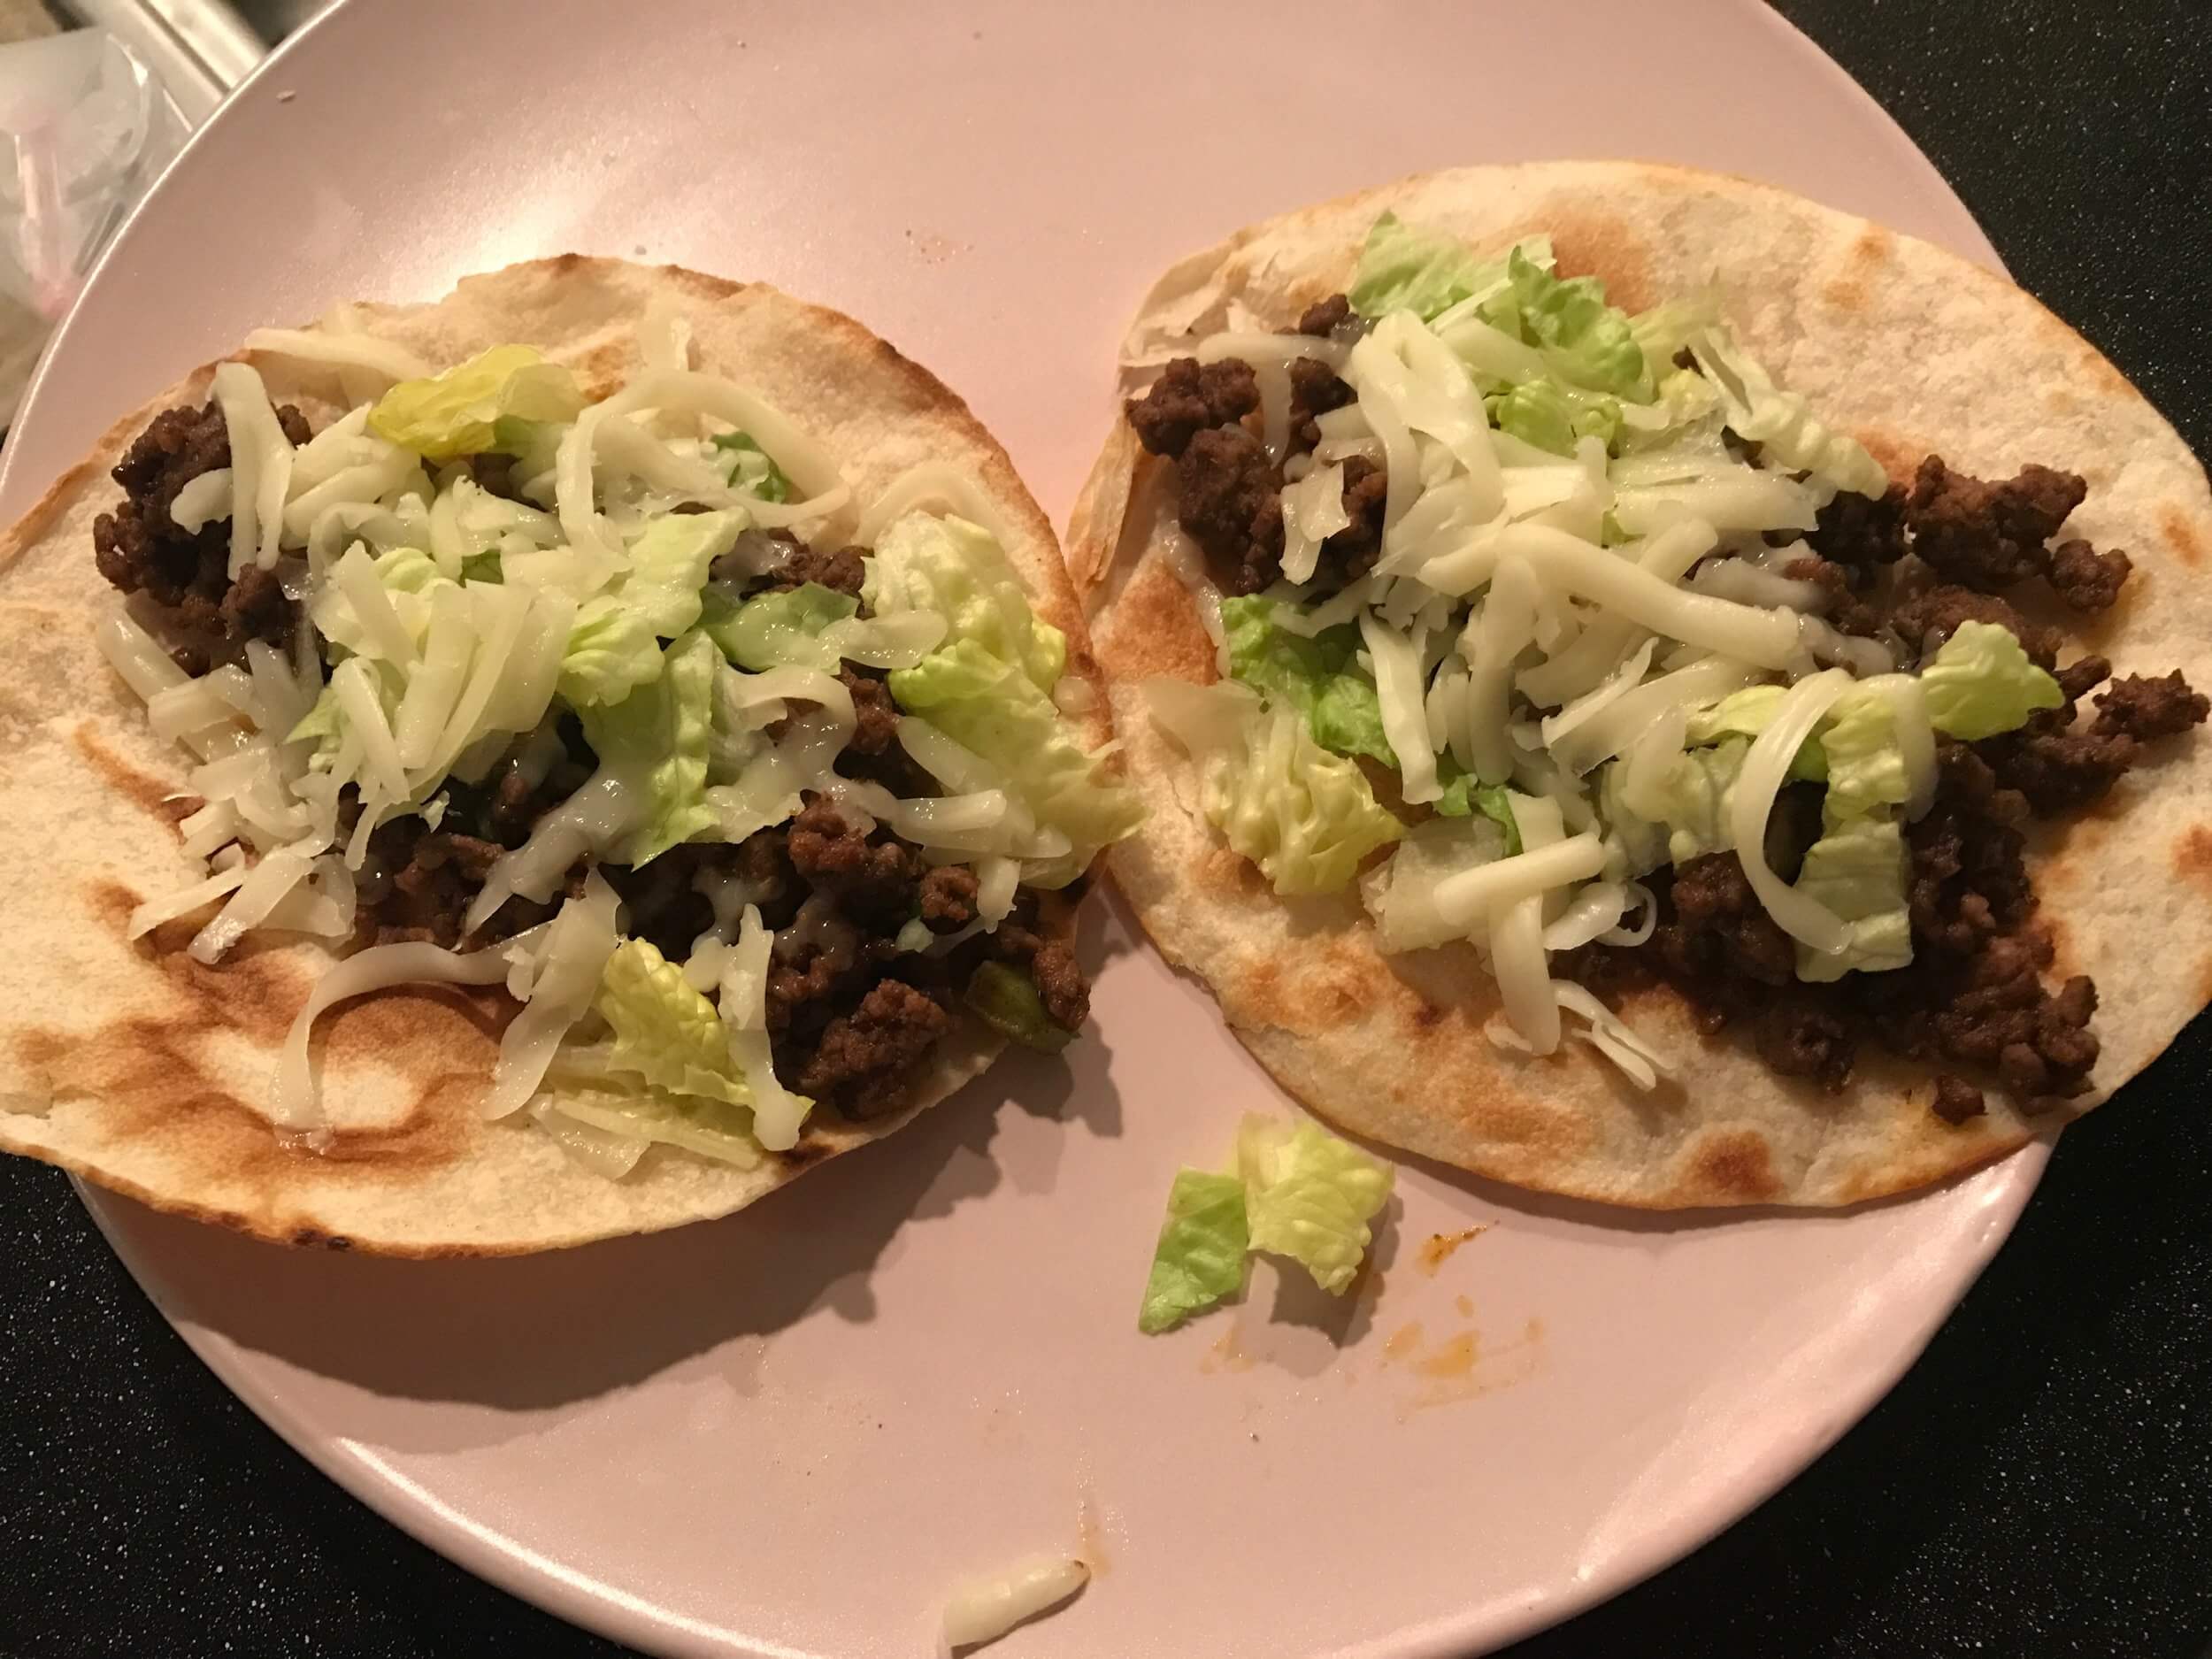
And I wanted to share with you Lauren’s meals as well! She’s the master of the 1 person platters and of course, she likes fast and easy dinners like everyone else.

Yes, that girl budgeted well enough to have steak! Lol and I’m about to try to do her tostadas tonight.

I hope you’ll tune into the last part of the challenge, where I share a few more meal ideas as well as give you the rundown on what was left over (if anything is) and of course if I was able to stay under budget because I did have to grab one more thing!

SNAP Challenge Part 3: The Big Prep and How Snacking Just Got Stressful

Dinner, Education, Lifestyle, Lunch, Recipes · March 25, 2017

I Learned a Little About Beans:

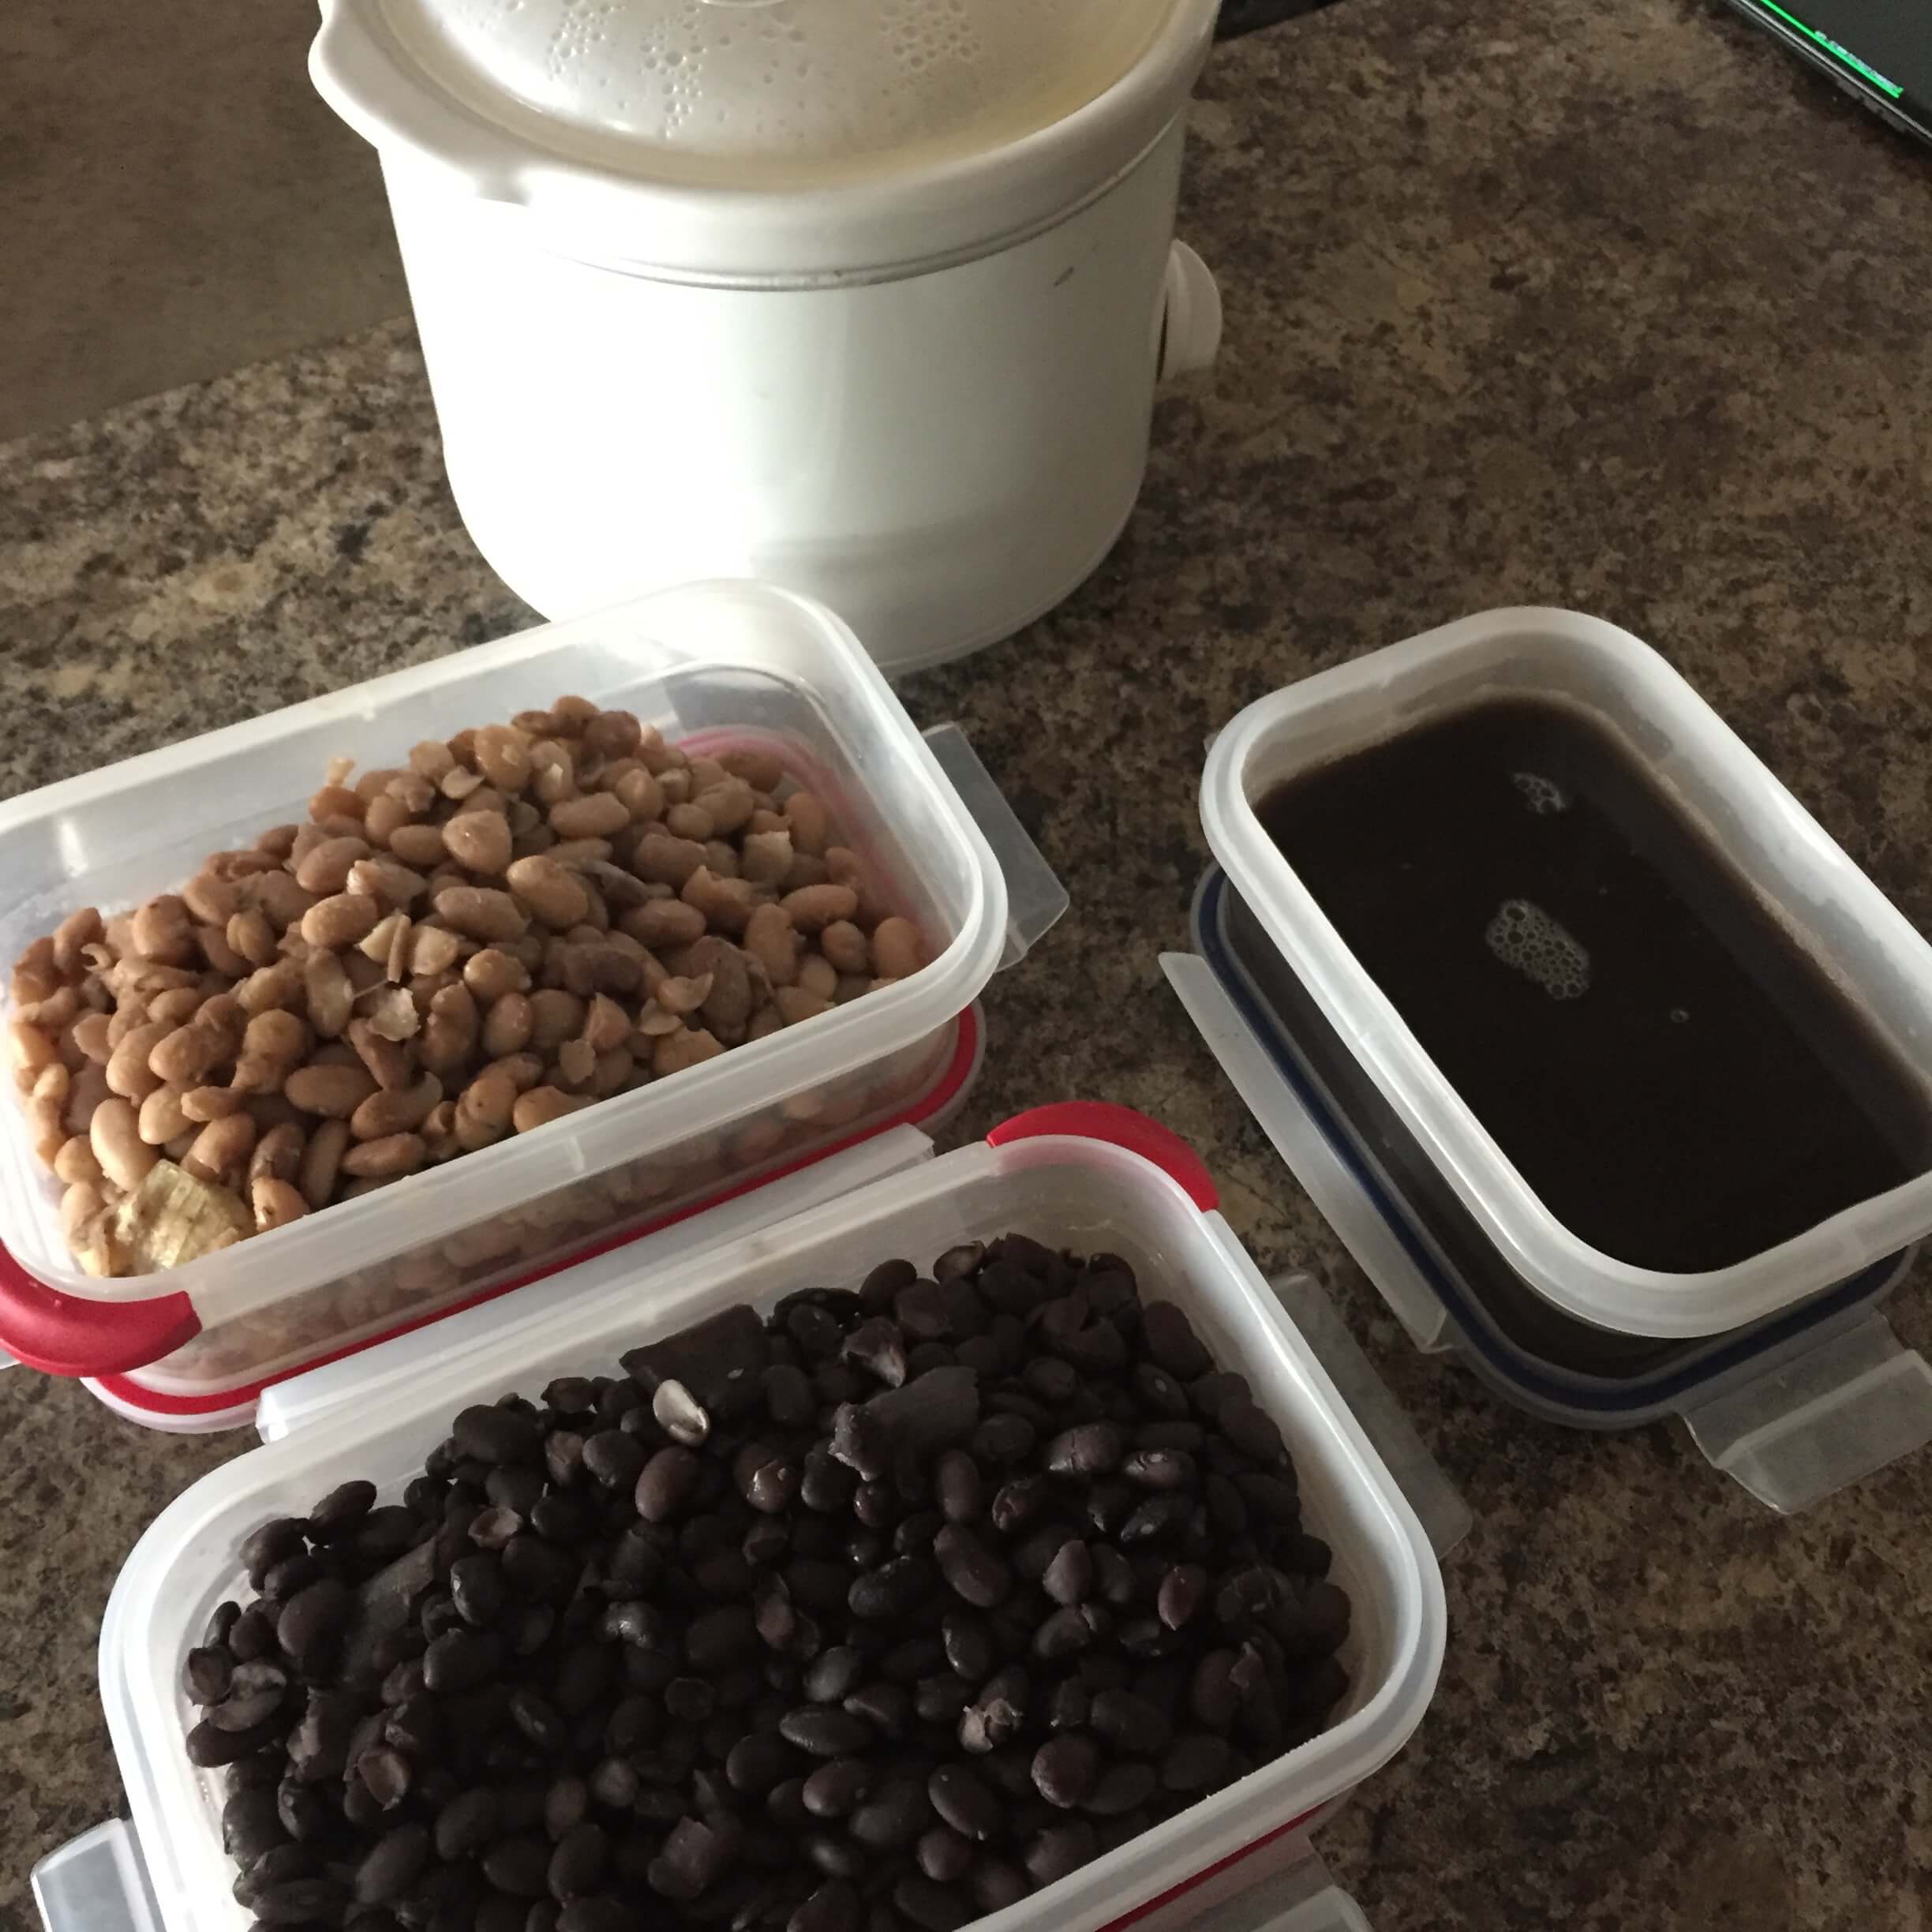
Let’s start with dried beans. I picked them because they were much cheaper per pound and I think I would be getting a higher yield from my purchase. I ended up with three, half a pound, bags of beans. I picked pinto beans, black beans, and a mix called “10 bean soup.” I was already sure that soup would be a good option for this week, so they had me interested because it seemed somewhat like a premix.

I did, however, have to look up what to do with them when I got home. Lauren told me soaking was a must. So into three bowls of water, they went (you might have already seen that on my last blog), and I was able to let them sit there all night while I slept. Super easy. In the morning I poured each bean bowl into a colander and gently rinsed them before putting back into pots to cook with new water.

The Stakes Just Got Higher:

While you might know I want to donate goods to a local food bank (if you read the first blog), I also wanted to share this new addition to the challenge.

My Aunt Shari has been such a big supporter of me my whole life. I love her dearly and I, of course, I always hope I’m making her proud. Today she offered to keep me even more on track by promising to donate DOUBLE the amount of money I do at the end of the challenge to her local food bank as well.

I can’t even begin to say how thankful I am to not only have her believe in me but to believe in this cause too. The point is always to raise awareness and give back where I can, and I’m so lucky to have another reason to keep going and the support to do so.

Now with the stakes higher – I need to keep pushing forward. But there is something unexpected that has been harder than I thought it was going to be.

Will Snacking Break Me?

Seriously. Will it? Cause it feels like it will be my downfall. No Joke.

Let’s start with this. I’m a mindless snacker. I like to have lots of snack on hand. Unsweet applesauce cups. Fruit bowls, nuts, popcorn, tortilla chips, natural trail mix…and it goes on and on. And of course, this is where I’m struggling. I don’t have a whole cupboard full of grab and go snacks at my disposal. In fact, the only thing not assigned to a meal are the apples I bought.

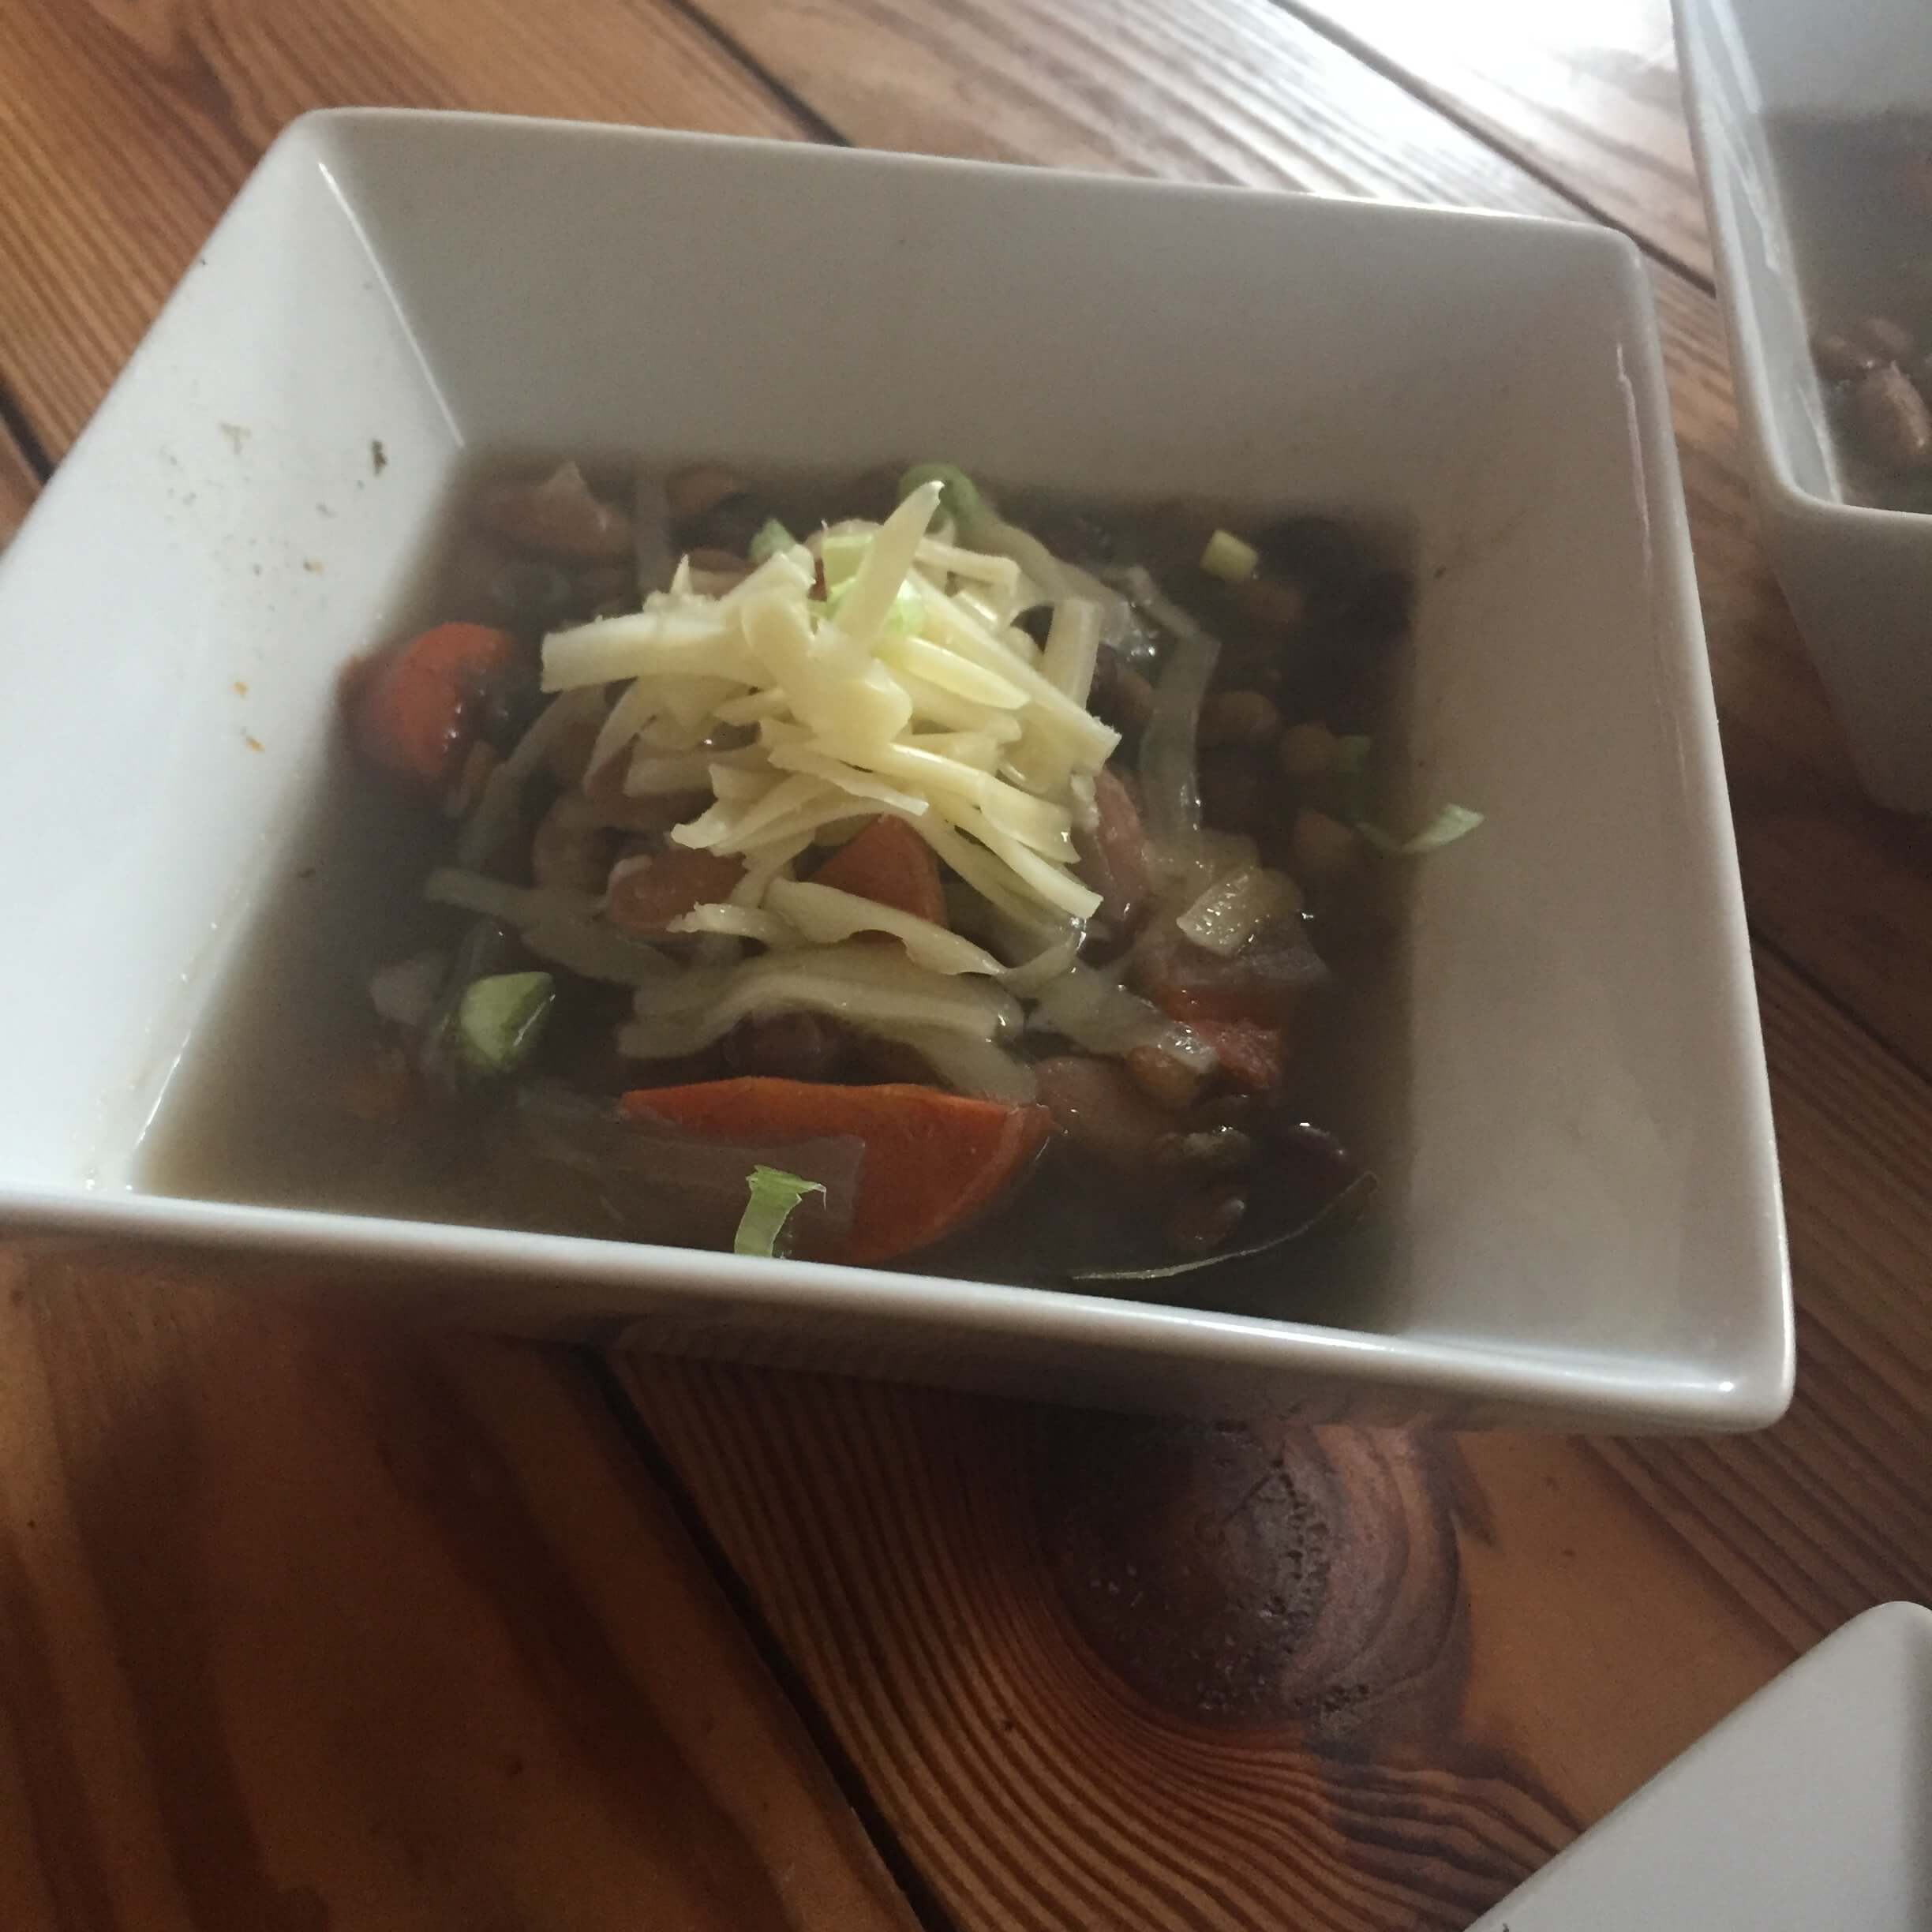
So instead of being able to grab my usual snacks, when I did reach for something to eat, all I had soup ready.

Although now after taking to my Aunt I realize I might be overlooking some great snack ideas. One would be crisping up tortillas cut into triangles and making homemade chips. Also trying this with potatoes and potentially fries. All grab and go stuff for my snacking needs.

Speaking of soup…

Prepping for Convenience:

I had the chance to soak beans for the first time. I soaked all three types overnight and in the morning did two things with them. The first was to put the 10 bean mix into a crock pot with onions, carrots, and the Italian seasoning mix on high for 5 hours to cook into a soup. The same soup I was snacking on.

The second thing I was able to prep was the other two beans, black and pinto beans, and I cooked them for a little over an hour on the stove with the same spices and onion and simmered it gently. After it was all cooked I packed everything up and put it in the fridge. I also drained and saved all of the bean stock from the cooked down beans. I’m not sure how I’ll use it besides in my “refried” beans, but I heard to keep it!

The more I have prepped, the more food I can make on the fly and pack into meals.

Meals We Made:

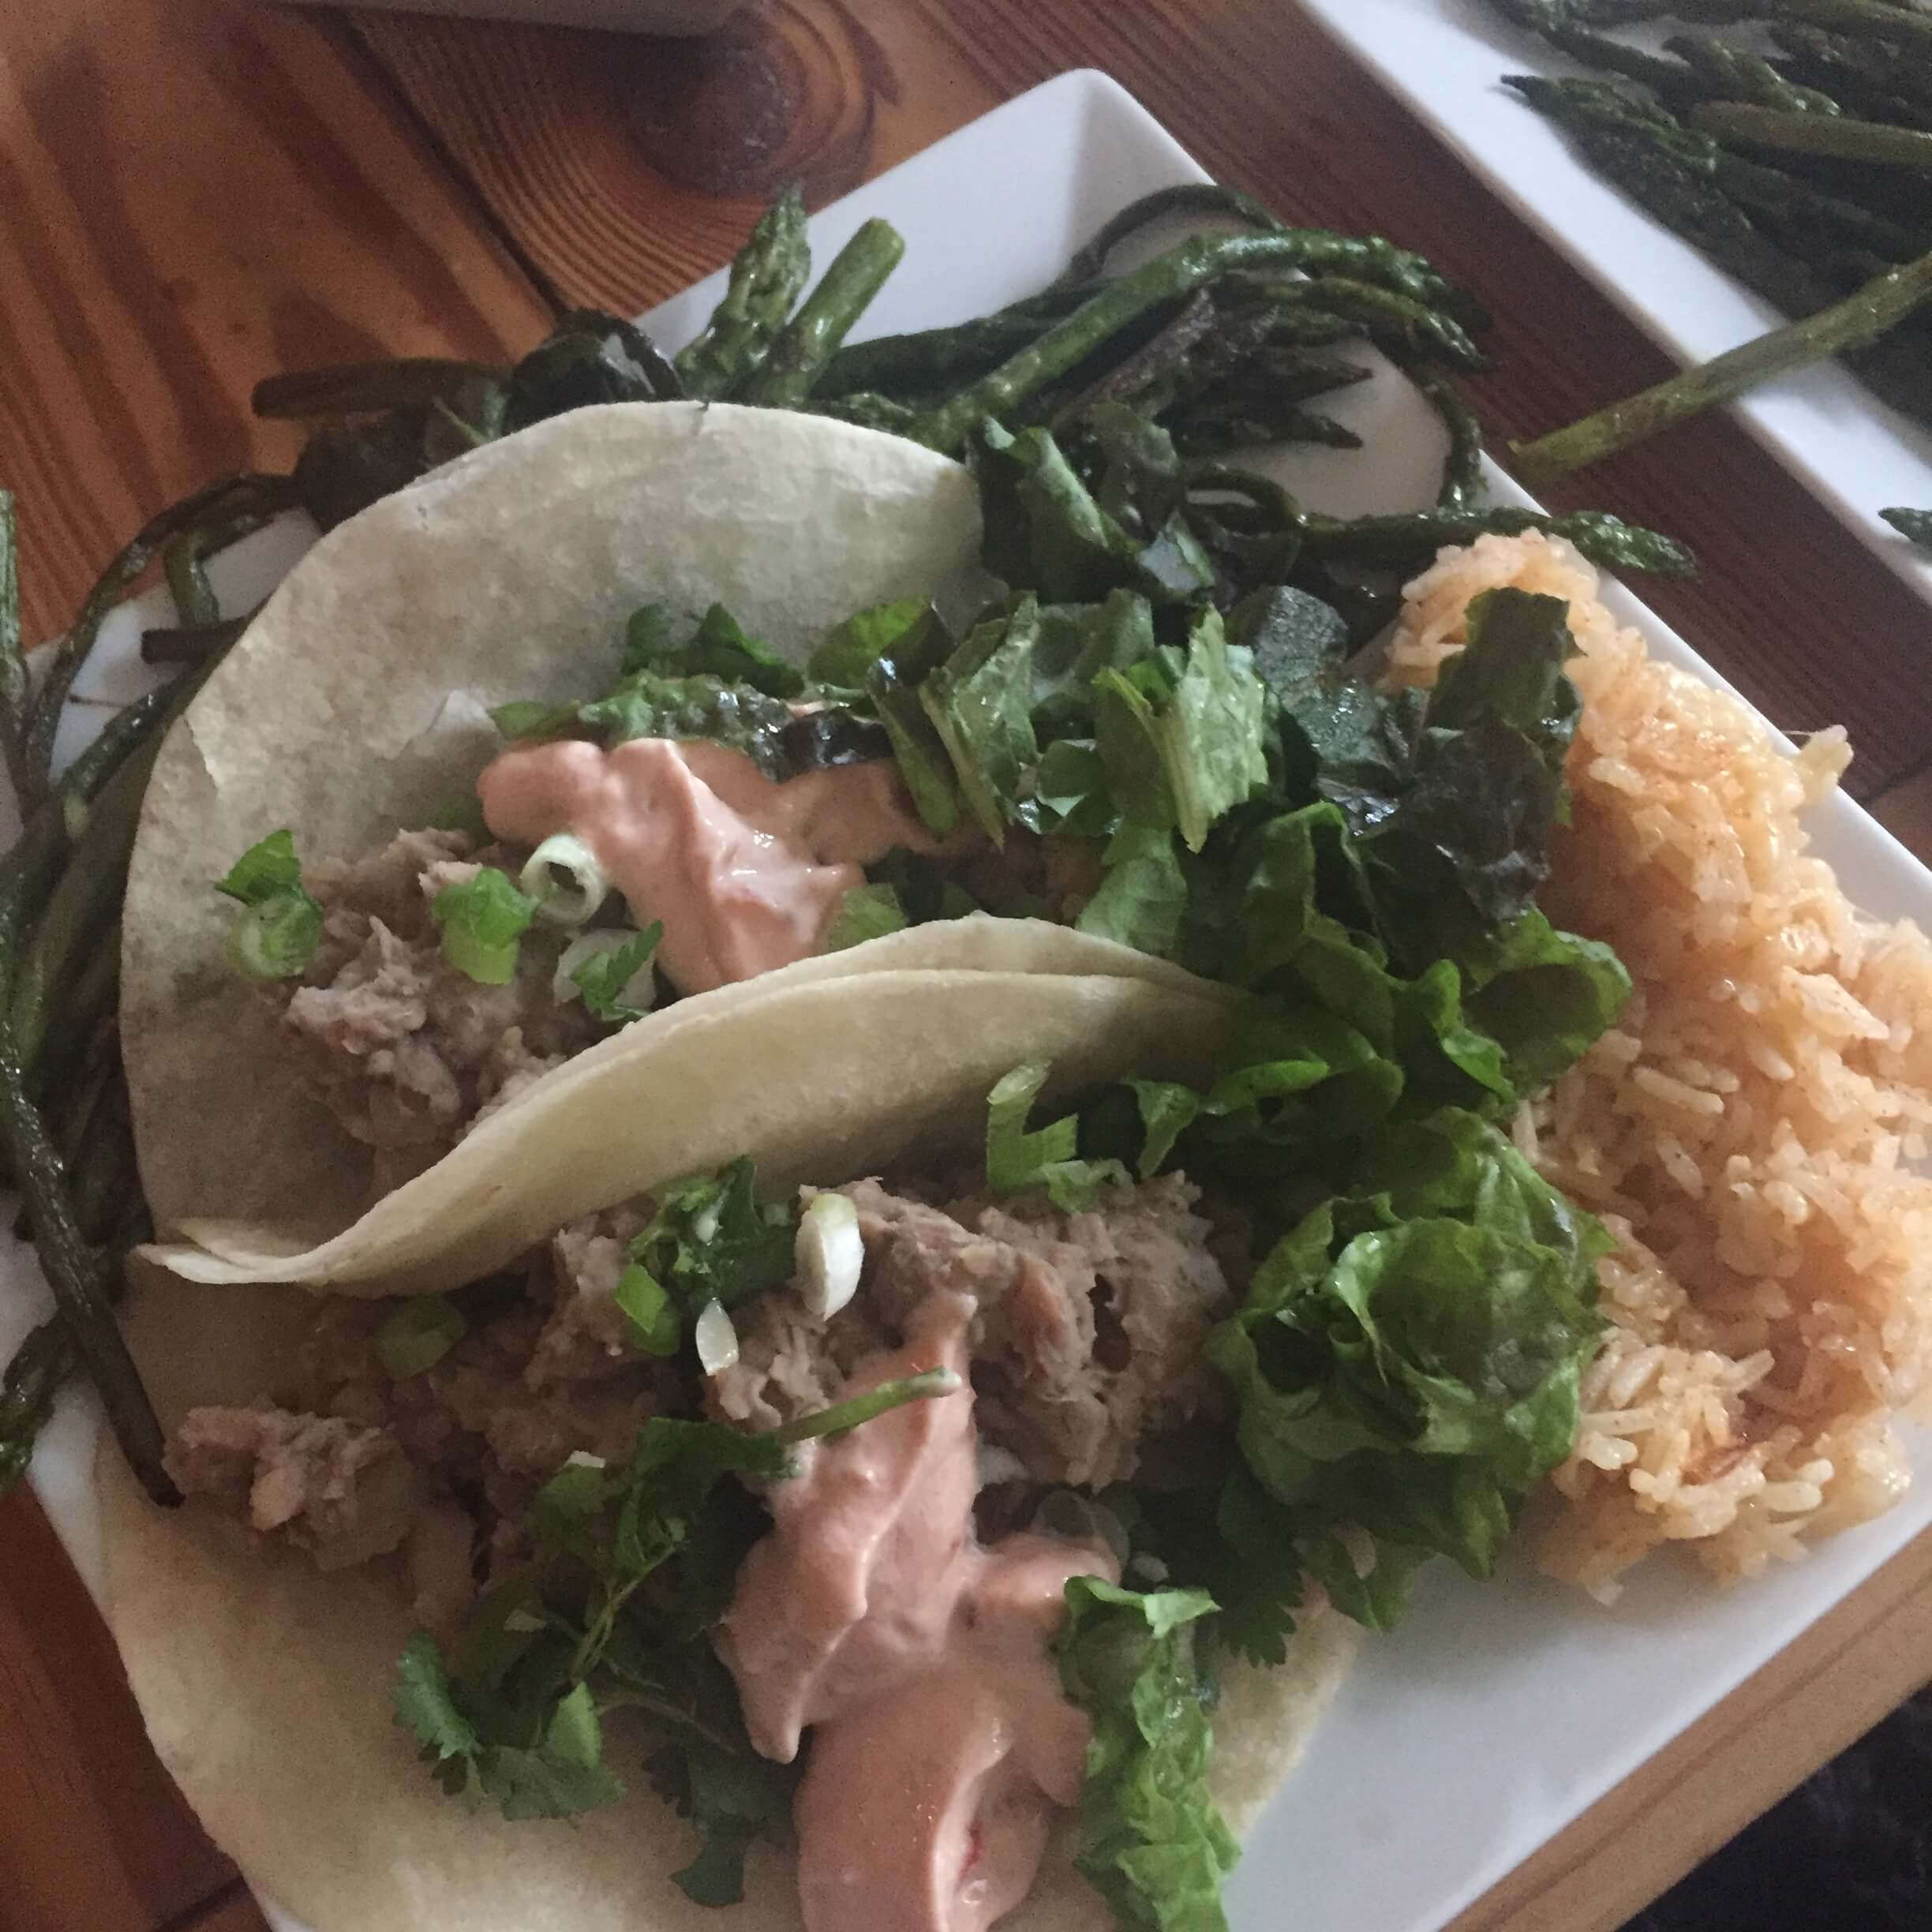
Our dinner was amazing! First I learned how to make “refried” beans. I took all the beans and put them into a frying pan with 2 tbsp of olive oil. I mashed it all down and added some salt and a little splash of bean stock.

I used this as the base of my veggie tacos, and for Matt I cooked up his turkey burgers and put them with the same sides I had. He was a big fan of the “refried beans too! And if you’re wondering why I keep using quotations, it’s because I don’t think this is how to authentically make them but it was my closest attempt.

While I’m not using my usual brand of sprouted tortillas, I did find a fresh local brand that makes them with out a lot of ingredients so that’s a plus!

Meals From Lauren:

So Lauren has been busy cooking up her grocery haul as well, and I wanted to share her awesome foods.

I think so far I have learned that even the most basic ingredients (without all the fancy condiments and things from my cupboard I’m used to) make really, really flavorful and exciting meals.

If you want to see why and how I started this challenge click here, and if you want to get right into what I bought and how much I spent you can catch up on that here!

  • « Previous Page
  • 1
  • …
  • 11
  • 12
  • 13
  • 14
  • 15
  • …
  • 17
  • Next Page »

Explore

  • Breakfast
  • Breastfeeding
  • Dessert
  • Dinner
  • Drinks
  • Education
  • Exclusive Pumping
  • Lifestyle
  • Lunch
  • Money-Saving Tips
  • Parenting
  • Pumping
  • Raising Twins
  • Recipes
  • Restaurant Guide
  • Sides and Sauces
  • Smoothies
  • Snack
  • Twin Pregnancy
  • Twins
  • Uncategorized
Design by SkyandStars.co

Copyright © 2025 · LovePeace Theme by SkyandStars on Genesis Framework · WordPress · Log in