Charred Cheese Sandwich (a twist on a classic)
Today I want to share with you one of my favorite recipes. This recipe was not passed down from anyone. In fact, I made it completely myself and I’m very proud of that. So there’s always that classic recipe that you just put your own personal spin on.
Let’s look at this recipe as just that: I took the boring old grilled cheese, and I leveled it up like you had never seen. I like to call it the “Charred Cheese Sandwich.” So, how do you achieve this next level recipe?
Follow along and I’ll show you exactly how I do it.
Ingredients:
-
Bread
-
Cheese
-
Copious amounts of butter *preferably grass-fed for the health benefits*
You are going to start with the classic grilled cheese ingredients that will include bread, butter, the cheese of your choice. I like sourdough and other white bread because it doesn’t overpower the taste of the cheese that you put on. However, you can use artisan bread or even wheat bread and it will just add a hardier flavor to your overall sandwich.
The next step is carefully choosing your cheese. This means that you want to pick a cheese that’s going to really pack a punch when you take a bite. Oftentimes I see people get really creative and use multiple types of cheese.
Some of my favorite combinations are as follows:
-
American cheese with provolone cheese
-
Swiss cheese with Parmesan cheese
-
Pepper jack cheese with Munster cheese
Don’t be limited to the cheeses that I suggest – get creative and pick other cheeses that you like. I would stay away from our cheeses that look like they don’t melt as well, for example, that would be like blue cheese or fetta. However, if you’re feeling super adventurous, you can give these a go. And if you want to be a plain Jane, stick with just one type of cheese until you really get the sandwich down to a science.
Now we’re going to prep for creating this charred cheese sandwich. The sandwich is going to start by placing your bread on a cutting board and buttering one side of each piece of bread with butter. And you’re going to butter them very heavily. Place the cheese between the unbuttered sides of the bread so that the buttered sides are placed facing out.
The real key to this leveled-up sandwich is in the cooking. What differentiates it from the basic grilled cheese that anyone can make is the special process of cooking it that I go through. So here’s what you do.
Instructions:
- Grab a nonstick frying pan, as if this is going to make a difference.
- Turn up your burner to just a smidge over irresponsibly high. So for example, if other people cook their grilled cheese sandwiches to a four or five (which in on most stoves, translate to medium heat) I would go for the gold and get up to seven or eight (we’re talking about high to medium-high
- This is very important…You’re going to let your pan get piping hot. And that should only take a few minutes since we have cranked the burner up.
- Now lay your grilled cheese sandwich down. You should hear a fiery sizzle right away.
- The next step is to stare at your grilled cheese, just stare at it,
…and stare at it,
…and stare at it.
- Get impatient, you’re going to get so impatient, you’re going to start pressing on your sandwich with your spatula. You’re gonna hear another sizzle and you’re gonna lift up the edge just a little bit and you’re gonna realize that the side that you’re cooking is perfectly Brown. This is great.
- Get your spatula underneath it and flip it over. Alright, on to the second part, because we cook the first side so quickly. Now it’s time to panic and realize the cheese in the middle is not going to be that melty if you don’t let it go a little bit longer.
- So, after flipping your cheese sandwich you’re going to stare at it. And you’re going to stare at it.
….And then you’re going to stare at it some more.
- Get bored.
- Go tell your husband or your kids that the sandwiches are almost ready. Walk into the living room and tell them “just a few more minutes till sandwiches are done!”
- Rationalize that sandwich probably needs a couple more minutes to melt the cheese, just a couple more minutes, because that cheese wasn’t very melted.
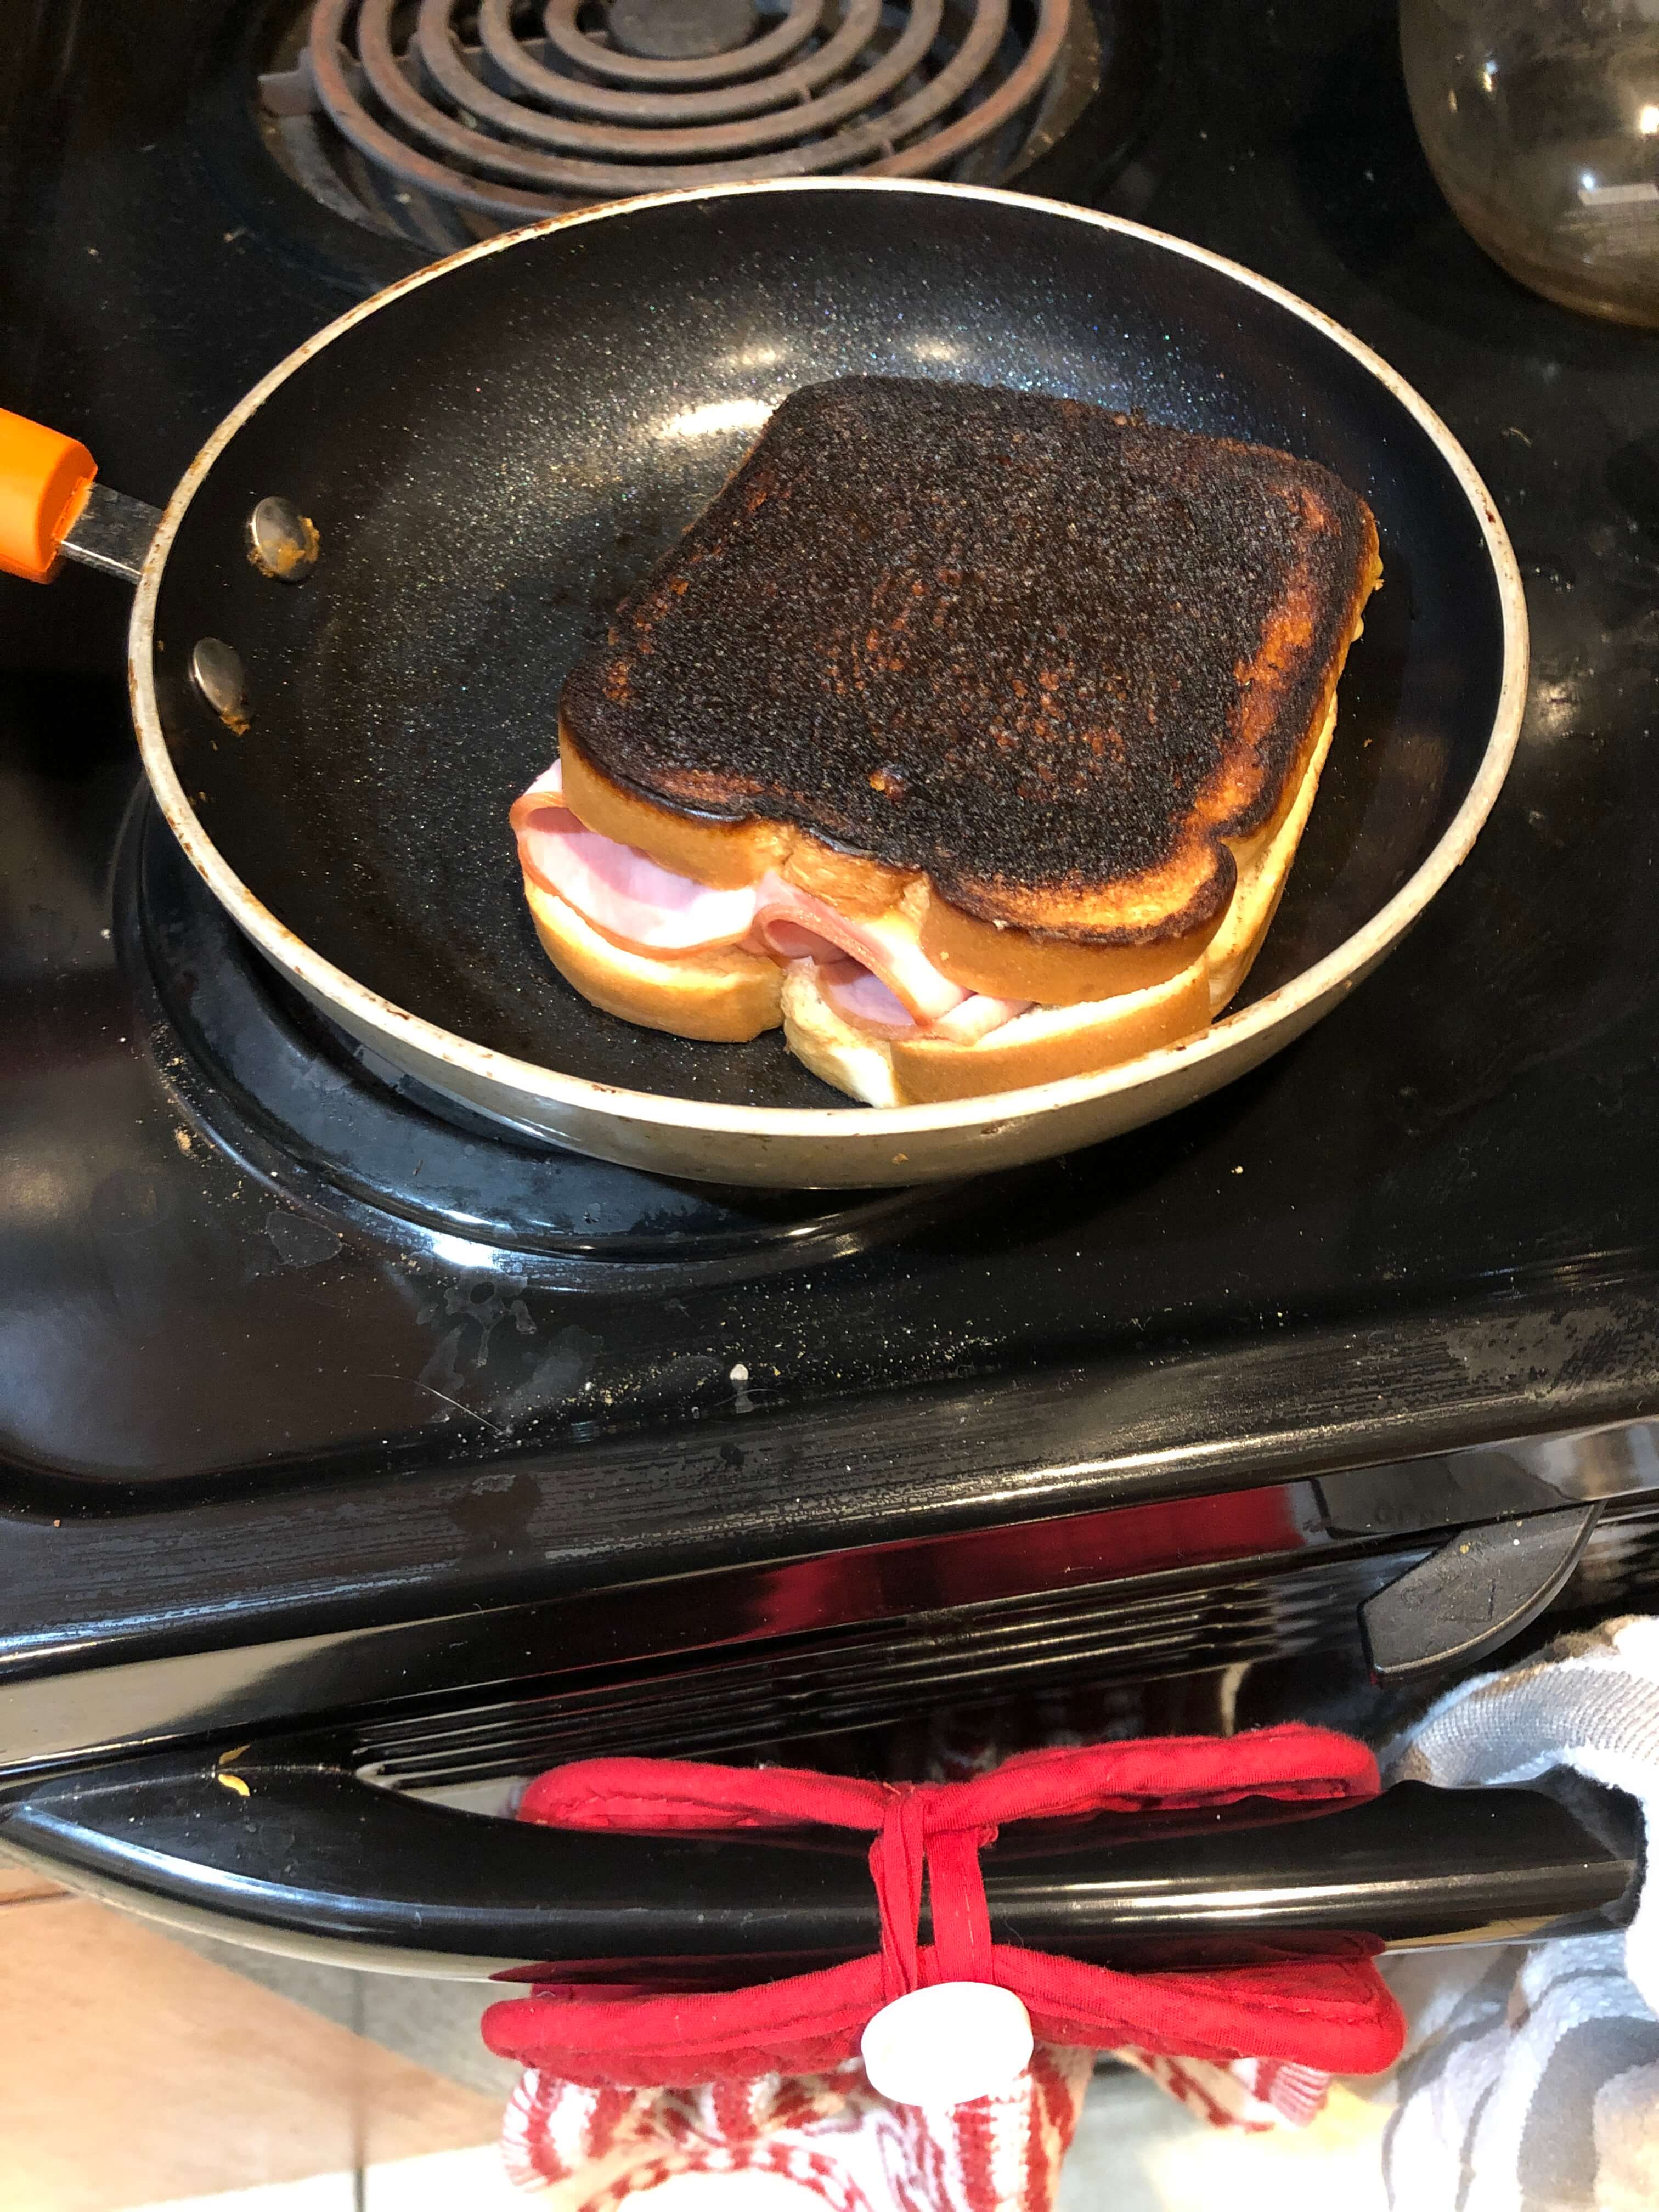
- Let the sandwich tell you that it’s done that it is done. You’re going to start smelling a burnt smell. That’s perfect. That’s exactly when you run frantically back to the kitchen, only to see black smoke smoldering up from the sides of your sandwich
- With your spatula and desperately flip your sandwich onto a plate, praying that it is not overdone. And there it is, my friends, a charred cheese sandwich,
- You should be so discouraged because one side is so perfect and the other is so charred that you’re afraid to serve it to your family.
Perfect Plating
Do what we all should be doing. Show them your best side! Flip that golden brown side to the top and put that charred side down on the plate. Cut it beautifully in a diagonal fashion making sure not to jiggle it too much an spread the char dust and present that to them proudly.
As a final measure, in a little bit of an embarrassing rush, you’re going to hurry away as they take their first very crunchy bite of a charred cheese sandwich and think to yourself, “at least I tried.”
I hope you enjoy this recipe, let me know in the comments below. Have you ever tried this recipe before?