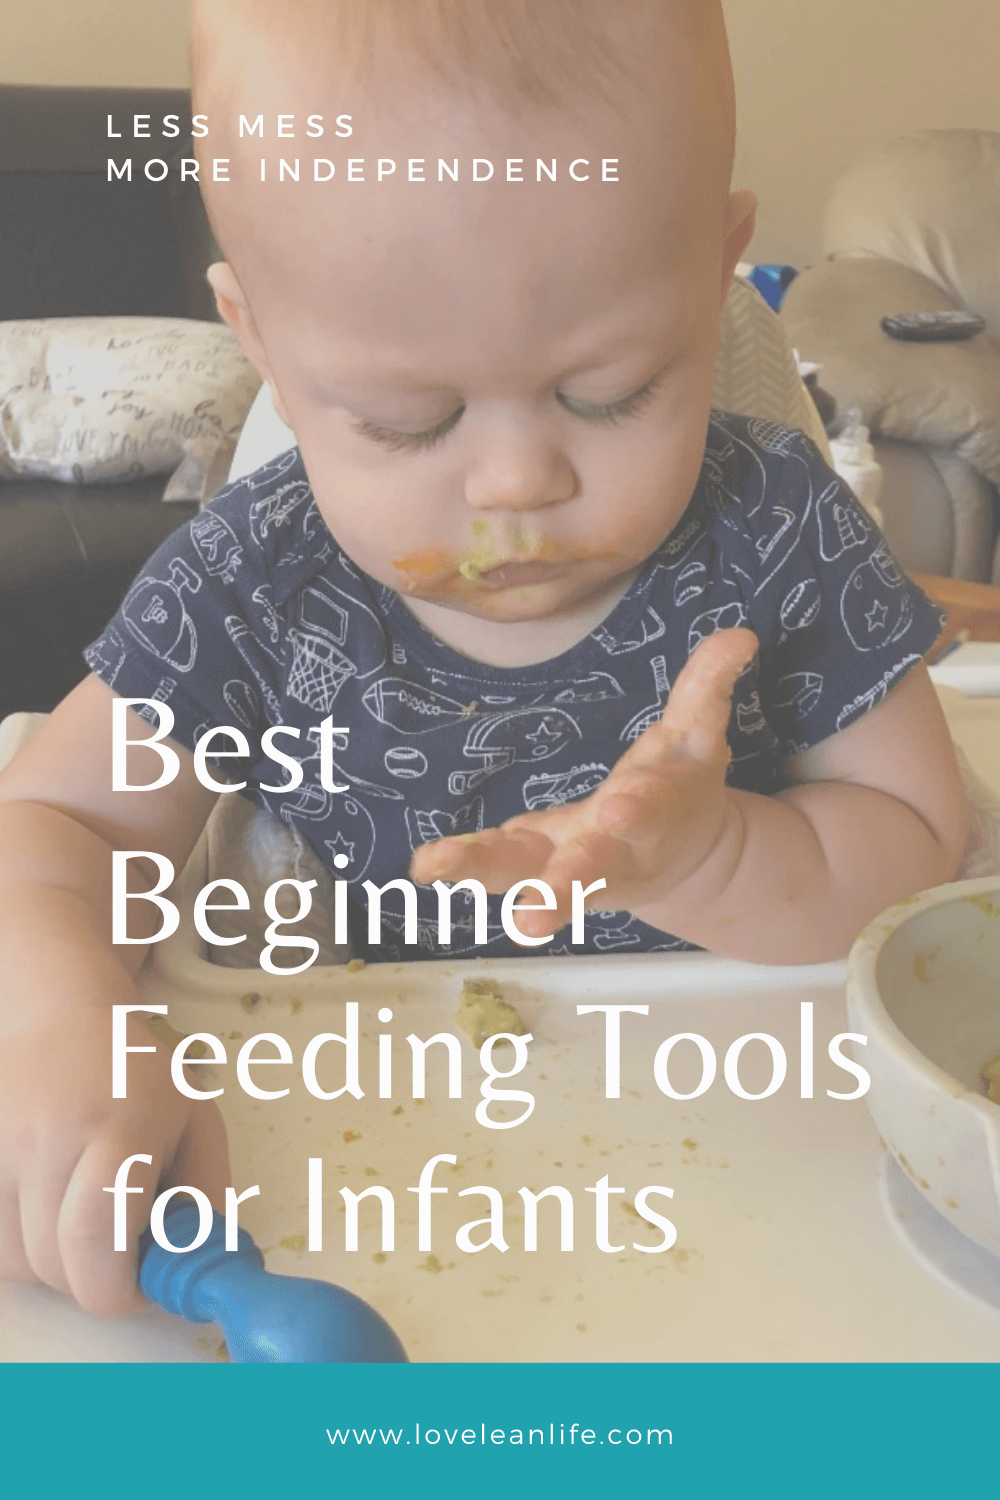
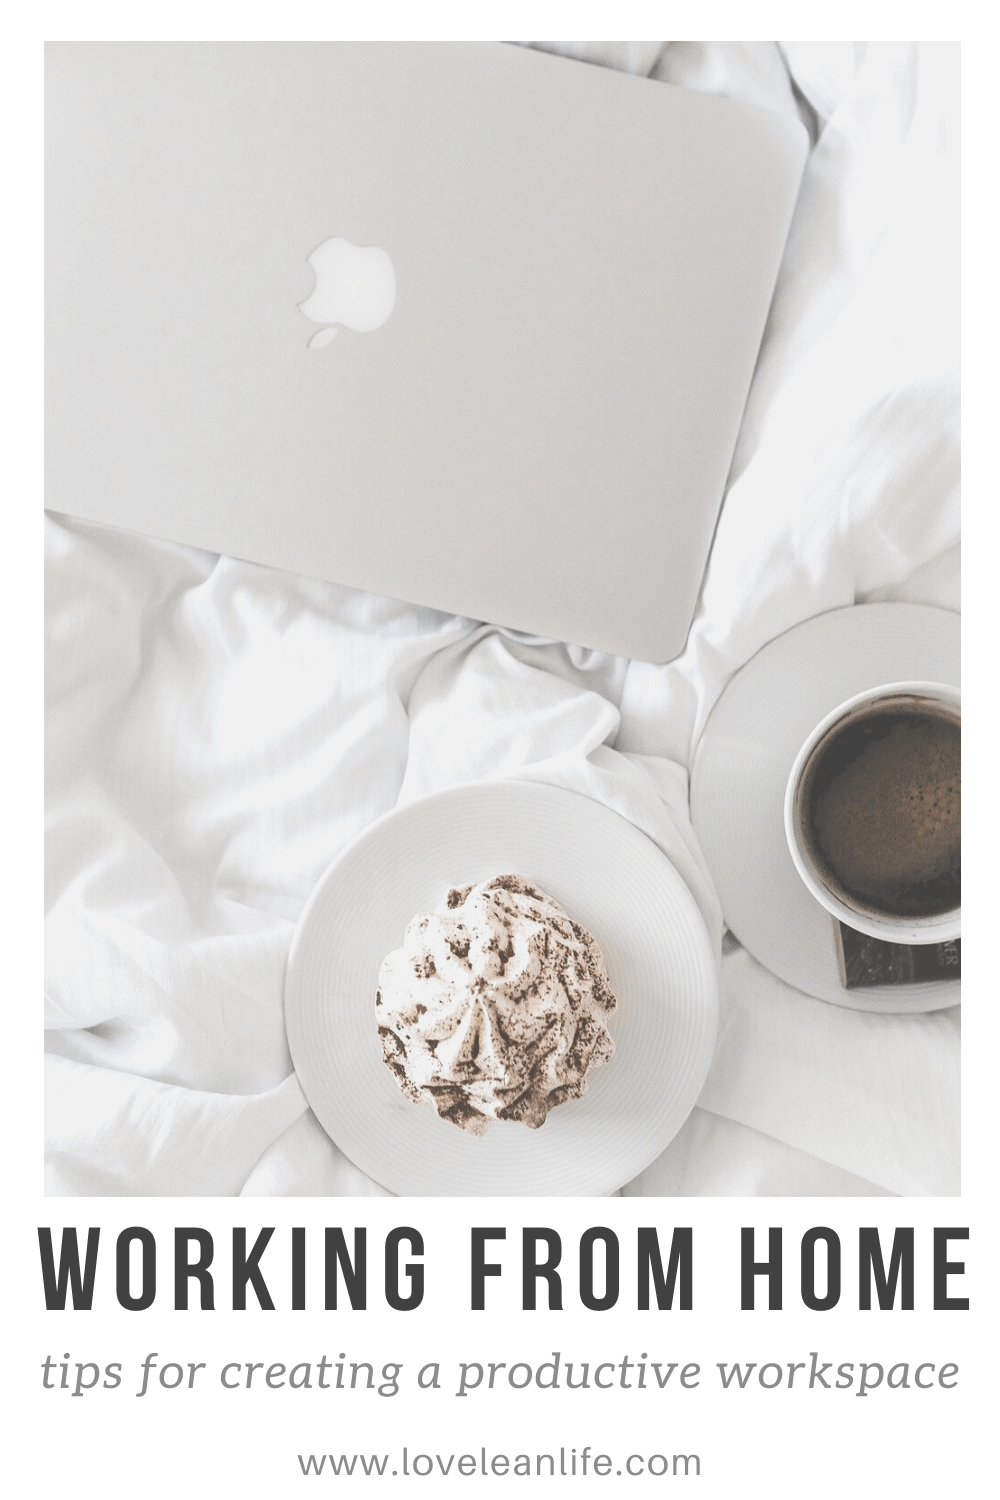
Best Beginner Feeding Tools for Infants
As you dive into the new and exciting world of giving your infant their first foods, it’s both fun and stressful. I remember waiting until the twins were at least 6 months old to introduce anything at all. We started with ripe avocado that they were immediately obsessed with. From day 1 they didn’t care if it was being fed to them on a spoon or on your finger. They would dig their tiny hands into the avocado and mash and pull your hand closer for more food before the spoon was even back to the bowl.
I knew we had some good eaters on our hands. The boys’ curiosity with the spoon soon grew to an obsession and we would pry one set of slippery avocado hands off the spoon between bites to feed the other. They loved the spoon so much that I realized quickly we could give them their own feeding tools to work with.
At 6 months the boys mostly grabbed onto the spoon we were using and just gnawed on it. They were in the very early stages of teething and it showed. They would grab the spoon and yell in protest when we would even take it away to refill it because they just wanted to chew on it.
In order to help them with this need to chew like small beavers without hurting their gums on traditionally hard spoons, we transitioned them with a few cool tools that are designed for your chewy baby.
Feeding Tools
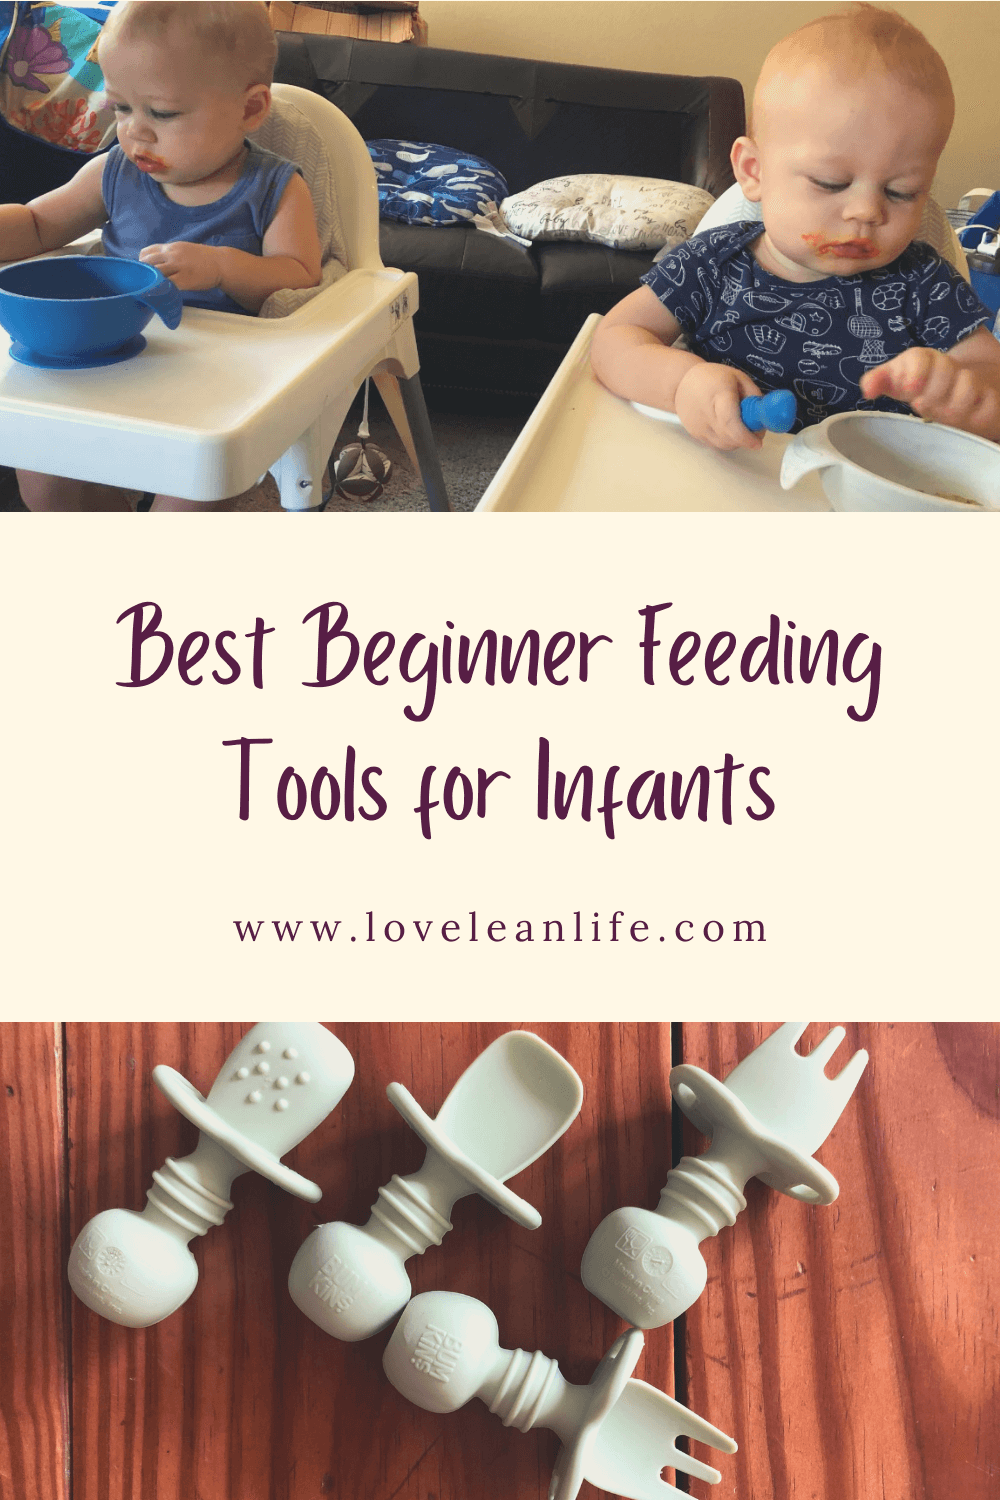
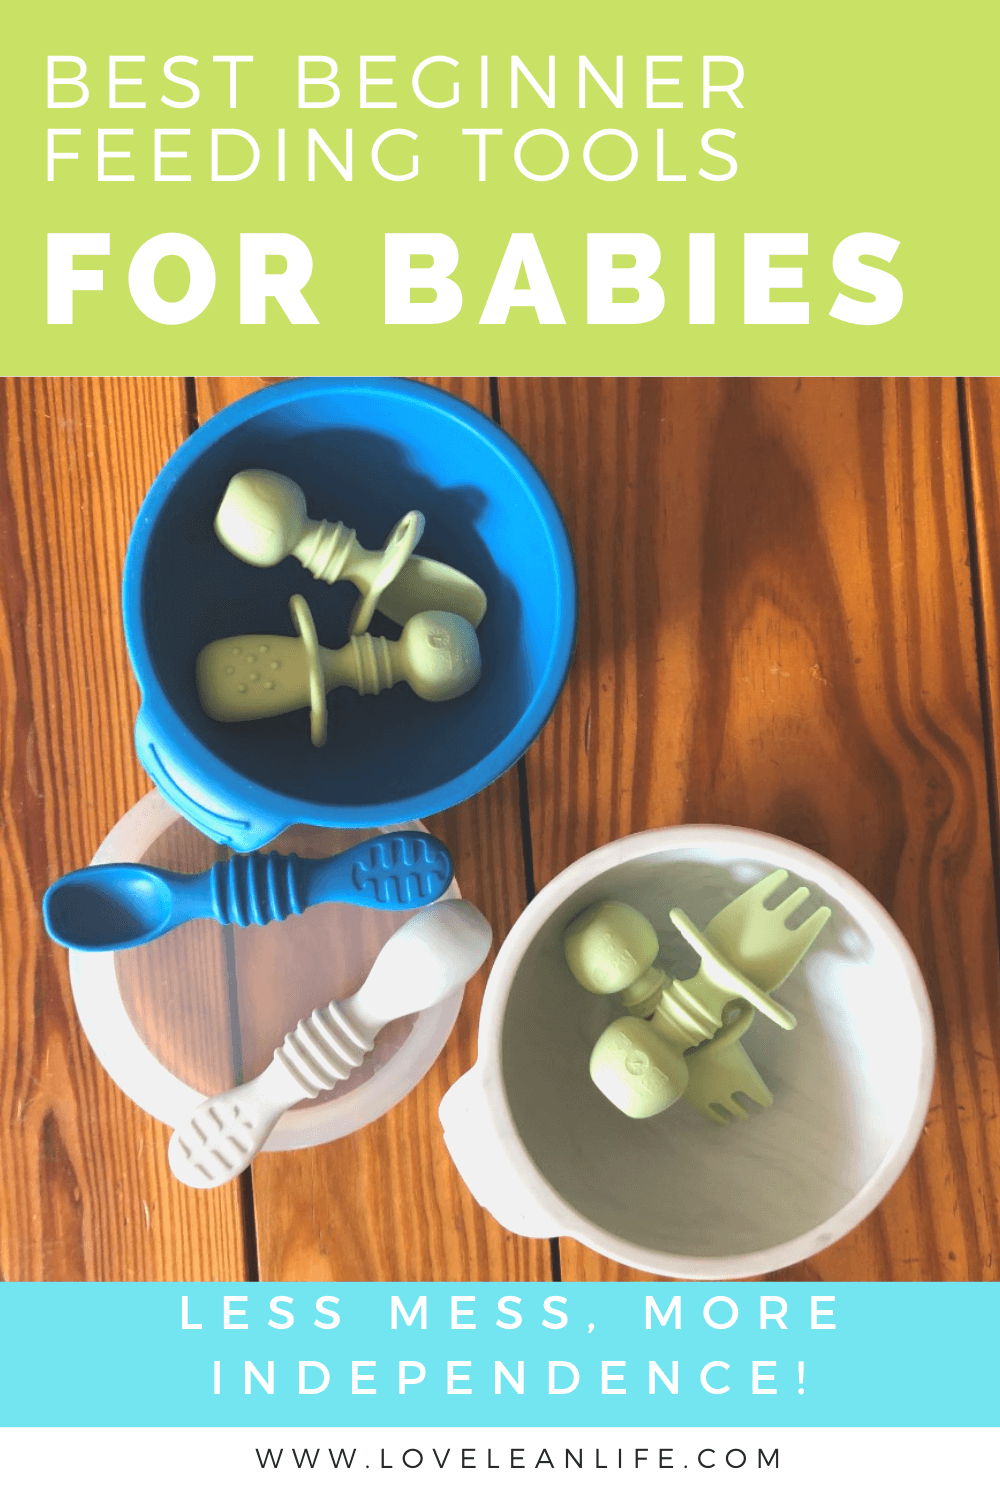
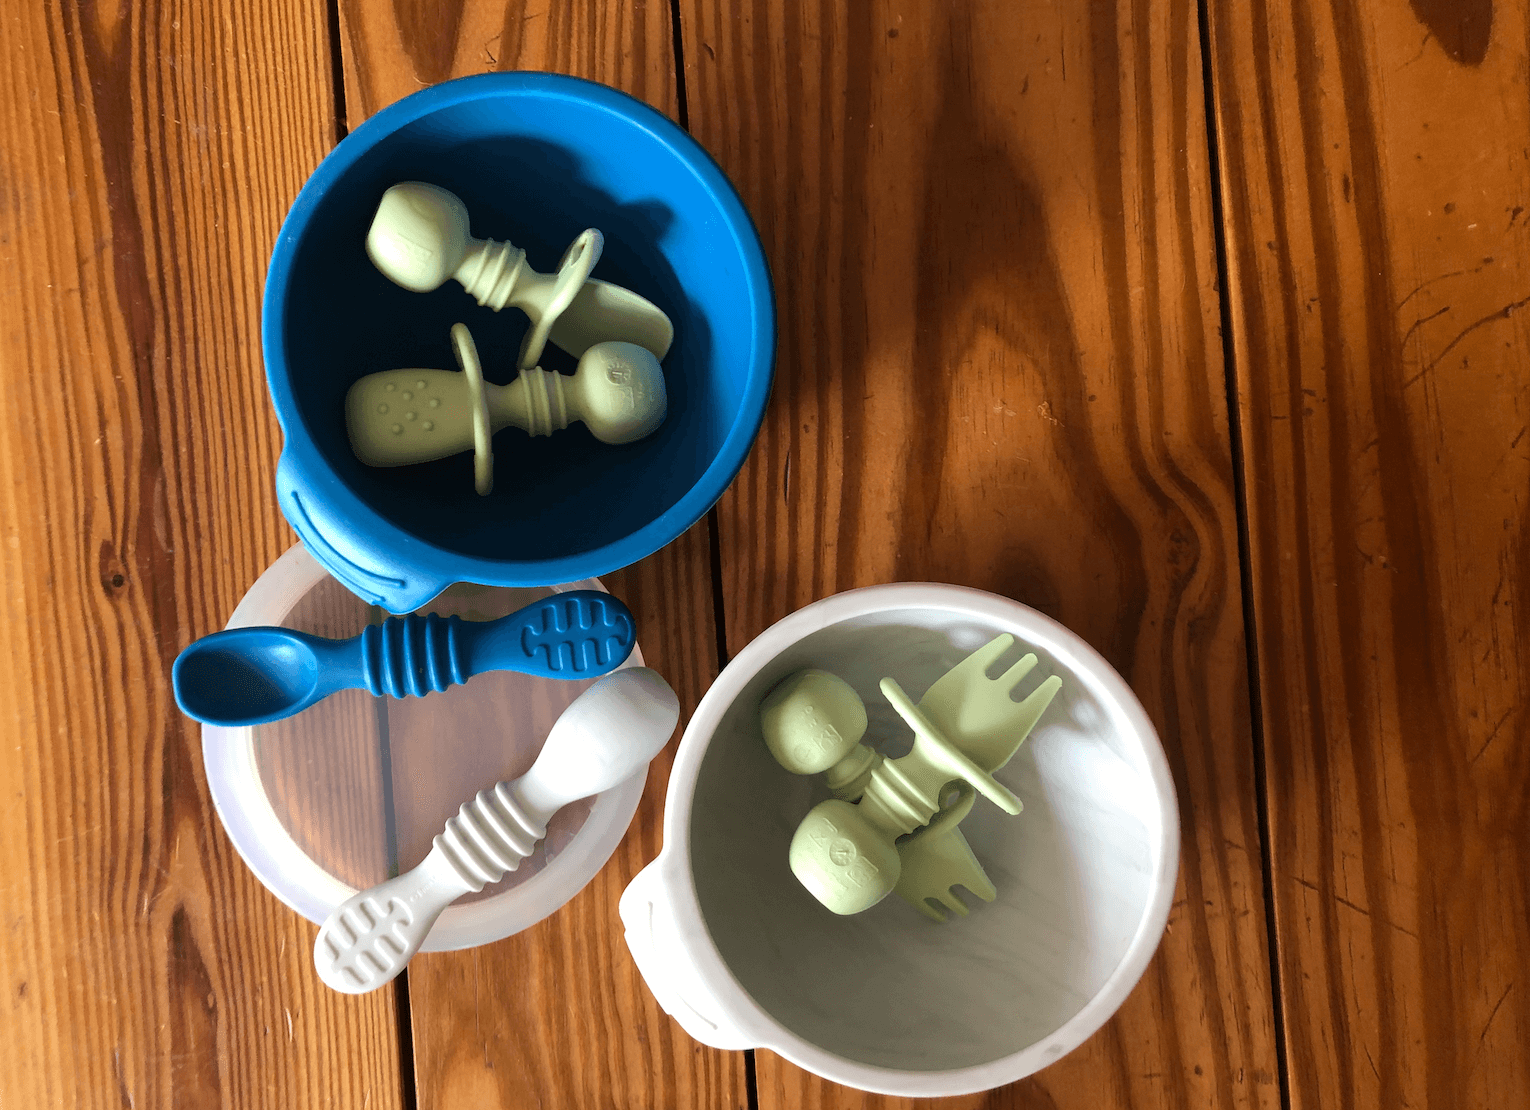
Chewtensils
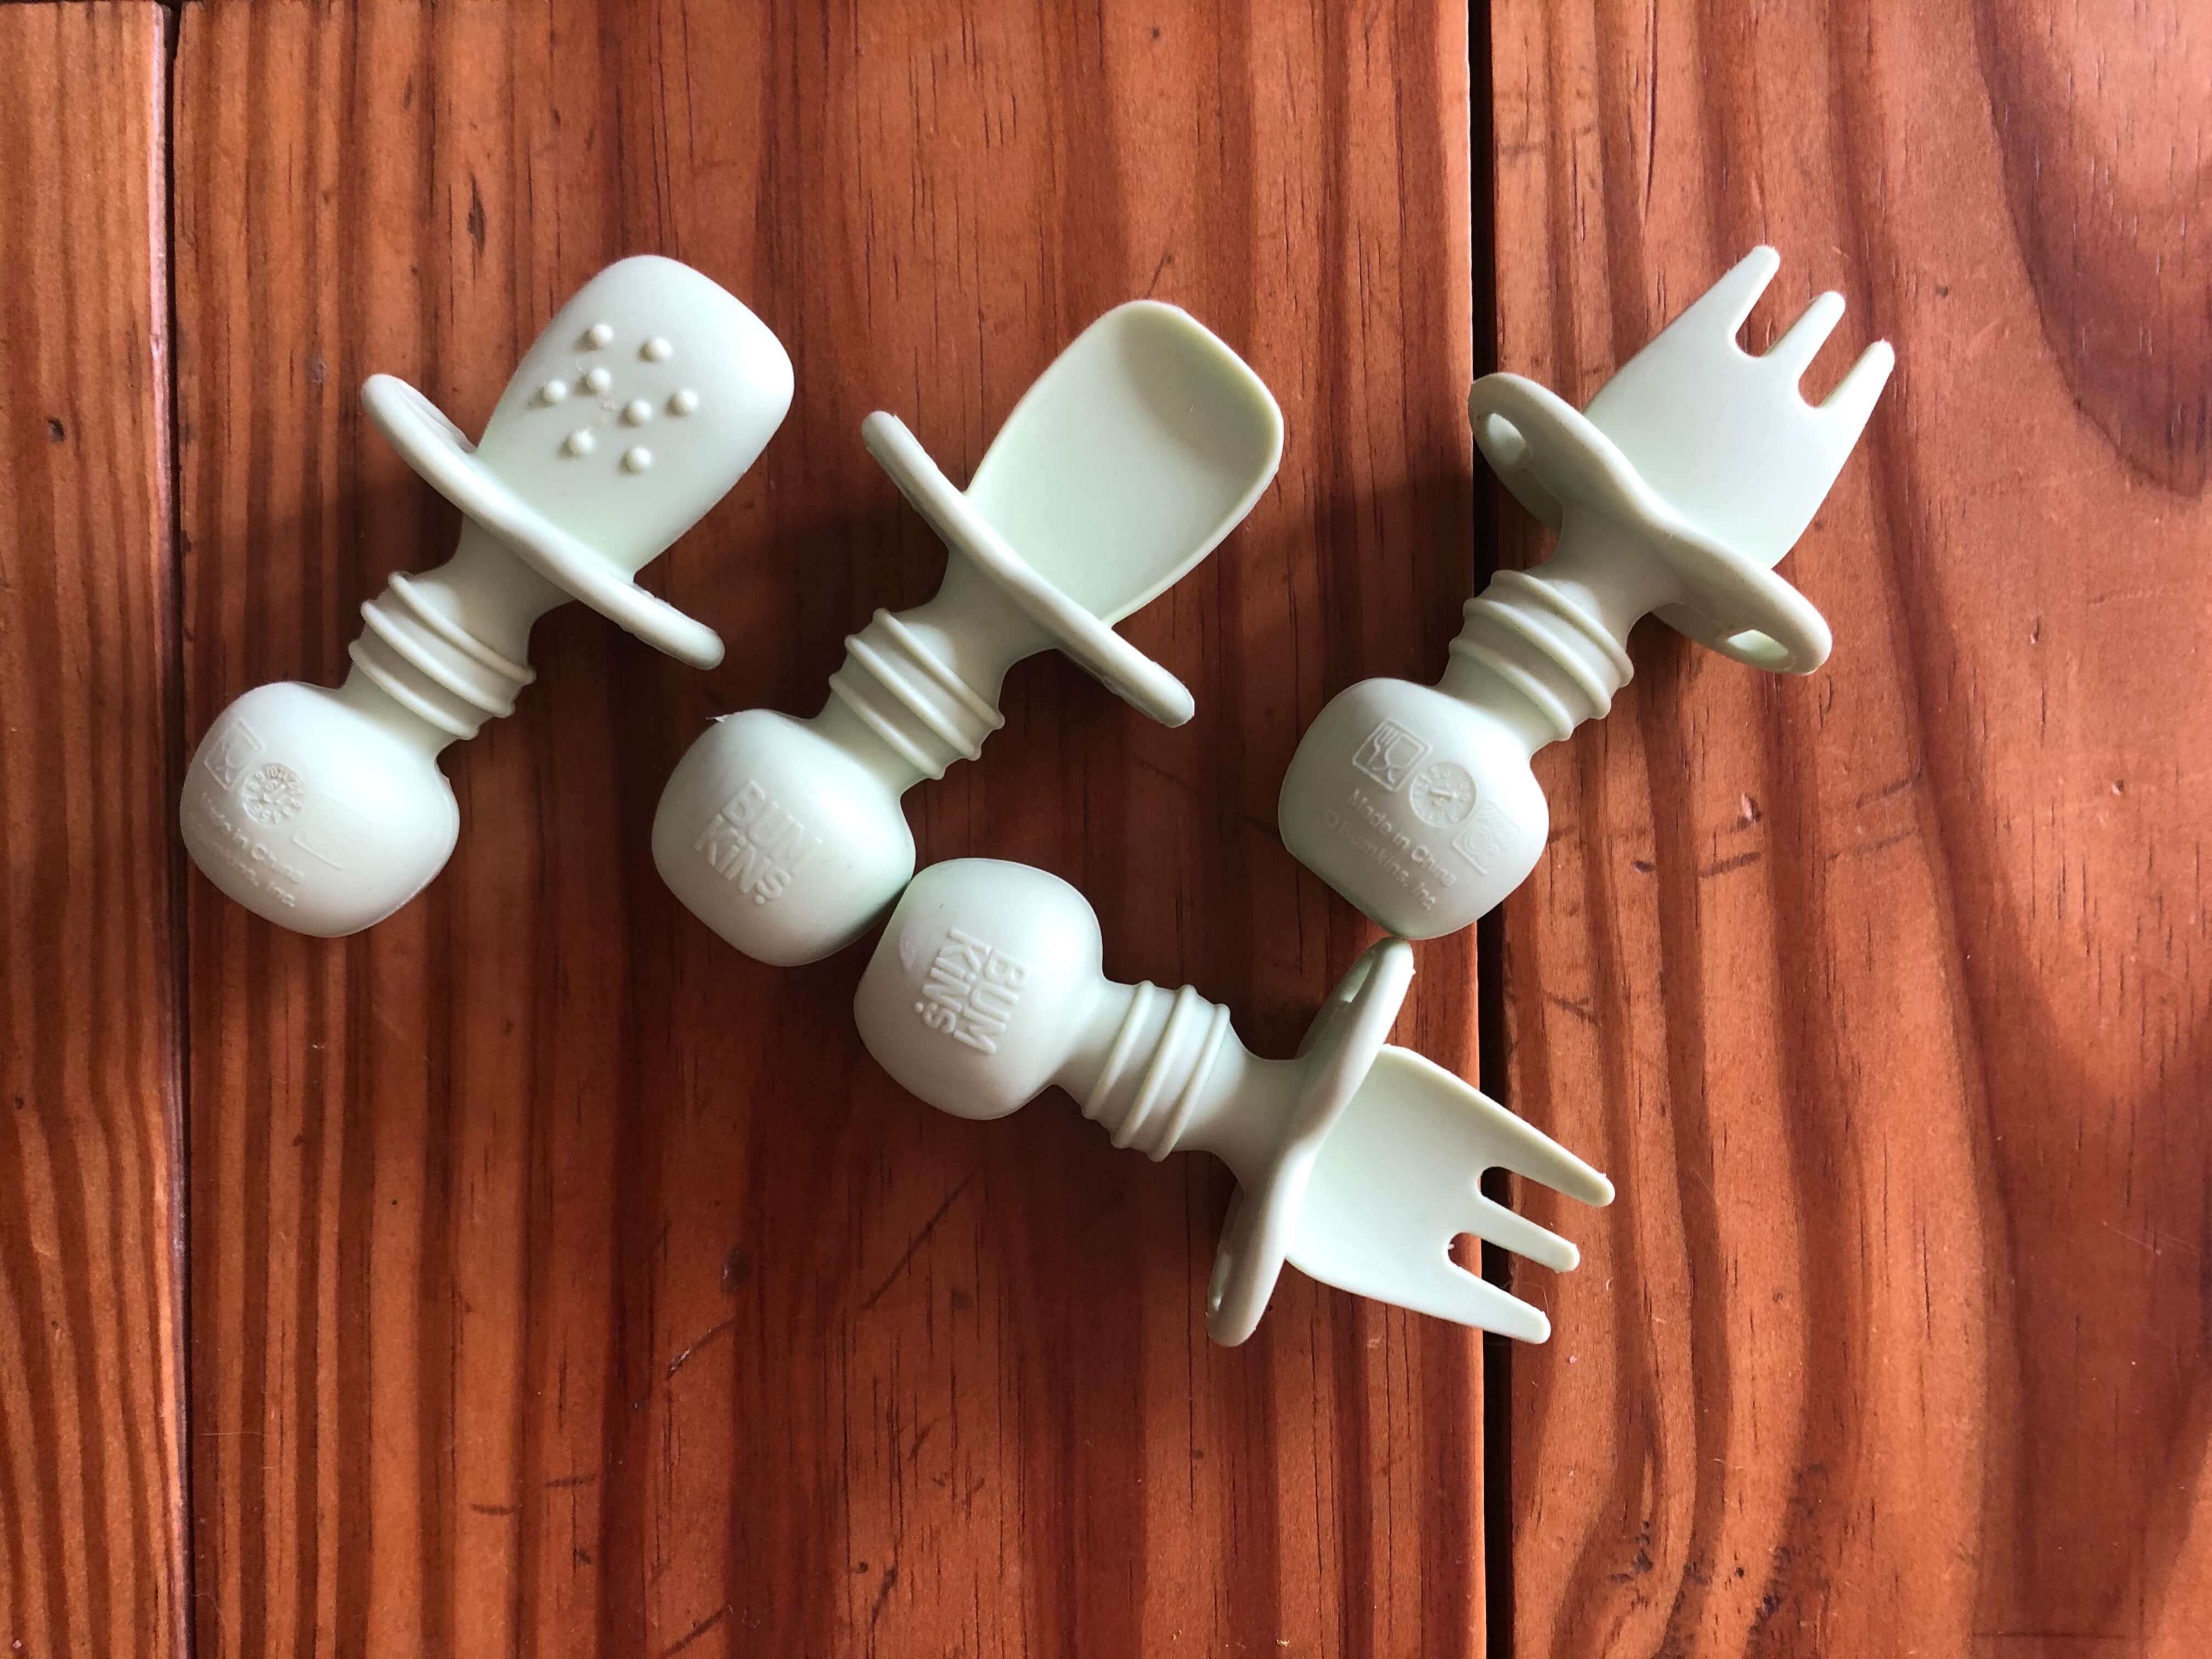
The first of the feeding tools we introduced were Chewtensils. These are made by Bumkins and they are very short and easy to hold silicone utensils with bulbous handles on them.
The round handle shape is easy for small hands to hold, especially when very slippery with mashed food. The set includes a spoon and fork with wide and shallow tops. They are firm but flexible and about the same texture as most of the boys’ silicone teethers.
The boys loved these immediately. We would take a scoop of mashed baby food and place it on the spoon and let them bring it to their mouth. Once the food was gone we would glob another bite on there and let them work on their hand mouth coordination. At first, I let them try and dig out their own food from the bowl but that turned into not much food being eaten and the spoon being dropped in favor of a handful of mash instead. So by refilling the spoon for them they still practiced bringing the spoon to their mouth over and over again.
Plus as a bonus, once they were done eating, these Chewtensils made great teethers for them to sit and enjoy after a meal. They simply loved just biting the big handles and we loved they were easy to hold and served double duty.
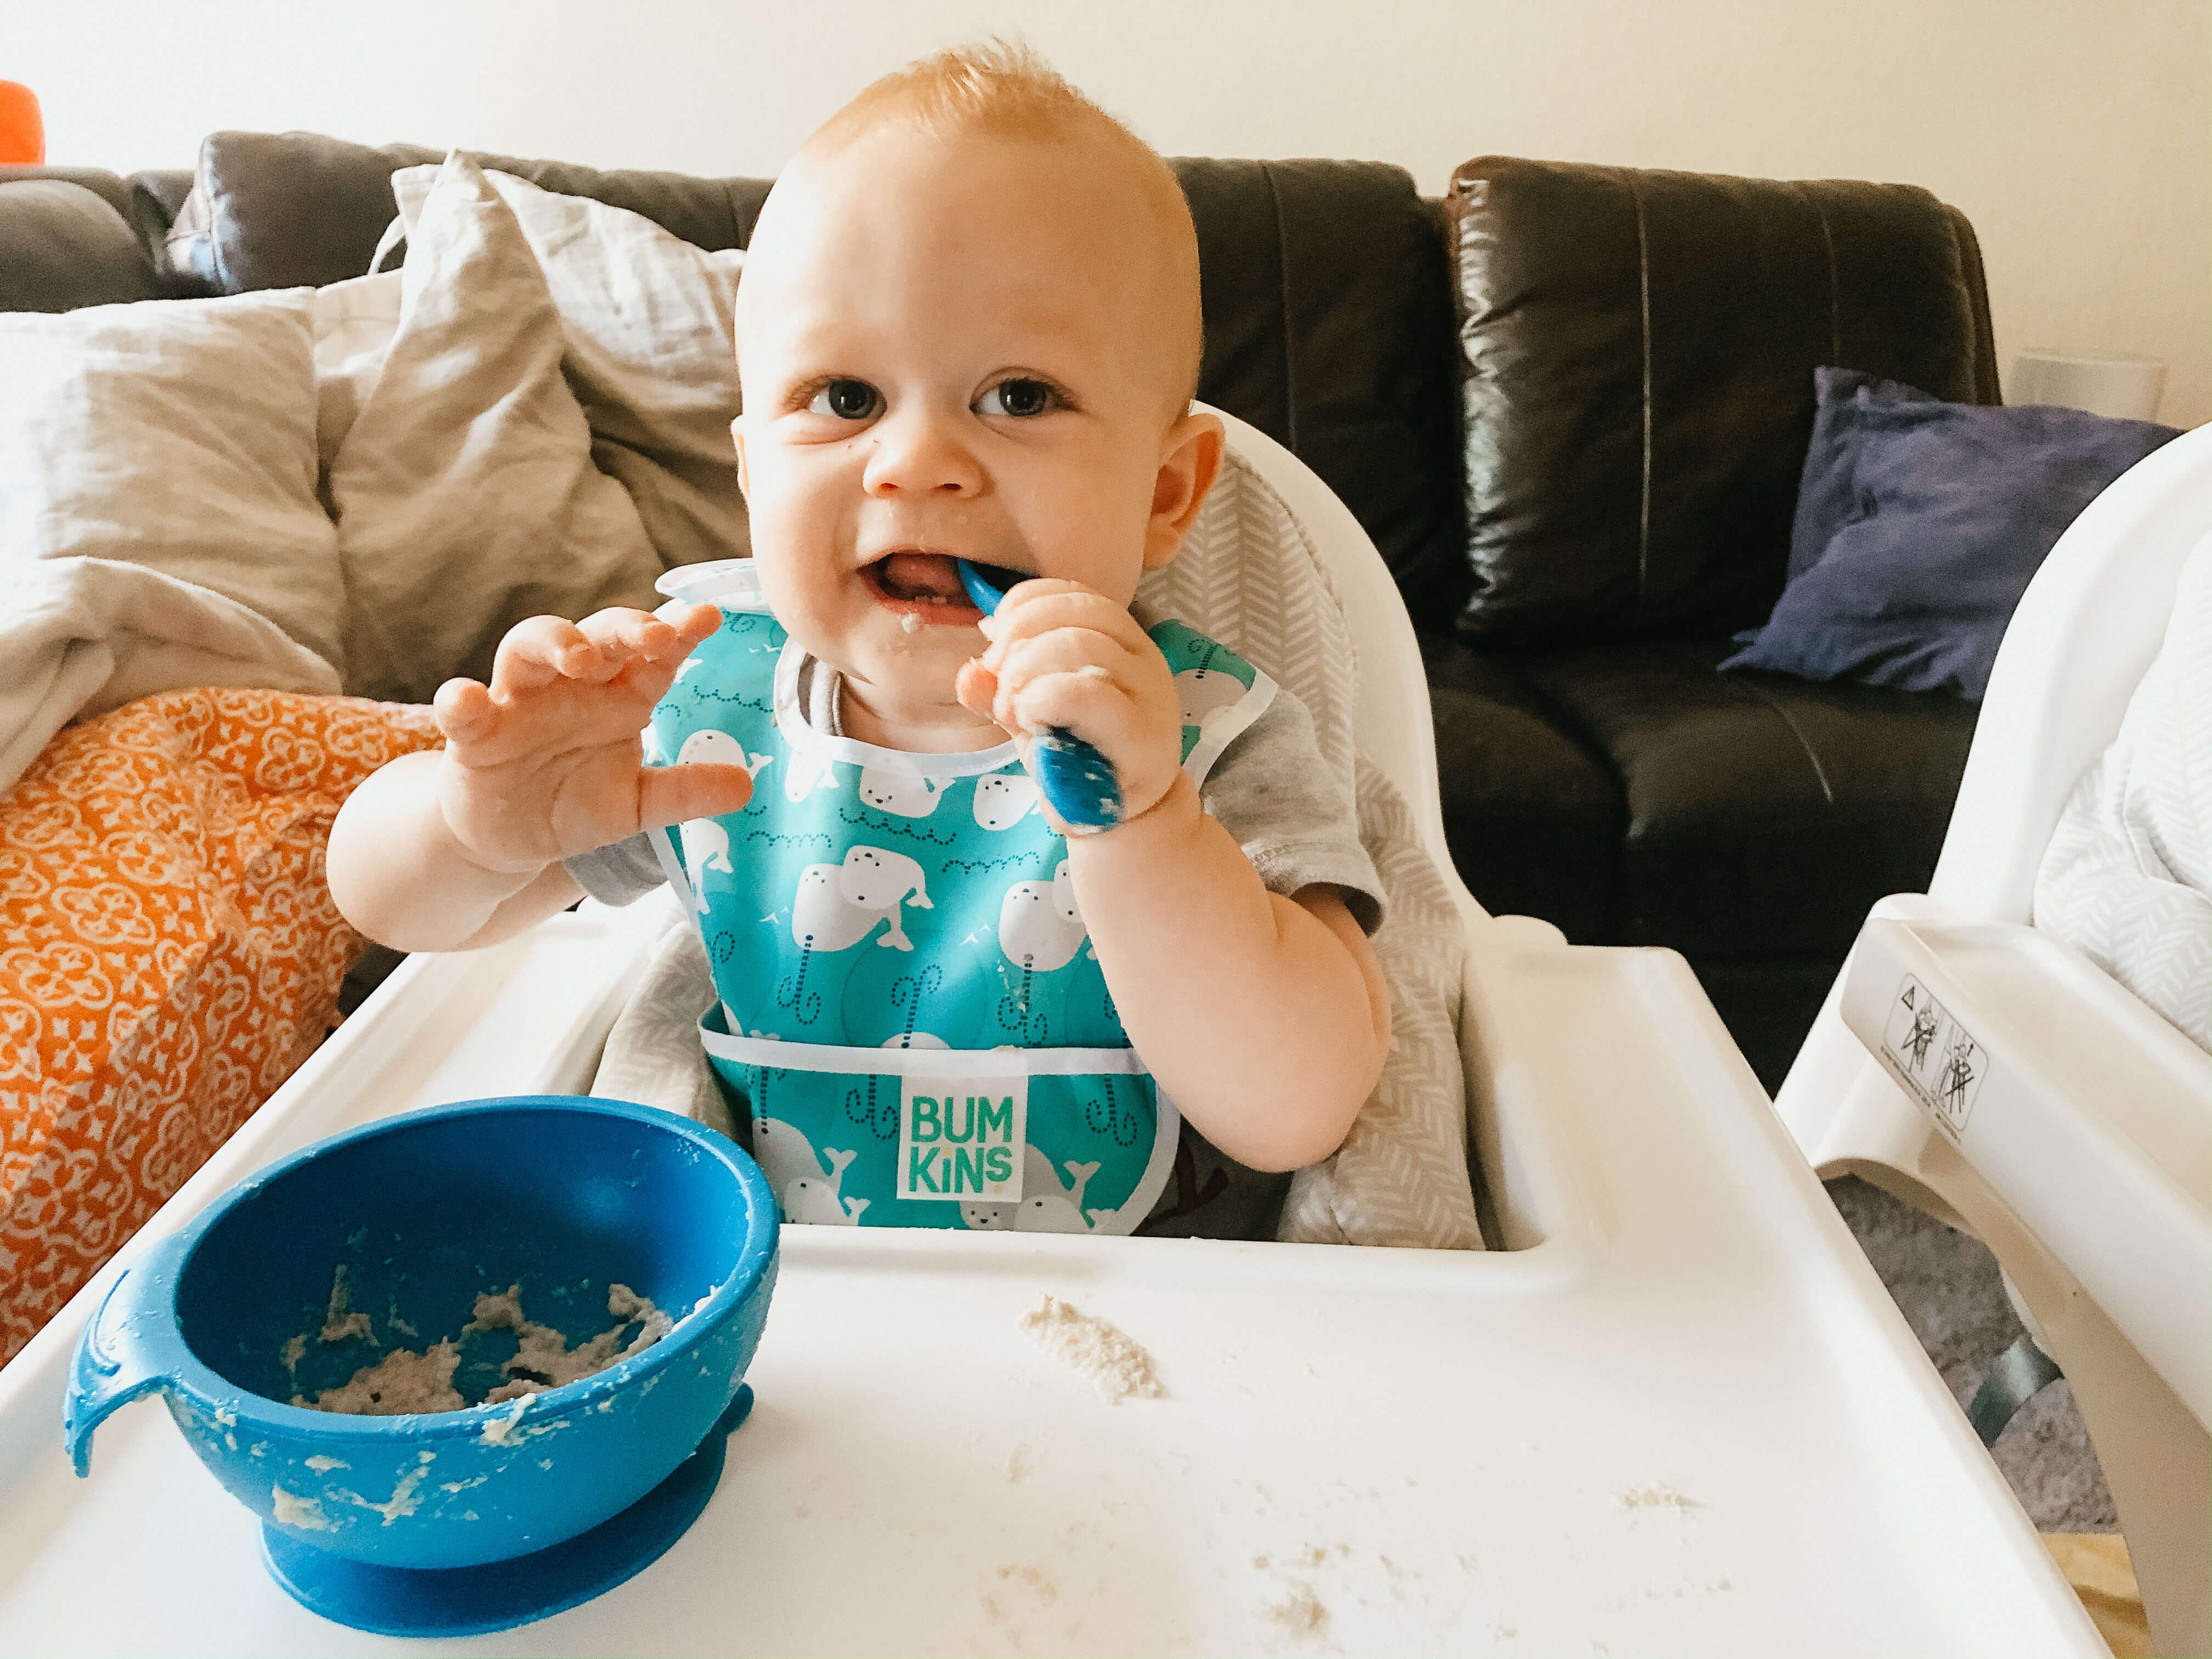
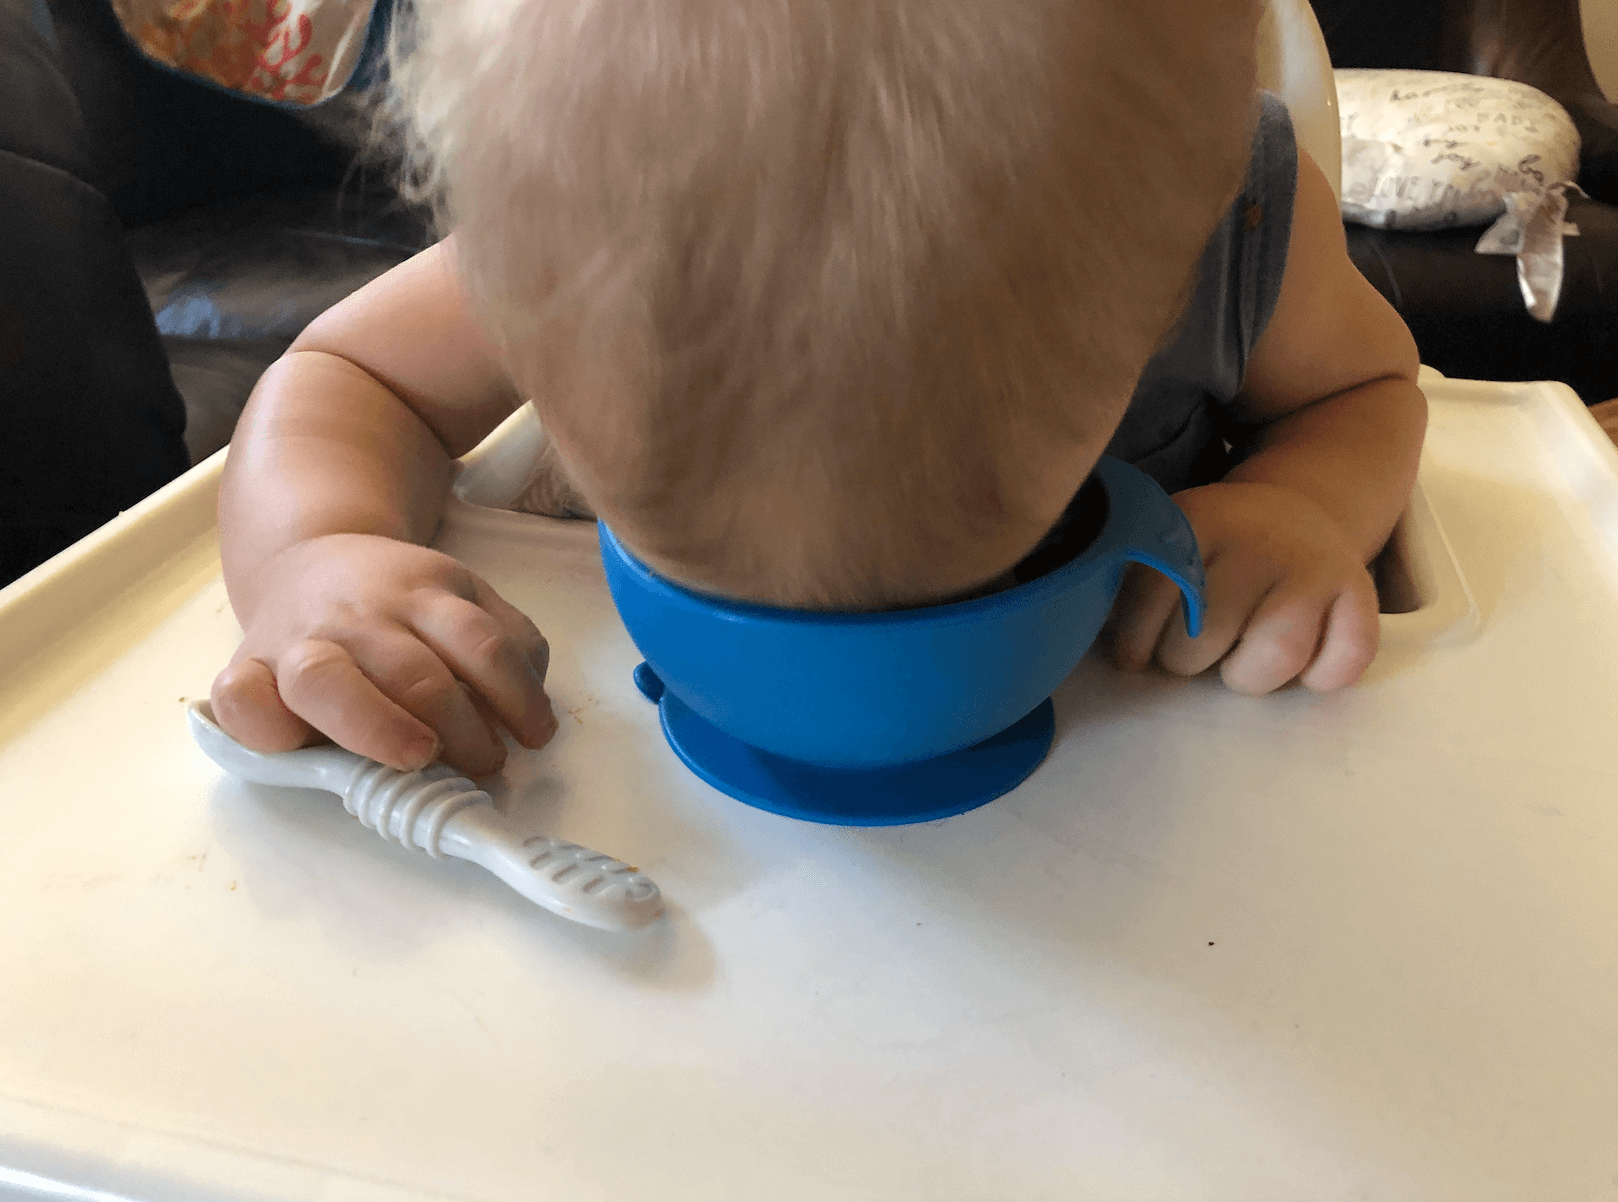
Silicone suction bowl and spoon
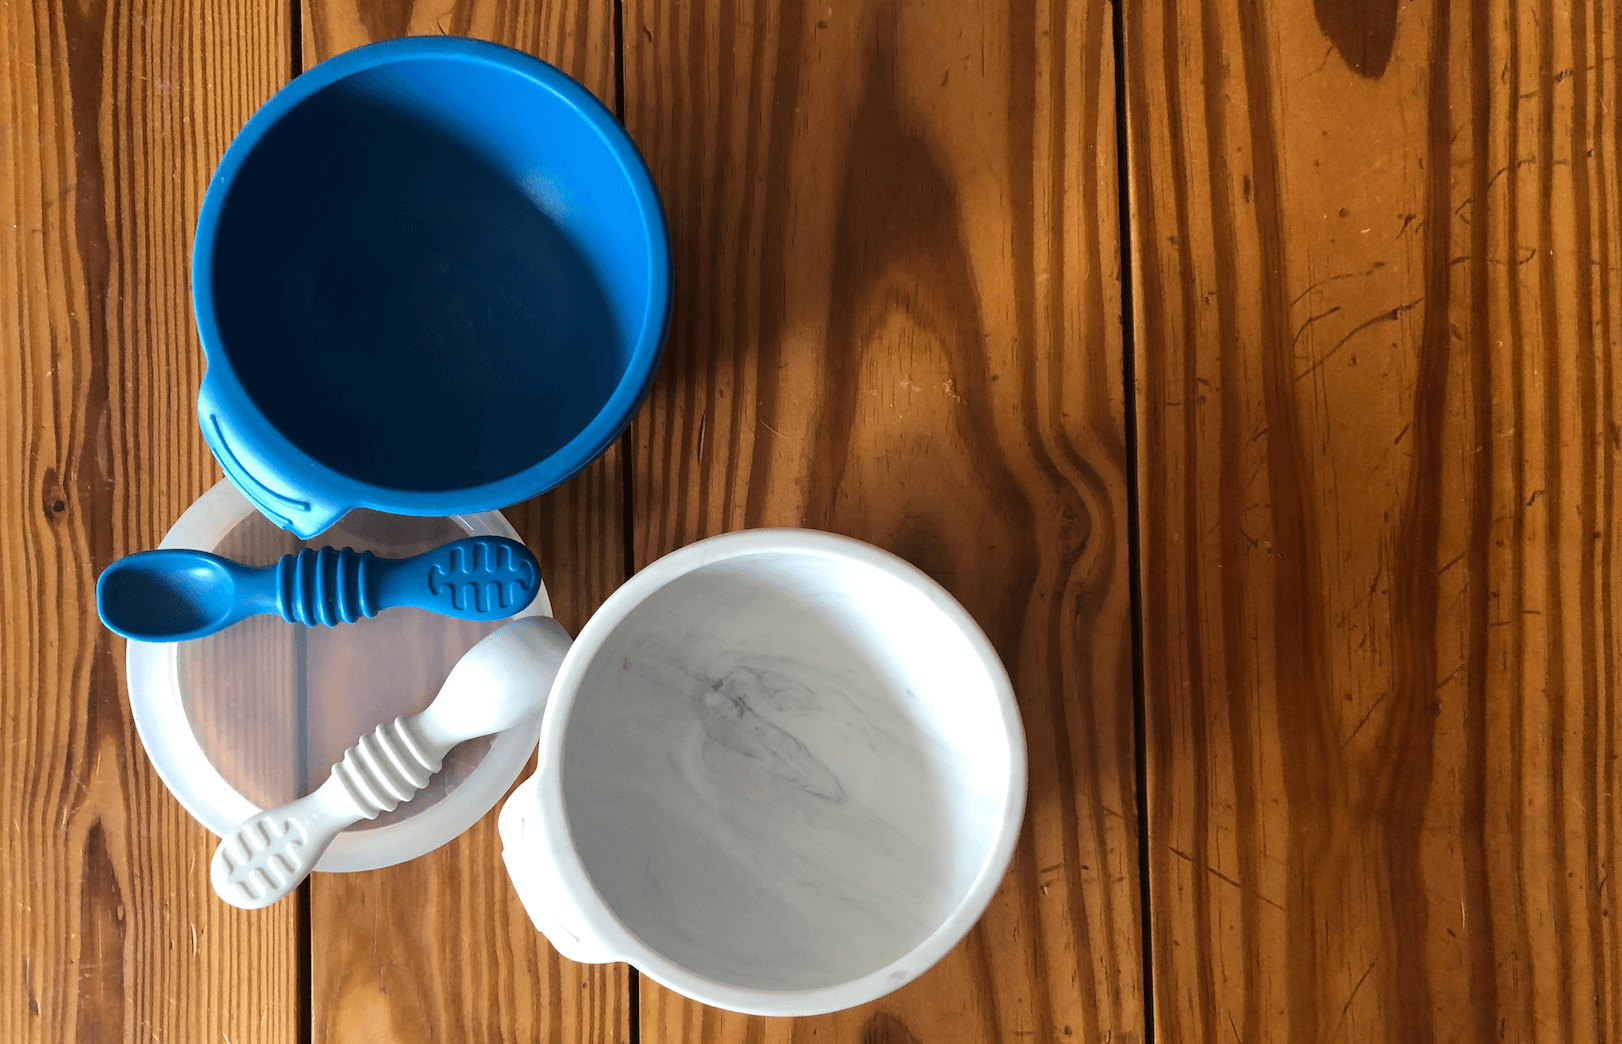
A silicon bowl and spoon was the next step for helping the boys with their interest in feeding themselves. The bowls we choose were a silicone bowl and spoon set that has a suction cup on the bottom that allows the bowl to grip on to whatever surface that you want to place it on.
The silicone suction cup was essential to allow the boys to learn to feed themselves. Rewind to when we gave them little bowls of food but the bowls were easily movable: two bites in the bowls were tipped over the side of the high chair and there was not much savable food left to feed them.
Once the suction cups are secured the boys might tug at them a little but they quickly lose interest once they realize they don’t move and instead they bring their focus back to getting food on the spoon.
These little bowl sets are great and they save us a lot of mess. Plus the boys love the longer soft spoons and of course, still use them as teethers once the food is gone.
Our set is from Bumkins as well and they come in a wide variety of colors on Amazon. The 2 colors we have are blue and marble! Plus the bonus is that these are dishwasher safe and can go into the sterilizer as well.
Mess Management
When you are helping infants learn to feed themselves it’s going to be messy. I find it cute, my husband sometimes finds it stressful/funny as we have a lot of carpet to be mindful of. But these next few items really help make clean-up super easy and fast.
Full coverage smocks
This style of bib is basically a shirt that ties in the back. These cover your baby from neck to lap and can even have little pockets at the bottom to catch big chunks of food. Ours are long-sleeved so there isn’t a full bath protocol after letting the boys feed themselves.
These are also easy to throw into the washing machine whenever you’re done and they are lightweight and dry on low heat or just air dry quickly.
Bibs with pockets
These are just bibs with a small pocket sewn into the bottom. The pockets on these don’t always stay open on their own so they can miss some falling food, but there is another version of this bib that I’ll cover below that works a little better. This is usually something that can be thrown in the washer as well and we just air dry these quickly after.
Silicone bibs with pockets
This style of silicone bib has a pocket that stays open at the bottom because it’s not cloth and won’t fold in on itself. I love these little bibs because they catch a ton of food when the babies are feeding themselves. This leads to less waste and the boys have even discovered that there is food in there and will pick up little pieces of food that fall into the pocket on their own now.
Wipeable floor mat
Of all the mess clean up things I have gotten to help with the twins learning to eat on their own the wipeable floor mat has been my favorite.
This is just a mat that lays down under their highchairs and is easily wipeable. We have an extra-large mat to accommodate the two highchairs but I would recommend getting the biggest one that fits your space because it’s amazing how far baby food flies.
These mats are sold on Amazon and they have a lot of prints. Another good option is an extra-large waterproof table cloth. Because of the size we needed, we went with that option. This is a typical picnic table vinyl tablecloth with a soft back and it works perfectly for catching all of the food the boys drop or fling.
We only have to wash this in the washer every few weeks. Most days we just wipe the food off when we are done and fold it back up. If we do wash it, it goes in on the cold cycle and we air dry it after.
While teaching your kids to feed themselves is exciting it can be messy and difficult at times. To make the process more enjoyable you can explore some of the fun feeding tools that are available. There are so many varieties that you are bound to find one or two that work for you.
I’d love to hear what kind of feeding tools you use with your kids and which ones are their favorite?